5 Ingredient Vegan Pesto by audrey gebhardt

2-in-1 today babes! So much flavor with so few ingredients (if you don’t count salt and water).

We’re making basil oil and then turning what would be garbage into pesto!

709F02FF-E42C-4AC3-B0FD-3766CC615AFB.JPG

Ingredients

1 1/2 c olive oil
3 oz basil, rinsed and picked off stems
zest of one lemon
2 cloves garlic
1 tsp salt
1/4 c sunflower seeds

In a blender, combine the olive oil and basil until the basil is chopped up teeny tiny! Strain through a fine mesh sieve lined with cheesecloth (you may need to squeeze the cheesecloth a bit to get the oil moving, you’ll end up with about a cup of strained oil total). This oil is FANTASTIC in omelettes, as a salad dressing base, to dip bread in and on top of pizza and pasta. It keeps best covered in the fridge for about a month.

For the pesto: Toast the sunflower seeds in a dry pan over a low flame, tossing occasionally for about five minutes until they are golden and smell nutty.

Scrape the solid remnants of basil back into the blender cup, add the lemon zest, two cloves of garlic, salt, sunflower seeds and two tablespoons of water and blend until smooth, about a minute. If you’re not using it immediately, place this in an airtight container with about an 1/8th of an inch of olive oil atop it so it doesn’t oxidize and turn brown.

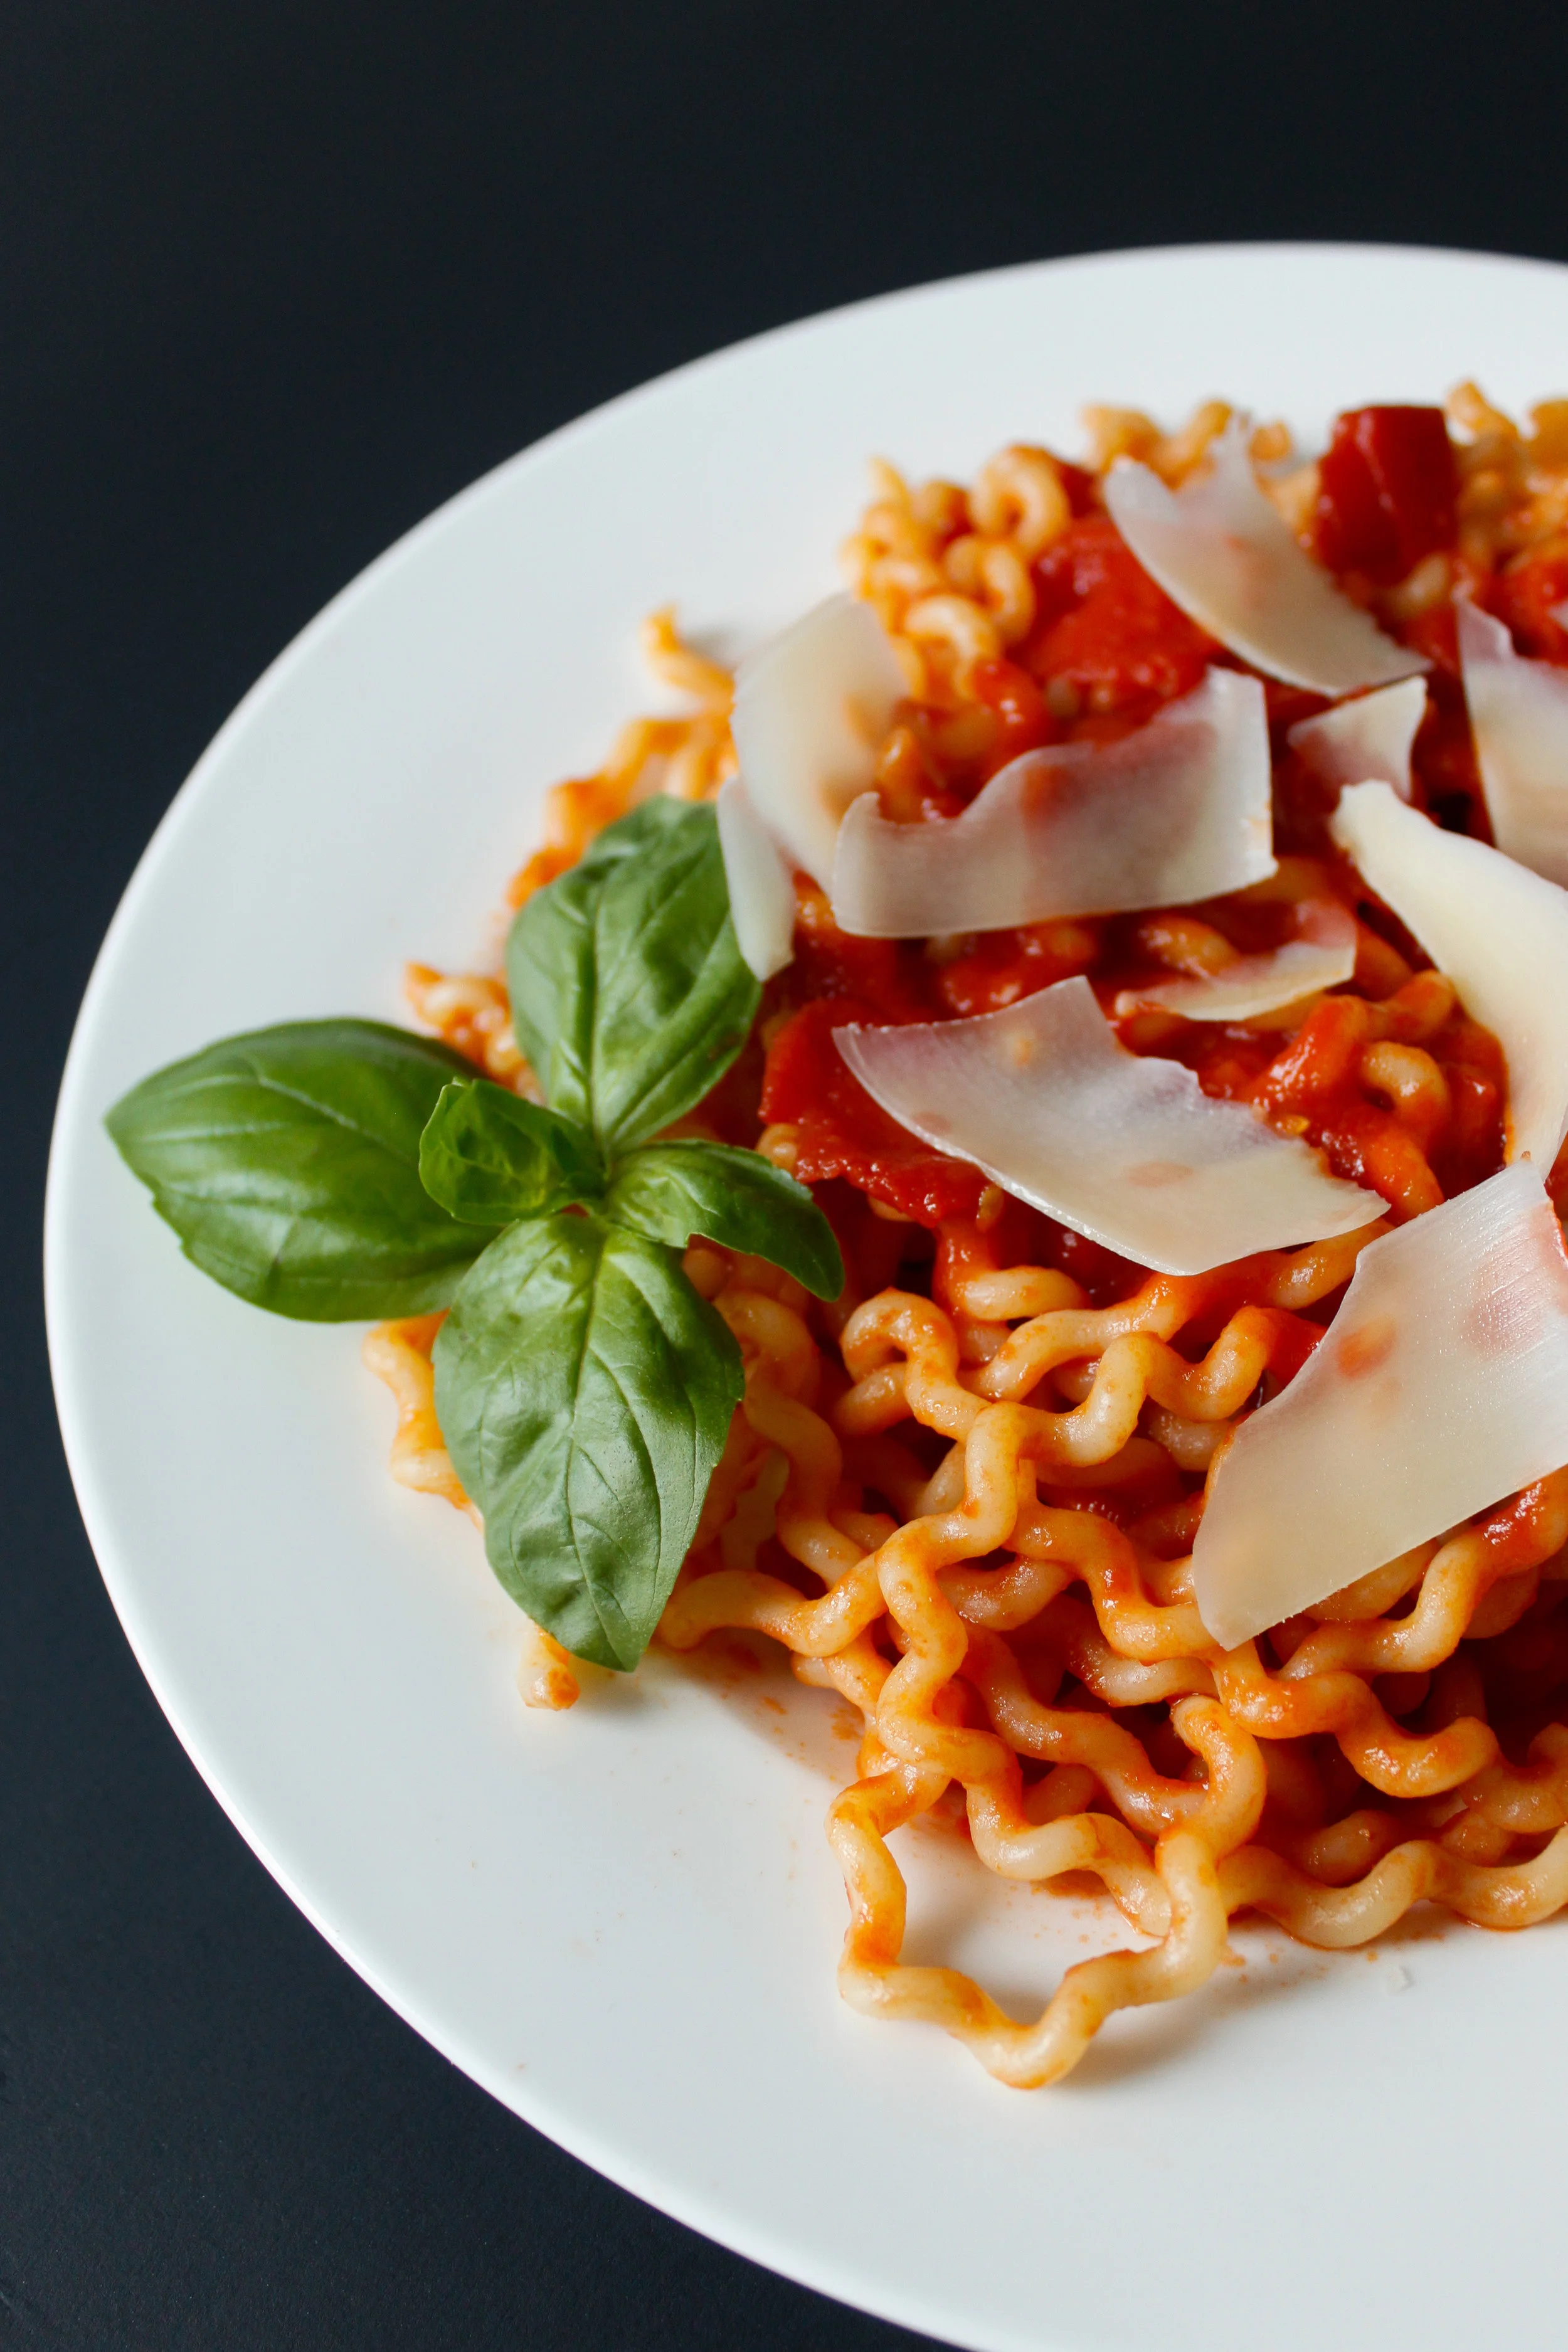
I like pesto best with pasta. I generally melt a bit of butter, add some of the starchy pasta water to it with a big dollop of pesto and make a thinner sauce before tossing the pasta with everything combined. You can also add parmesan!

5 Ingredient Vegan Pesto

Conservatory Mood Board + Plans! by audrey gebhardt

HOT DIGGITY IT’S SPRING IN THE MOUNTAINS!

So we’re building an indoor/outdoor room to celebrate! (by we, I mean the boys that live here are doing the building and I’m mostly daydreaming about it).

Here’s the mood board for the space:

Conservatory Vision Board

EARTHY + BRIGHT is what we’re going for here!

Let’s start with This wall right here:

IMG_4086.jpg

THIS IS WHERE OUR MOONBOARD WILL LIVE! A moonboard is a standardized training mechanism used in climbing gyms all over the world. Carl’s going to build one and attach the standard moon board holds which you can buy separately and it will be SO nice to have a place to train at home! The door will go lighter, Oyster Shoal is the color (which is also on the inside of that door and the door directly opposite. We might swap the sconce for one that goes above the front door, so it’s not in the way of the climbing.

Next up, the wall to the left:

IMG_4088.jpg

Picture a streamlined built-in storage bench right above that wooden line there. To the right of the window will be hanging ski storage and to the left of the window will be some sort of stall bar situation leading up to MONKEY BARS ON THE CEILING! There will be a small landing in front of the door with a few steps leading up to it. And all of the ground will be gorgeous stained black and white pavers.

IMG_4089.jpg

This is the view with your back to the last wall pictured above- and here we’re planning on putting our grill, pizza oven and a fireplace situation along with a cutie pie hanging chair and some more beautiful floors like you see in the mood board above. YEAR ROUND GRILLING AT 9000 FEET HERE WE COME BABY! We’ll also have some plants hanging from the greenhouse-like clear ceiling and some potted herbs probably over to the right in the sun there. You’ll see!

Also, Carl is going to create heated floors using some kind’ve magic I’ll talk about at another time. It’ll be made out of salvaged materials and it will mean this room is SO much more functional for us for so many more months!

WOOHOO! We are psyched. Our house is about 900 square feet and we are adding another 250 or so of usable space with this project.

House Tour! April 2020 by audrey gebhardt

*This post contains affiliate links.

I’ve lived with Carl in the mountains of Colorado for just about a year now and WOOF has it been a journey. We live on a dirt road about ten minutes from the nearest little mountain town and about a half an hour from the closest city- which is Boulder. We have bears and moose and hummingbirds and foxes all.the.time. It’s dreamy and cold and very different from the suburbia I’d lived in forever.

We’ve made big changes over the past year- like going from having three-four roommates depending on the month to just having one that lives in a tiny house in our backyard. It was reaaaaally cozy here for a while, and I cried a lot because I’m not good at sharing. We turned the master bedroom that was previously our roommates’ into a workshop for Sugar Mountain Catering, where I will host classes when we get to be around people again! Carl built the beginnings of our Treehaus, which was initially intended to be an Airbnb but after a brief stint hosting Hipcampers last summer we have different plans for now (on top of it being a sick guest house). Carl and Peter (the one that lives in the tiny house) also nearly finished building out the tiny house and it now has a functional kitchen!

Since we’ve found ourselves with so much time on our hands, we decided to tack a few new projects onto the pile and I thought I’d document them here! We still have a lot of stuff that has nowhere to go, so I recognize that a lot of these photos might look a bit chaotic. Please think of most of this as a heavy before.


FRONT PORCH

front porch 4/20
2.jpg
We’re mid a bunch of projects and this is where lots of stuff ends up living. The plan for this space is to build it into a ‘Conservatory’ which I will share all of the details for and a vision board later this week. It’ll function so much better fo…

We’re mid a bunch of projects and this is where lots of stuff ends up living. The plan for this space is to build it into a ‘Conservatory’ which I will share all of the details for and a vision board later this week. It’ll function so much better for us as a rock climbing space and outdoor kitchen!! We are SOOO excited about this project, and will use a lot of the salvaged deck boards to build our Treehaus!

FRONT CLOSET

This area has already come a LONG way, from yellowed-wooden doors and dark brown 80’s paneling to this gorgeous green color with the prettiest coat hooks of all time. We still plan to build in a bench to hide the litter box, because nobody needs to …

This area has already come a LONG way, from yellowed-wooden doors and dark brown 80’s paneling to this gorgeous green color with the prettiest coat hooks of all time. We still plan to build in a bench to hide the litter box, because nobody needs to see that right when they walk in the house. But overall, we’re really happy with how this looks right now!

THE WORKSHOP

5.jpg
6.jpg
7.jpg
Helloooooo, hot mess express of a closet. Eventually, I imagine this space as being super functional with shelving on both sides of the closet to house my various flatware/drinkware sets when this is actually being used as a food workshop. But for n…

Helloooooo, hot mess express of a closet. Eventually, I imagine this space as being super functional with shelving on both sides of the closet to house my various flatware/drinkware sets when this is actually being used as a food workshop. But for now, aside from the occasional IGTV video, this room is mostly serving us as a peaceful yoga room during our quarantine. We still have a few details to finish in here, like putting quarter round molding around the edges of the floorboards and hopefully one day some open shelves next to the fridge for dishes. I’d also like to paint the back door and window trim charcoal and do something fun on the gray door. We laid this vinyl flooring that they say is easy BUT I PROMISE YOU IT’S NOT! And painted the creamy dreamy Benjamin Moore Simply White since this is intended to be a food photo studio as well and we love it so much that I think we might paint the rest of the house the same color! How sweet is that little fireplace?!?! MY OFFICE HAS A FIREPLACE GUYS!

LIVING/DINING ROOM

10.jpg
9.jpg
Aside from an extremely crowded baker’s rack, I’d say we’re doing pretty good in this part of the house! I still love love these outdoor chairs I got when I moved into my place in Denver last year, and while they’re metal and cold to sit on sometime…

Aside from an extremely crowded baker’s rack, I’d say we’re doing pretty good in this part of the house! I still love love these outdoor chairs I got when I moved into my place in Denver last year, and while they’re metal and cold to sit on sometimes (we just sit on blankets or pillows!), it’s so nice when we’re entertaining in the summer to have more seating that we can bring outside. It’s not rare for us to have 20+ people over for some sort of meal so flexible seating is really important to us! I love having the guitars hanging, both because it keeps the floor space a little more free and also because when Carl sees the guitars on the wall he’s way more apt to grab one and play a little CSNY in the morningtime. I’d eventually love a new light fixture, base molding, fresh paint and new blinds but otherwise this is pretty good!

12.jpg
I promise you, I will never cheap out on a couch again. I was desperate for a mid-range couch that we could train the cat to not scratch up before splurging on my dream couch and IT WAS NOT WORTH IT. We haaaaaate this couch and at this point I would…

I promise you, I will never cheap out on a couch again. I was desperate for a mid-range couch that we could train the cat to not scratch up before splurging on my dream couch and IT WAS NOT WORTH IT. We haaaaaate this couch and at this point I would’ve preferred the cat tearing apart a comfortable $2000 couch than sitting on this one any longer. We plan on upgrading to this one soon! The rug was a $20 find at Target that I’m not attached to but it’s a nice placeholder for now. I still have to dig some of my favorite artwork out from my storage unit to hang above the couch, maybe a picture ledge there too? The chairs by the fireplace, we love. They are SO comfortable and look good to boot! We’re not sure what to do about the TV, the room is too short to put it above the fireplace but it takes up lots of space being in the corner over there so it’s just weird. Ultimately I’d love to refinish the floors and fireplace and repaint.

KITCHEN

14.jpg
15.jpg
Yikes. This is definitely one of those spaces that feels like a blind spot- we’re using it so often that I didn’t realize how much there is to do until sitting to look at these pictures. We’ve done a few upgrades in here in the last year-replaced th…

Yikes. This is definitely one of those spaces that feels like a blind spot- we’re using it so often that I didn’t realize how much there is to do until sitting to look at these pictures. We’ve done a few upgrades in here in the last year-replaced the fridge and range for much more functional versions that we love. Believe it or not the cabinets were WAY worse before, sort of a puke green with contrasting red trim?! Yikes. It was bad. We ripped down a cabinet above the sink on a whim and while we LOVE how much visual space it added, clearly we still need to do some kind’ve refinishing. Other things we’d love to do: new countertops, new single basin sink, new faucet, heated floors?!?!

LAUNDRY ROOM

Just through the kitchen is this laundry room space that could be…a lot better. Eventually we’d love a stacked washer/dryer next to a pantry situation here but the whole project doesn’t make sense until we’re ready to upgrade to an instant hot water…

Just through the kitchen is this laundry room space that could be…a lot better. Eventually we’d love a stacked washer/dryer next to a pantry situation here but the whole project doesn’t make sense until we’re ready to upgrade to an instant hot water heater which is $$$.

BATHROOM

18.jpg
Hello ~mountain~ bathroom. This is the bathroom. The one that handled 6 adults using it every day last year like a champ. There’s a lot to do. Like all of it. Probably not this year but we’ll see!

Hello ~mountain~ bathroom. This is the bathroom. The one that handled 6 adults using it every day last year like a champ. There’s a lot to do. Like all of it. Probably not this year but we’ll see!

BEDROOM

20.jpg
21.jpg
Hey so we really live here. Is it obvious yet? Also, I really like clothes and especially clothes with stripes. Our bedroom is TEEEENY tiny. We considered making the ‘workshop’ our bedroom but decided it’s waaaay better as a room that would get used…

Hey so we really live here. Is it obvious yet? Also, I really like clothes and especially clothes with stripes. Our bedroom is TEEEENY tiny. We considered making the ‘workshop’ our bedroom but decided it’s waaaay better as a room that would get used during the day because of the big beautiful windows there and you know what? I don’t mind having a tiny dark bedroom! I actually sleep really well in here! This room could still use a lot of love but it’s way far down the priority list.

So there you have it. The whole entire house. I’m sure I’ll share more about the tiny house and Treehaus one day soon too, but this is where we’ve spend 99% of our time for the last month. Far from how we want it but also far from where we started a year ago! I’m so excited about how it will look six months from now.

Gift Guides 2019 by audrey gebhardt

I love a good gift guide and I’m hoping you do too! Today is a roundup of all of the guides to come in the next couple of weeks plus 12 different gorgeous and unique advent calendars to kick off the giving season with.

You can expect a guide for:

Sisters + Brothers + Dads + Moms + Best Friends + Coworkers + Grandmas + Boyfriends + Girlfriends + EXPERIENCES FOR EVERYONE!

These guides will have gifts at options to fit lots of different budgets. Over the past few years, my favorite gifts to give have been experiences- I am really excited to share that one last since they are also great as a last minute gift since you don’t have to have something physical to give!

Here’s the roundup of advent calendars that are all 300x more exciting than the ones with too milky milk chocolate in them from the grocery store:

Advent Calendars 2019

  1. Dyptique \\ ohhhhh just the dreamiest candle company of all time, filling our December days with luxury scents for our homes and bodies.

  2. Yawn Coffee \\ for the pour over lover in your life, single servings of proper craft coffees!

  3. Dior \\ I know, I know. This one is a reach. Maybe you are a millionaire trying to find some arm candy and you know that designers with g o r g e o u s products are the way to her heart?

  4. Godiva \\ Relatively reasonable and unbelievably delicious chocolates!

  5. Train Set \\ This cutie pie train set that comes together throughout the month is such a delightful non-secular scene for those that celebrate but aren’t super religious!

  6. Botanical \\ For your nearest and dearest tree hugger, this calendar is full of pretty little florals and a necklace to boot!

  7. George & Viv \\ Full of travel-size versions of actually useful products, not just 24 different shades of lip gloss.

  8. Wine \\ 12 nights of wine! Self explanatory in a beautiful package.

  9. Walnuts \\ Finally put those nutcrackers to use to open these each day and find out what’s inside! Kind’ve like a grown-up wonder ball!

  10. Vosges \\ Extravagant twist on the classic chocolate advent calendar.

  11. Tea \\ For the zen love in your life, offer them 24 moments of peace this season.

  12. Caramels \\ Classic caramels made with real milk and cream-yum!

  13. Walnuts \\ I accidentally put up two pictures of this one haha. whoops!

The Best Crumb Cake of All Time by audrey gebhardt

If you’re ever wondering how to do very well in high school without carrying any books ever, this crumb cake is the answer. Well, this and chocolate chip cookies.

This recipe comes together in under an hour, doesn’t require any fancy tools or equipment, and is perfect for a weekend breakfast when you’re craving something sweet and only have a few ingredients around.

This is straight up Martha Stewart’s recipe, I haven’t changed one single thing because not one single thing needs changing. However- I have made this in many different ovens and sometimes it bakes for 20 minutes and it’s done and sometimes it needs 30 minutes, so just keep an eye on it after 20 and poke it with a toothpick every so often until comes out mostly clean with a few moist crumbs attached.

Take note that while this cake is DELICIOUS straight out of the oven, it’s most authentically eaten at room temperature, when the crumbs have had a chance to cool and congeal. This is one of the only times that we’re happy about things congealing and not grossed out by it. Once this cake is cool, the crumbs will have that beautiful melt-in-your-mouth texture. This cake keeps really well for up to a week stored in an airtight container!

Perfect Crumb Cake

Perfect Crumb Cake
Recipe from Martha

1 1/2 c flour
1/2 c sugar
2 1/2 tsp baking powder
1/2 tsp salt
1 egg
1/2 c milk
2 TBSP canola/veg oil
2 tsp vanilla

1 c light brown sugar
2 1/2 c flour
1 1/2 tsp cinnamon
2 sticks unsalted butter, melted and cooled

1/2 c confectioners sugar

Preheat the oven to 325.

Grease and flour a 9x13” cake pan.

In a medium bowl, whisk together the 1 1/2 c flour, sugar, baking powder and salt. In a separate bowl, whisk together the egg, milk, oil and vanilla. Add the dry ingredients to the wet and stir until combined. Spread into the 9x13” pan and set aside.

In the bowl you used the dry ingredients for, stir together the light brown sugar, remaining flour and cinnamon. Stir in the butter until combined and using your hands, break crumbs of the mixture off and cover the entire cake with crumbs. Bake for 20-30 minutes until a toothpick inserted in the center comes out clean.

When the cake has cooled slightly, dust the top with confectioners sugar.

xo,
Audrey


Pretty Things for When You're Bored by audrey gebhardt

Happy one week until daylight savings, friends! It’s basically my favorite holiday, the one that gives us an hour more sunlight. This weekend I’m making crumb cake and having a sloooooow snowy Sunday morning. Here’s some pretty things for your eyes this week!

8064ED41-0F77-4E1D-9DF6-6B9787351912.jpg

Ballin' on a Budget: Three Ingredient Tomato Sauce by audrey gebhardt

Homies. This recipe is truly a magic trick. You turn a can of tomatoes, a half a stick of butter & half of an onion into the richest, dreamiest pasta sauce you’ve ever had. YOU DON’T EVEN HAVE TO CHOP ANYTHING! All there is to it is to open a can and combine all of the ingredients in a pan- let them simmer away for 45 minutes and you.are.in.bidnezzzzz.

Three Ingredient Tomato Sauce

The key here is to use niiiiice canned tomatoes. San Marzano are a non-negotiable here, as the quality of San Marzano tomatoes is what makes this sauce so simple and good. They are typically a few bucks more than your average mass produced canned tomatoes, but even with a pound of pasta this recipe comes together for way less than 10 bucks.

San Marzano tomatoes are much like Champagne in that they come from a specific region- San Marzano. They’re grown in the volcanic soil at the base of Mt. Vesuvius which somehow cuts the acidity. They also have thicker walls and fewer seeds than a traditional Roma tomato, which fills them with flavor. They are expertly cared for and picked at peak ripeness so you can be positive that every can of San Marzanos you pick up will be well, perfetto.

As always, you can check out the video for this recipe HERE on my IGTV!

(I can take no credit for this recipe as it is well well known and exploded the internet about 8 years ago- I’m just reminding you about it in case you’ve never heard of it!)

Three Ingredient Tomato Sauce

Three Ingredient Tomato Sauce
makes enough for 1 lb pasta

28 oz can San Marzano tomatoes, whole peeled
1/2 stick butter
1/2 medium onion

Place all of the ingredients in a large saucepan over medium-low heat and bring to a simmer (yes, leave the onion halved!). Allow to simmer for 45 minutes- after fifteen minutes, use the back of a spoon to press the tomatoes against the side of the pan to help them along in their breaking-down process.

Boil water in a large stockpot for the pasta and heavily salt it. I’m talking like three enormous pinches. Maybe four. Cook the pasta until al dente and add one ladle full of the starchy, salty water to the sauce just before tossing the pasta with the sauce to serve- this helps the sauce stick to the pasta! Top with shaved parmesan if you’re into that sorta thing!

xo,
Audrey

Ballin' on a Budget: Lemon Asparagus Risotto by audrey gebhardt

I moved away from the home I lived in my whole life a bit less than a year ago. Some things have felt like a huge adjustment (not having a beach, not having a dozen houses nearby I can walk into unannounced, not eating pizza four times a week).

One of the things that I didn’t think about when I moved was the crocuses. The tiny white flowers that would pop up through the frost right outside my front door! The little flowers that could! Like clockwork, they’d show up within the first few days of March every year, snow or sunshine.

They were like the lighthouse bringing us to shore. The microwave minute nearing an end. The last hour of a red eye flight. And I miss them! I miss their cute lil faces popping up to remind us that one day we’ll be barefoot again.

So today, in Colorado, I’m calling in the crocuses of home with this Lemon Asparagus Risotto. This creamy, bright, flavorful dish comes together in about 30 minutes and pops in your mouth with a zing. All of the flavors of spring with the comfort of a still needed warm bowl of food.

In this recipe you can absolutely swap out the asparagus for whatever dark leafy green you have on hand, or even broccoli if that’s what you have! Risotto is extremely forgiving so this is a very loose recipe.

Lemon Asparagus Risotto

Lemon Asparagus Risotto (vegan optional)
Makes enough for 4 as a side dish

1/3 c diced onion
1 bunch asparagus, chopped into 3/4-1” chunks
1 lemon
1 c arborio rice
4 c vegetable stock (room temperature or warmed up-not cold!)
1 c water
2 Tbsp olive oil
1/2 tsp salt
1 tsp fresh ground black pepper
1/2 c grated parmesan cheese (optional)
2 Tbsp butter (optional)

Toast the rice. In a large saucepan over a medium low flame, place the dry cup of arborio rice. Allow the rice to toast, moving around every so often so it doesn’t burn on one side. It will turn light brown and smell super nutty- remove from pan and place aside for now.

In the pan you just used, add the olive oil and onions over a medium flame. Sauté for about 5 minutes, until the onions are soft and translucent. Add the toasted rice and two cups of the vegetable stock. Bring to a simmer and allow to simmer, stirring occasionally until almost all of the liquid is absorbed.

When almost all of the liquid is absorbed, add another cup of stock and repeat the simmering process.

Repeat with the final cup of stock. At the end of this simmering point, the rice should be nearly finished cooking.

Add the cup of water and the chopped asparagus, cook for another five minutes until all of the liquid is absorbed and the asparagus is bright bright green.

Stir in the lemon zest, salt and pepper (and at this point you can add the parm + butter if you’re using them! It’s still creamy and delicious without it but that definitely adds an extra layer of flavor!).

Serve immediately.

xo,
Audrey