brunch

The Best Crumb Cake of All Time by audrey gebhardt

If you’re ever wondering how to do very well in high school without carrying any books ever, this crumb cake is the answer. Well, this and chocolate chip cookies.

This recipe comes together in under an hour, doesn’t require any fancy tools or equipment, and is perfect for a weekend breakfast when you’re craving something sweet and only have a few ingredients around.

This is straight up Martha Stewart’s recipe, I haven’t changed one single thing because not one single thing needs changing. However- I have made this in many different ovens and sometimes it bakes for 20 minutes and it’s done and sometimes it needs 30 minutes, so just keep an eye on it after 20 and poke it with a toothpick every so often until comes out mostly clean with a few moist crumbs attached.

Take note that while this cake is DELICIOUS straight out of the oven, it’s most authentically eaten at room temperature, when the crumbs have had a chance to cool and congeal. This is one of the only times that we’re happy about things congealing and not grossed out by it. Once this cake is cool, the crumbs will have that beautiful melt-in-your-mouth texture. This cake keeps really well for up to a week stored in an airtight container!

Perfect Crumb Cake

Perfect Crumb Cake
Recipe from Martha

1 1/2 c flour
1/2 c sugar
2 1/2 tsp baking powder
1/2 tsp salt
1 egg
1/2 c milk
2 TBSP canola/veg oil
2 tsp vanilla

1 c light brown sugar
2 1/2 c flour
1 1/2 tsp cinnamon
2 sticks unsalted butter, melted and cooled

1/2 c confectioners sugar

Preheat the oven to 325.

Grease and flour a 9x13” cake pan.

In a medium bowl, whisk together the 1 1/2 c flour, sugar, baking powder and salt. In a separate bowl, whisk together the egg, milk, oil and vanilla. Add the dry ingredients to the wet and stir until combined. Spread into the 9x13” pan and set aside.

In the bowl you used the dry ingredients for, stir together the light brown sugar, remaining flour and cinnamon. Stir in the butter until combined and using your hands, break crumbs of the mixture off and cover the entire cake with crumbs. Bake for 20-30 minutes until a toothpick inserted in the center comes out clean.

When the cake has cooled slightly, dust the top with confectioners sugar.

xo,
Audrey


Ballin' on a Budget: Blood Orange Scones by audrey gebhardt

Friends, the time for too much pink food is right now. Blood oranges are making their way out of our lives for another ten months so LISTEN UP.

Blood Orange Scones

These Blood Orange Scones are seriously the best.scones.ever. I swear it. I’ve never tasted a better scone and I don’t expect to anytime soon.

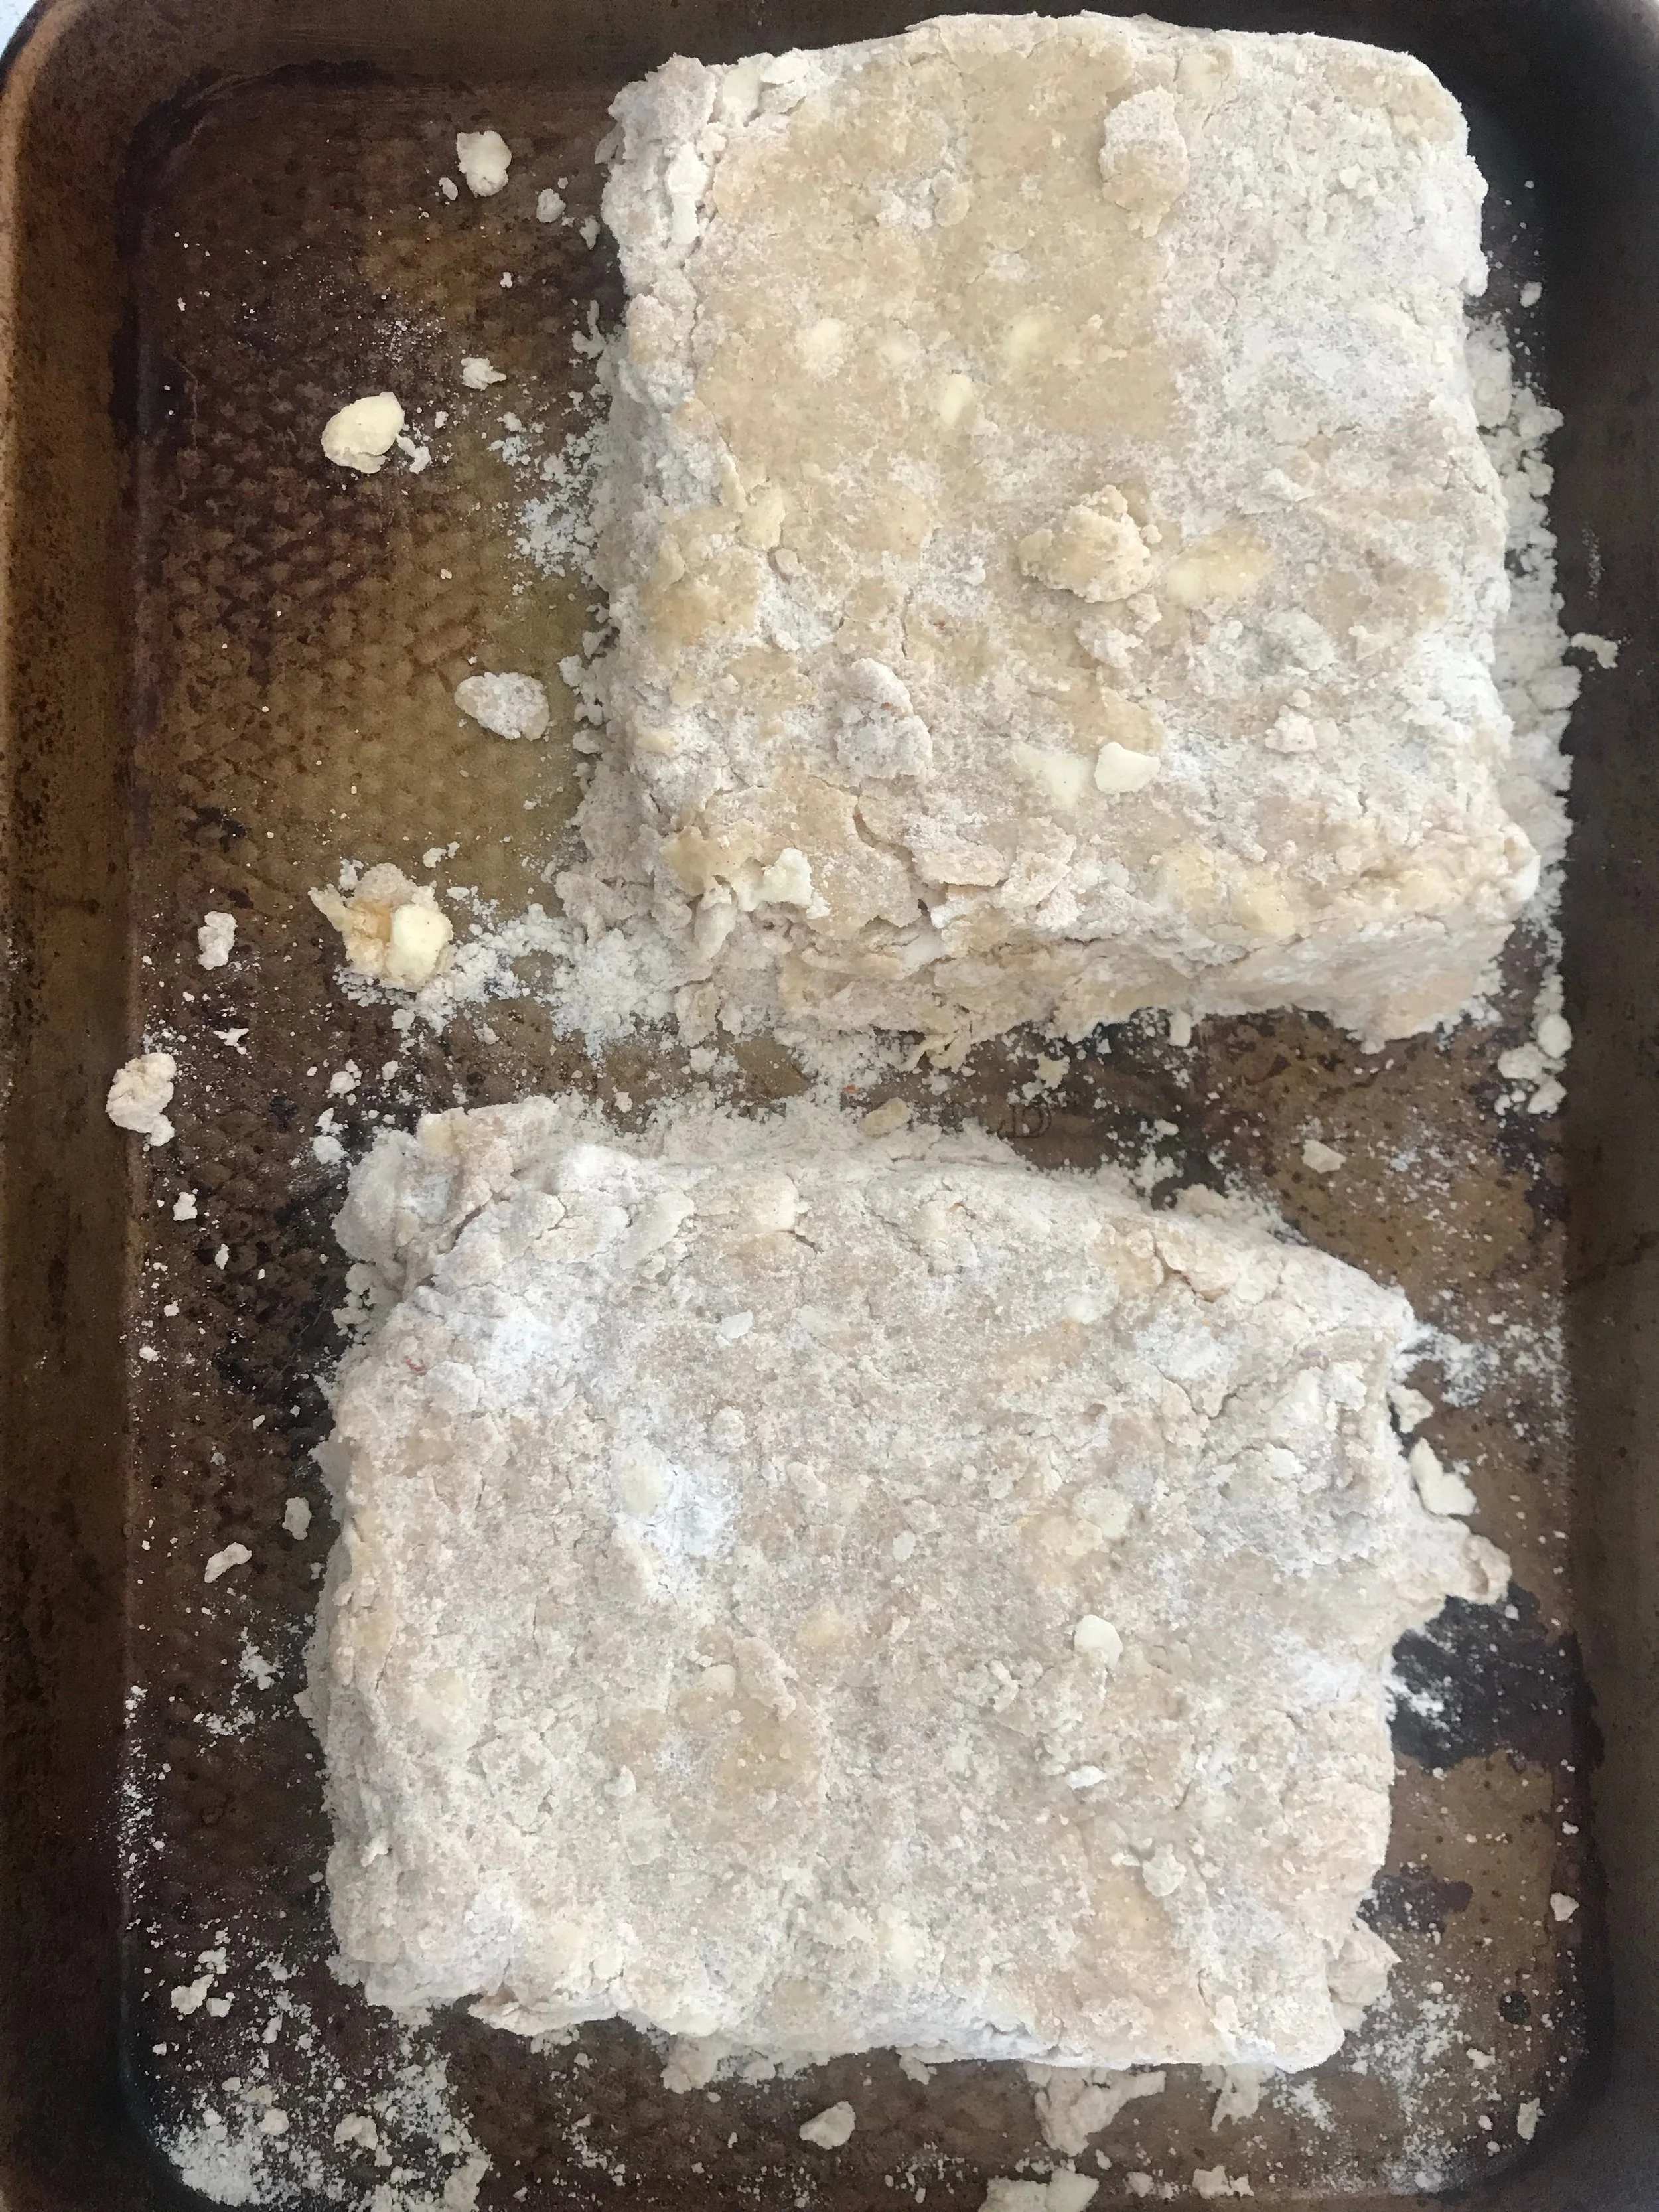
They may seem crumbly and fussy and frustrating but I promise you- THAT’S THE GOOD PART! The fact that these are falling apart before they even hit the oven is what makes them so so so tender and good. Feel free to swap out any kind’ve orange for the blood oranges in this recipe! You could even leave the citrus out altogether and turn these into plain cinnamon scones!

But omg. Please do yourself a favor and make these. They’re really simple, you can freeze the dough for up to a few months and have fresh hot scones ANY MORNING OF THE WEEK.

Get to it!

(As always you can watch the video tutorial over HERE on my IGTV!)

IMG_0694.jpeg

Blood Orange Scones
Makes 16

1 stick unsalted butter
zest of two blood oranges
2/3 c sugar
2 1/2 c + 2 TBSP flour
1 TBSP cornstarch
2 TBSP baking powder
1 tsp cinnamon
1/2 tsp salt
3/4 c heavy cream
1 egg

1 1/2 c powdered sugar
juice of 2-3 blood oranges

Cube the butter. Place in the freezer.

In a small bowl, zest the blood oranges over the sugar. Using your fingers, massage the zest into the sugar until everything is super fragrant and bright.

Combine the citrus sugar, flour, cornstarch, baking powder, cinnamon + salt in a large bowl, whisk to combine.

Take the cubed butter out of the freezer and using a pastry blender, fork or your hands, blend the butter into the flour mixture until the butter is the size of small peas and the mixture is pretty dry + crumbly.

Whisk the egg into the heavy cream then mix the egg/cream mixture into the flour/butter mixture GINGERLY. Be so so gentle and don’t over-mix or you won’t have flaky tender scones!

When the dough looks like it might want to start coming together, turn it out onto a lightly floured surface and form into a scraggly ball. Cut the ball into two pieces and kind’ve squish the dough together to form two separate 6” squares that are about 1” tall. Place the squares of dough on a baking sheet and place in the freezer for about an hour.

After an hour, preheat the oven to 400. Take the dough squares out of the freezer and cut each into four smaller squares, then cut each square into two triangles. (They might be falling apart at this point, fear not! just place the fallen parts of dough together to form a messy triangle on the parchment lined baking sheet to go into the oven and they’ll bake together! Some of these might look gnarly but they’ll taste SO SO good).

Place all of the triangles onto a parchment lined baking sheet and bake for 12-13 minutes, until the edges just start to turn golden brown.

While the scones are baking, combine the powdered sugar and orange juice and whisk until it’s a smooth, ‘pourable conditioner’ consistency.

Immediately glaze the scones when they come out of the oven.

Serve immediately or store in an airtight container for up to 4 days!

xo
Audrey


Carrot Cake Cinnamon Rolls by audrey gebhardt

I’m not here to tell you to eat your vegetables.

carrot cake cinnamon rolls

My strategy lately is more like, eat all of the sugar until your body absolutely cannot take it anymore and it’s actually craaaaaving green things.

Carrot Cake Cinnamon Rolls

So like, have a salad and the next morning throw some carrots in your cinnamon rolls and we’ll call it even, yeah?

I was really skeptical of carrot cake for a while, I promise you. And then I saw one that I just couldn’t resist with stripes of cream cheese frosting and I was quickly in love. I even choose carrot cake over chocolate things sometimes!

Carrot Cake Cinnamon Rolls

These cinnamon rolls are rich, creamy, and bursting with flavor having been stuffed with toasted pecans and brown sugar. For a yeast dough, this one is fairly simple and straightforward! Don’t be alarmed by the amount of ingredients and steps, just read the whole recipe through once and then take it one step at a time. That is allllll bread is. One step at a time.

The carrots in this recipe add a really nice texture to the dough, they almost melt into it and it feels like you’re eating funfetti cinnamon rolls!

_MG_7621.jpg

Carrot Cake Cinnamon Rolls
makes 2 dozen

for the dough:
2 cups whole milk
1/2 c unsalted butter (1 stick)
1/2 c sugar
1 packet yeast (2 1/4 tsp)
1 1/2 c grated carrots (about 3 medium)
1/2 tsp nutmeg
1/2 tsp freshly grated ginger
4 1/2 c all purpose flour, divided
1/2 tsp baking powder
1/2 tsp baking soda
1 tsp salt

for the filling:
1/2 c unsalted butter, melted
1 c brown sugar
2 tsp cinnamon
2 c pecans, chopped
1/2 c shredded coconut (optional)

for the cream cheese frosting:
4 oz cream cheese (or mascarpone! I used mascarpone! it’s so creamy!)
1.5 c powdered sugar
1 tsp vanilla extract
2 TBSP milk

For the dough:
-Combine the milk, butter and sugar in a large pot over medium heat. Bring just to a simmer and stir to dissolve sugar. Allow to cool to a temperature that feels like a hot shower you’d want to get into after a day in the snow (about 105 degrees). Sprinkle the yeast over the top and allow to sit for about three minutes.

-While the yeast mixture is setting, grate the carrots over a clean dishtowel that you don't care about at all. Squeeze the carrots out over a sink and squeal in delight at the vibrant orange color that carrot juice actually is. You’re drying the carrots out as much as possible here so the water content doesn’t mess with the dough.

-Pour the yeast/milk mixture into a large bowl. Stir in two cups of the flour, the nutmeg and the ginger until combined. Stir in another cup, and stir in a final cup of flour with the grated carrots until combined. Cover with a damp towel and allow to proof for about an hour in a draft free space. (you can put this in the oven with the oven turned off but the oven light turned on- the heat from the light creates a really great temperature for proofing!

-After an hour the dough should be doubled in size and smell yeasty. Stir in the final 1/2 cup flour along with the baking powder, baking soda and salt. Turn out onto a generously floured surface and knead slightly. You want this dough to be soft but not too sticky to roll out- add flour 1/4 cup at a time if it feels too sticky!

-Grease two 9” pans with butter or canola oil. Set aside.

-Divide dough into two equal rounds and then roll out into rectangles that are about 1/4” thick, about 10”x16”

-Melt the butter. Pour half of the butter mixture onto the first rolled out rectangle, brush the butter to evenly cover the surface leaving a 1/2” boundary around all edges. Sprinkle half of the brown sugar evenly across the surface, followed by half of the cinnamon and pecans and coconut, if using.

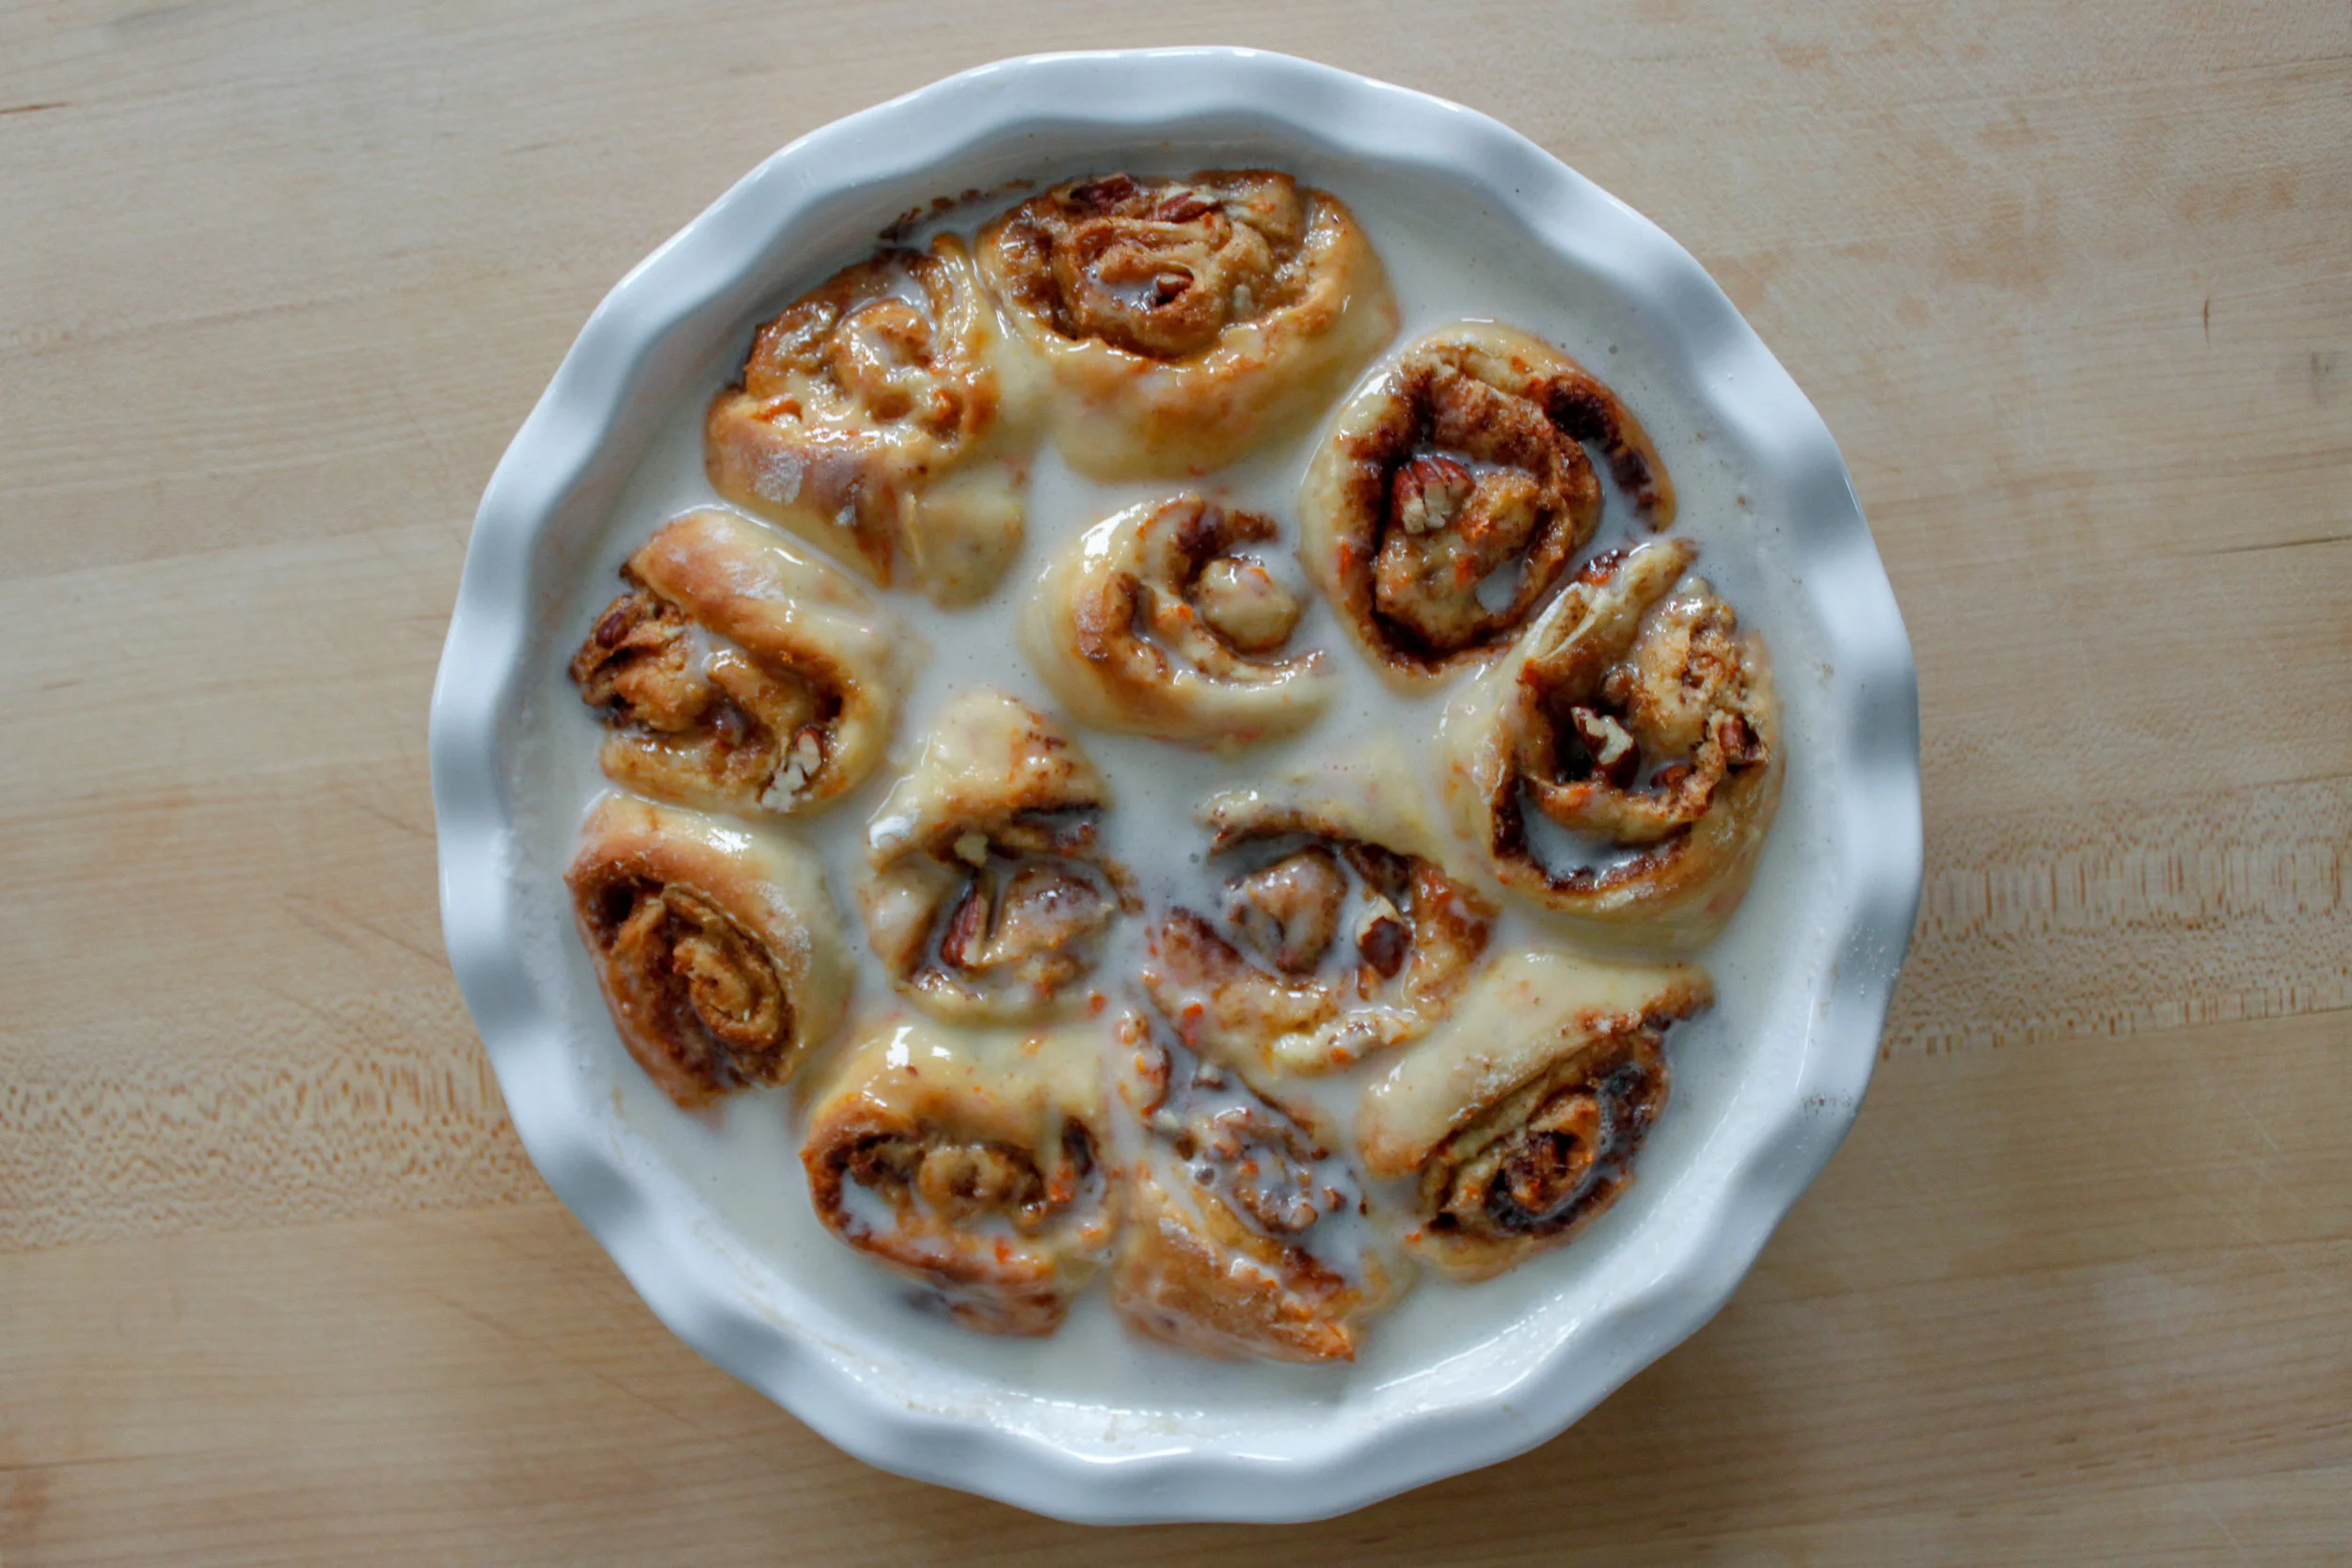
-Starting from the far edge, slowly roll the dough into a log (lengthwise). I like to use my fingers in a typewriter fashion here, moving from one end of the log to the other. Cut the log into 12 equal rolls using a bench scraper, then place in the pie dish cut side up. It’s okay if it’s not perfect! You’re covering it with icing later! And no one on this good earth has ever been mad about an ugly cinnamon roll once it goes in their face, I promise.

-Repeat with the other half of the dough, and allow both trays to sit on the stove for a second proof while you preheat the oven to 375.

-Bake for 20-22 minutes, until golden brown.

-While the rolls are baking, whisk together all the ingredients for the frosting until it’s pourable, adjusting the confectioners sugar and milk as needed to get it to your desired texture.

-Pour the frosting onto the rolls immediately after they come out of the oven- these are fantastic hot or at room temperature, we ate them for every meal for an entire day!!

YAY! YOU DID IT! NOW YOU GET TO EAT SOME BUNNNNNSSS TO CELEBRATE!

DF/GF Lavender Lemon Shortbread by audrey gebhardt

For real I promise you and whomever you serve this to will have no idea that it's both dairy and gluten free. 

spectacular.png

It's impossible to tell.

The first time I had shortbread was also the first time I had a proper massage. My lovely friend got me a gift card to the Lush Spa in Manhattan an oh my god was it magic. 

First, you walk through the Lush store filled with their signature third eye-opening scent. Then you walk up a cute little staircase to a GORGEOUS kitchen that feels like you're in the home of a faerie. Your massage therapist brings out a platter of lotion bars and lets you choose how you want to smell for the next three days. Then you are led into the themed rooms (I chose some nautical type of massage) where the music is set to your massage- the aromas transport you to dreamtime. I actually felt like I was on a boat somehow.

I did not expect to feel so completely stoned from a massage. The room was spinning, my legs were soooo heavy and I felt like I was a cloud. After you wipe your drool off the massage table they lead you back to the faerie kitchen and present you with loose-leaf tea and shortbread. I was so out of my mind that I actually put a few shortbread in my bag to go- I had never tasted something so melty and buttery and creamy that was solid?! I was confused. I felt great. 

lavender lemon shortbread

Shortly after my shortbread obsession began I also started that dairy-free life. I've been searching for a way to recreate the buttery melty delicious crumbly square for years and I finally stumbled upon it! 

This recipe uses creamed coconut, which you may also see as coconut manna or coconut butter. Same/same! The top of the jar generally has a layer of coconut oil on top, just push that aside and get to the good goods underneath for this recipe!

dairy gluten free lavender lemon shortbread

Dairy Free Gluten Free Lavender Lemon Shortbread

2/3 c sugar
zest 1/2 lemon
2 tsp food grade lavender
1 tsp vanilla extract
1 egg yolk
1/2 c refined coconut oil- room temperature
1/2 c coconut manna
1 3/4 c gluten free flour blend

1 tsp lavender
1 TBSP sugar, to top

Preheat your oven to 350 and find an 8" round cake pan or standard loaf pan.

Flavor the sugar- in a medium bowl, combine the sugar, lemon and lavender. Rub together with your fingers for about a minute until everything is fragrant and evenly distributed. 

Beat in the coconut oil and coconut manna, continue beating until light and fluffy. 

Beat in the egg yolk and vanilla extract.

Stir in the gluten free flour blend.

Press the dough into the pan, use the bottom of a measuring cup to make it even across the top then top with remaining sugar and lavender (I also used calendula petals just for pretties).

Bake at 350 for about 20 minutes, until the top just begins to turn brown.

Let cool completely in pan before removing to cut! 

Shortbread will keep in an airtight container for up to one week.

**If you would like to make these completely vegan, simply omit the egg. I actually prefer the texture without the egg BUT it's not a very practical cookie. They are way too crumbly (which makes for a really great mouthfeel) but they're nearly impossible to transport without the egg to bind them. I have yet to try it but I could see these being successful with a flax egg or even a bit of applesauce to hold them together! 

xo Audrey