Brunch

Chocolate Chip Cookie Oatmeal by audrey gebhardt

This warm cozy bowl of oats is the perfect way to round out your cold winter’s night. Full of fiber just sweet enough, I find myself stirring up a bowl of this nearly every night these days.

RECIPE (serves 1):

1/2 c old fashioned oats
1 c milk of choice (I prefer this unsweetened almond)
1/2 tsp salt
1 1/2 tsp brown sugar
1 tsp butter
2 TBSP chocolate chips (I always use these dark ones)

Bring the oats and milk to a boil over medium heat on the stove. Reduce heat to medium low, and stir constantly until thickened to your desired texture (2-4 minutes for me!). Stir in salt, brown sugar, butter and then drop your chips on top to allow them to melt a little before stirring in. (This can be made without the butter to be completely dairy free)

Best enjoyed right away.

The Best Crumb Cake of All Time by audrey gebhardt

If you’re ever wondering how to do very well in high school without carrying any books ever, this crumb cake is the answer. Well, this and chocolate chip cookies.

This recipe comes together in under an hour, doesn’t require any fancy tools or equipment, and is perfect for a weekend breakfast when you’re craving something sweet and only have a few ingredients around.

This is straight up Martha Stewart’s recipe, I haven’t changed one single thing because not one single thing needs changing. However- I have made this in many different ovens and sometimes it bakes for 20 minutes and it’s done and sometimes it needs 30 minutes, so just keep an eye on it after 20 and poke it with a toothpick every so often until comes out mostly clean with a few moist crumbs attached.

Take note that while this cake is DELICIOUS straight out of the oven, it’s most authentically eaten at room temperature, when the crumbs have had a chance to cool and congeal. This is one of the only times that we’re happy about things congealing and not grossed out by it. Once this cake is cool, the crumbs will have that beautiful melt-in-your-mouth texture. This cake keeps really well for up to a week stored in an airtight container!

Perfect Crumb Cake

Perfect Crumb Cake
Recipe from Martha

1 1/2 c flour
1/2 c sugar
2 1/2 tsp baking powder
1/2 tsp salt
1 egg
1/2 c milk
2 TBSP canola/veg oil
2 tsp vanilla

1 c light brown sugar
2 1/2 c flour
1 1/2 tsp cinnamon
2 sticks unsalted butter, melted and cooled

1/2 c confectioners sugar

Preheat the oven to 325.

Grease and flour a 9x13” cake pan.

In a medium bowl, whisk together the 1 1/2 c flour, sugar, baking powder and salt. In a separate bowl, whisk together the egg, milk, oil and vanilla. Add the dry ingredients to the wet and stir until combined. Spread into the 9x13” pan and set aside.

In the bowl you used the dry ingredients for, stir together the light brown sugar, remaining flour and cinnamon. Stir in the butter until combined and using your hands, break crumbs of the mixture off and cover the entire cake with crumbs. Bake for 20-30 minutes until a toothpick inserted in the center comes out clean.

When the cake has cooled slightly, dust the top with confectioners sugar.

xo,
Audrey


Ballin' on a Budget: Blood Orange Scones by audrey gebhardt

Friends, the time for too much pink food is right now. Blood oranges are making their way out of our lives for another ten months so LISTEN UP.

Blood Orange Scones

These Blood Orange Scones are seriously the best.scones.ever. I swear it. I’ve never tasted a better scone and I don’t expect to anytime soon.

They may seem crumbly and fussy and frustrating but I promise you- THAT’S THE GOOD PART! The fact that these are falling apart before they even hit the oven is what makes them so so so tender and good. Feel free to swap out any kind’ve orange for the blood oranges in this recipe! You could even leave the citrus out altogether and turn these into plain cinnamon scones!

But omg. Please do yourself a favor and make these. They’re really simple, you can freeze the dough for up to a few months and have fresh hot scones ANY MORNING OF THE WEEK.

Get to it!

(As always you can watch the video tutorial over HERE on my IGTV!)

IMG_0694.jpeg

Blood Orange Scones
Makes 16

1 stick unsalted butter
zest of two blood oranges
2/3 c sugar
2 1/2 c + 2 TBSP flour
1 TBSP cornstarch
2 TBSP baking powder
1 tsp cinnamon
1/2 tsp salt
3/4 c heavy cream
1 egg

1 1/2 c powdered sugar
juice of 2-3 blood oranges

Cube the butter. Place in the freezer.

In a small bowl, zest the blood oranges over the sugar. Using your fingers, massage the zest into the sugar until everything is super fragrant and bright.

Combine the citrus sugar, flour, cornstarch, baking powder, cinnamon + salt in a large bowl, whisk to combine.

Take the cubed butter out of the freezer and using a pastry blender, fork or your hands, blend the butter into the flour mixture until the butter is the size of small peas and the mixture is pretty dry + crumbly.

Whisk the egg into the heavy cream then mix the egg/cream mixture into the flour/butter mixture GINGERLY. Be so so gentle and don’t over-mix or you won’t have flaky tender scones!

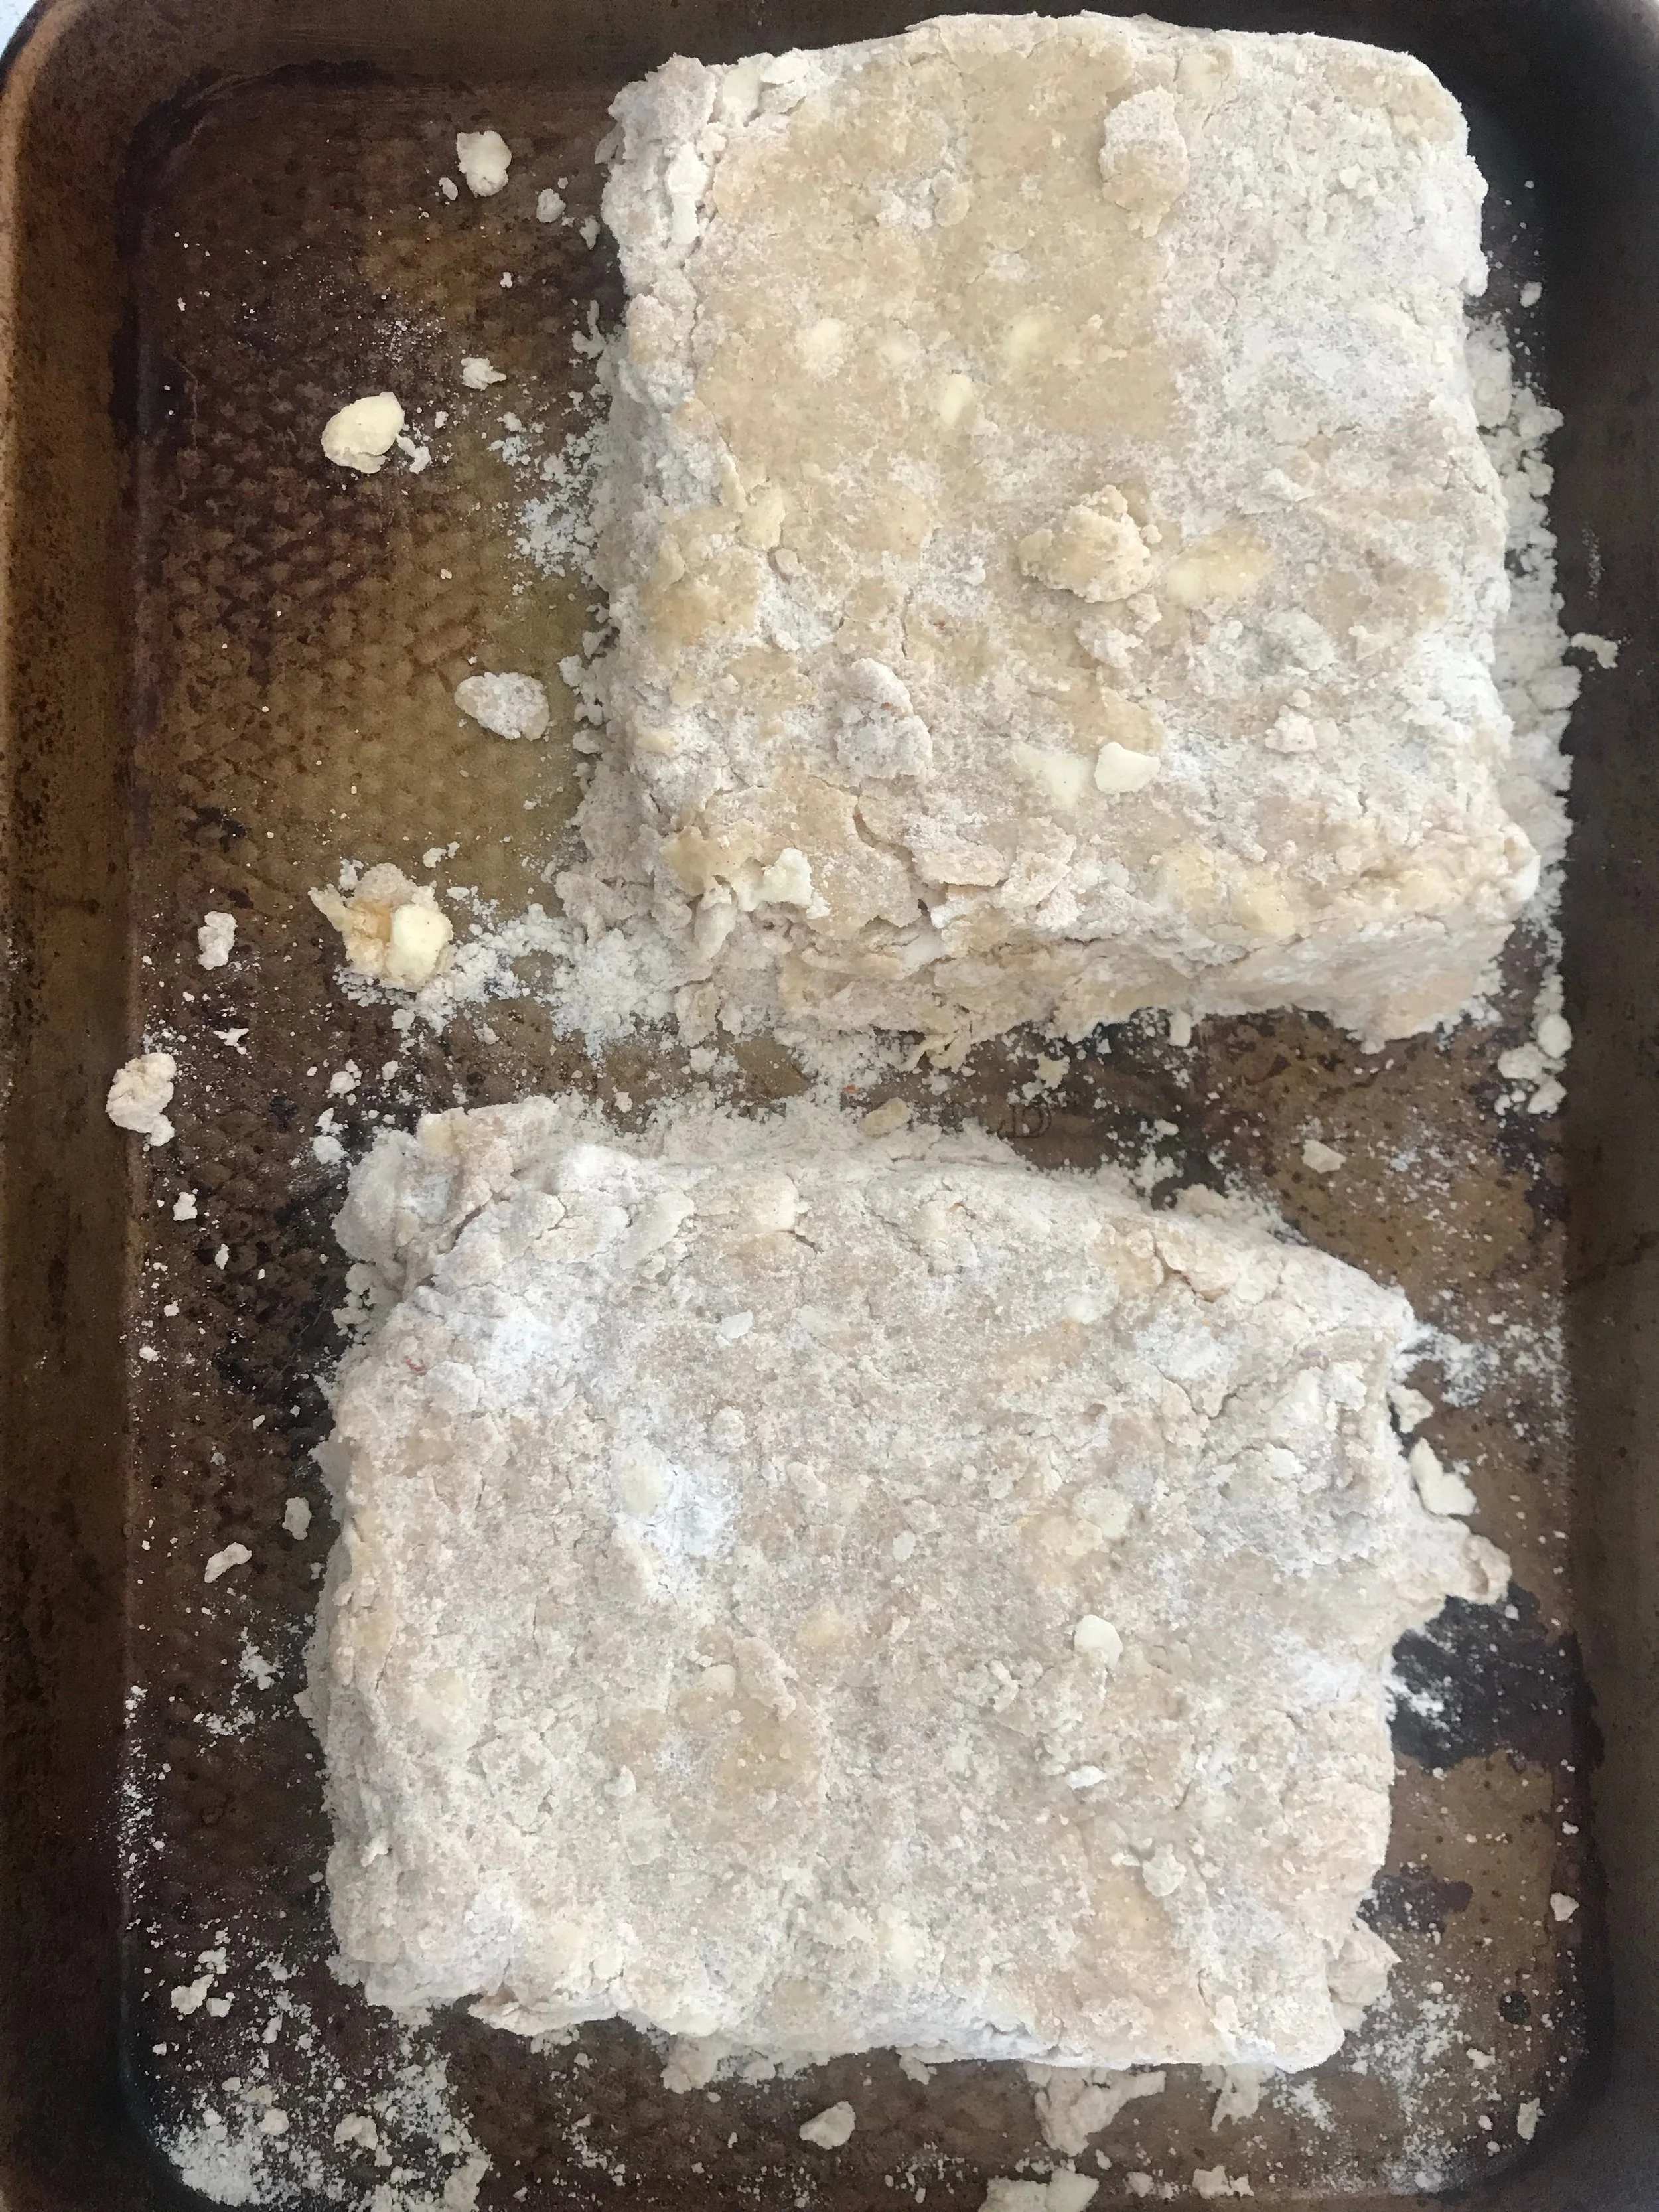
When the dough looks like it might want to start coming together, turn it out onto a lightly floured surface and form into a scraggly ball. Cut the ball into two pieces and kind’ve squish the dough together to form two separate 6” squares that are about 1” tall. Place the squares of dough on a baking sheet and place in the freezer for about an hour.

After an hour, preheat the oven to 400. Take the dough squares out of the freezer and cut each into four smaller squares, then cut each square into two triangles. (They might be falling apart at this point, fear not! just place the fallen parts of dough together to form a messy triangle on the parchment lined baking sheet to go into the oven and they’ll bake together! Some of these might look gnarly but they’ll taste SO SO good).

Place all of the triangles onto a parchment lined baking sheet and bake for 12-13 minutes, until the edges just start to turn golden brown.

While the scones are baking, combine the powdered sugar and orange juice and whisk until it’s a smooth, ‘pourable conditioner’ consistency.

Immediately glaze the scones when they come out of the oven.

Serve immediately or store in an airtight container for up to 4 days!

xo
Audrey


Ballin' on a Budget: Tortilla Espanola by audrey gebhardt

Eggs are something that never held any appeal for me. They were always too ‘wiggly’ and I had no interest in them.

And then I had Tortilla Espanola.

Tortilla Española

I was on a yoga retreat in Spain, staying at the house of an incredible chef who would cook us these grand brunches every single day. One of those days he was serving Tortilla Espanola, and I had no idea what it was but I was intrigued. It looked like a frittata made of mostly potatoes and a little bit of egg to hold it together and you put a potato in front of me, I’ll eat it.

So I took the tiniest sliver possible. 1/2 inch of tortilla slice. And then another one. And another. I was obsessed.

About a year went by and I had no idea what this thing was, I didn’t know how to research it, I didn’t know what to call it. All I knew was it was a giant round omelette filled with potatoes and I looooved it.

This past fall, I was reminiscing about my trip to Spain with my new boyfriend who had spent a good amount of time there and loves loves loves the food culture there. I was like, '“Did you ever have that thing that’s like an omelette but not really and it’s all potatoes and it’s so good?” He immediately knew what I was talking about and made it for me that night.

That was it for me folks. Hook. Line. Sinker.

Tortilla has become a staple in our diets these past few months, it’s delicious, simple, can be made ahead of time, takes three ingredients, and best of all we get to put ketchup on it.

Tortilla is the thing that got this picky girl to even eat omelettes that don’t have potatoes in them- I’ll even eat plain old eggs now if they’re cooked just right!

You can add a few slices of onion in when you’re cooking the potatoes but I love it just how it is.

Personally, I can’t get enough of Vital Farms eggs (this is not an add, I just taste the difference in pasture raised and you can even see it- the yolks are a completely different color). It’s worth paying the $5-6/dozen. The recipe will still be under $10 for a tortilla that will feed at least three maybe four.

Tortilla Española

Tortilla Española
(makes one 9” tortilla)

6 eggs
1 lb Yukon Gold Potatoes (about 3 small-medium)
1/4 c olive oil
salt & pepper to taste

Start by slicing the potatoes (longways, you want the slices to be long so they stack better) a little less than 1/4 in thick. If you have a mandolin, even better! You don’t have to peel the potatoes as long as they’re cleaned well.

In a 9” NONSTICK saucepan, heat the olive oil over medium heat for about two minutes. Drop the potatoes in all at the same time, season with salt and pepper and let them cook over medium heat for about 20 minutes, flipping the potatoes every 3-5 minutes or so until they’re just about cooked through. You don’t want the potatoes to brown, you just want them to be a little bit tender.

Crack the eggs into a separate bowl and beat the heck out of them for about a minute before pouring the eggs over the potatoes in the pan. Lower the heat to low and allow to cook, uncovered, for about ten minutes until the eggs begin to set. If you’d like, you can run a rubber spatula around the edges of the pan to make sure the eggs aren’t sticking.

Once the eggs are about set in the middle, flip the whole tortilla onto a plate, (do this over the sink just in case!!) slide it back into the pan, cooked side up, and cook over low flame for another 5 minutes or so until the bottom is set well.

Serve hot, at room temperature, or even cold straight out of the fridge the next morning!

xo
Audrey

Carrot Cake Cinnamon Rolls by audrey gebhardt

I’m not here to tell you to eat your vegetables.

carrot cake cinnamon rolls

My strategy lately is more like, eat all of the sugar until your body absolutely cannot take it anymore and it’s actually craaaaaving green things.

Carrot Cake Cinnamon Rolls

So like, have a salad and the next morning throw some carrots in your cinnamon rolls and we’ll call it even, yeah?

I was really skeptical of carrot cake for a while, I promise you. And then I saw one that I just couldn’t resist with stripes of cream cheese frosting and I was quickly in love. I even choose carrot cake over chocolate things sometimes!

Carrot Cake Cinnamon Rolls

These cinnamon rolls are rich, creamy, and bursting with flavor having been stuffed with toasted pecans and brown sugar. For a yeast dough, this one is fairly simple and straightforward! Don’t be alarmed by the amount of ingredients and steps, just read the whole recipe through once and then take it one step at a time. That is allllll bread is. One step at a time.

The carrots in this recipe add a really nice texture to the dough, they almost melt into it and it feels like you’re eating funfetti cinnamon rolls!

_MG_7621.jpg

Carrot Cake Cinnamon Rolls
makes 2 dozen

for the dough:
2 cups whole milk
1/2 c unsalted butter (1 stick)
1/2 c sugar
1 packet yeast (2 1/4 tsp)
1 1/2 c grated carrots (about 3 medium)
1/2 tsp nutmeg
1/2 tsp freshly grated ginger
4 1/2 c all purpose flour, divided
1/2 tsp baking powder
1/2 tsp baking soda
1 tsp salt

for the filling:
1/2 c unsalted butter, melted
1 c brown sugar
2 tsp cinnamon
2 c pecans, chopped
1/2 c shredded coconut (optional)

for the cream cheese frosting:
4 oz cream cheese (or mascarpone! I used mascarpone! it’s so creamy!)
1.5 c powdered sugar
1 tsp vanilla extract
2 TBSP milk

For the dough:
-Combine the milk, butter and sugar in a large pot over medium heat. Bring just to a simmer and stir to dissolve sugar. Allow to cool to a temperature that feels like a hot shower you’d want to get into after a day in the snow (about 105 degrees). Sprinkle the yeast over the top and allow to sit for about three minutes.

-While the yeast mixture is setting, grate the carrots over a clean dishtowel that you don't care about at all. Squeeze the carrots out over a sink and squeal in delight at the vibrant orange color that carrot juice actually is. You’re drying the carrots out as much as possible here so the water content doesn’t mess with the dough.

-Pour the yeast/milk mixture into a large bowl. Stir in two cups of the flour, the nutmeg and the ginger until combined. Stir in another cup, and stir in a final cup of flour with the grated carrots until combined. Cover with a damp towel and allow to proof for about an hour in a draft free space. (you can put this in the oven with the oven turned off but the oven light turned on- the heat from the light creates a really great temperature for proofing!

-After an hour the dough should be doubled in size and smell yeasty. Stir in the final 1/2 cup flour along with the baking powder, baking soda and salt. Turn out onto a generously floured surface and knead slightly. You want this dough to be soft but not too sticky to roll out- add flour 1/4 cup at a time if it feels too sticky!

-Grease two 9” pans with butter or canola oil. Set aside.

-Divide dough into two equal rounds and then roll out into rectangles that are about 1/4” thick, about 10”x16”

-Melt the butter. Pour half of the butter mixture onto the first rolled out rectangle, brush the butter to evenly cover the surface leaving a 1/2” boundary around all edges. Sprinkle half of the brown sugar evenly across the surface, followed by half of the cinnamon and pecans and coconut, if using.

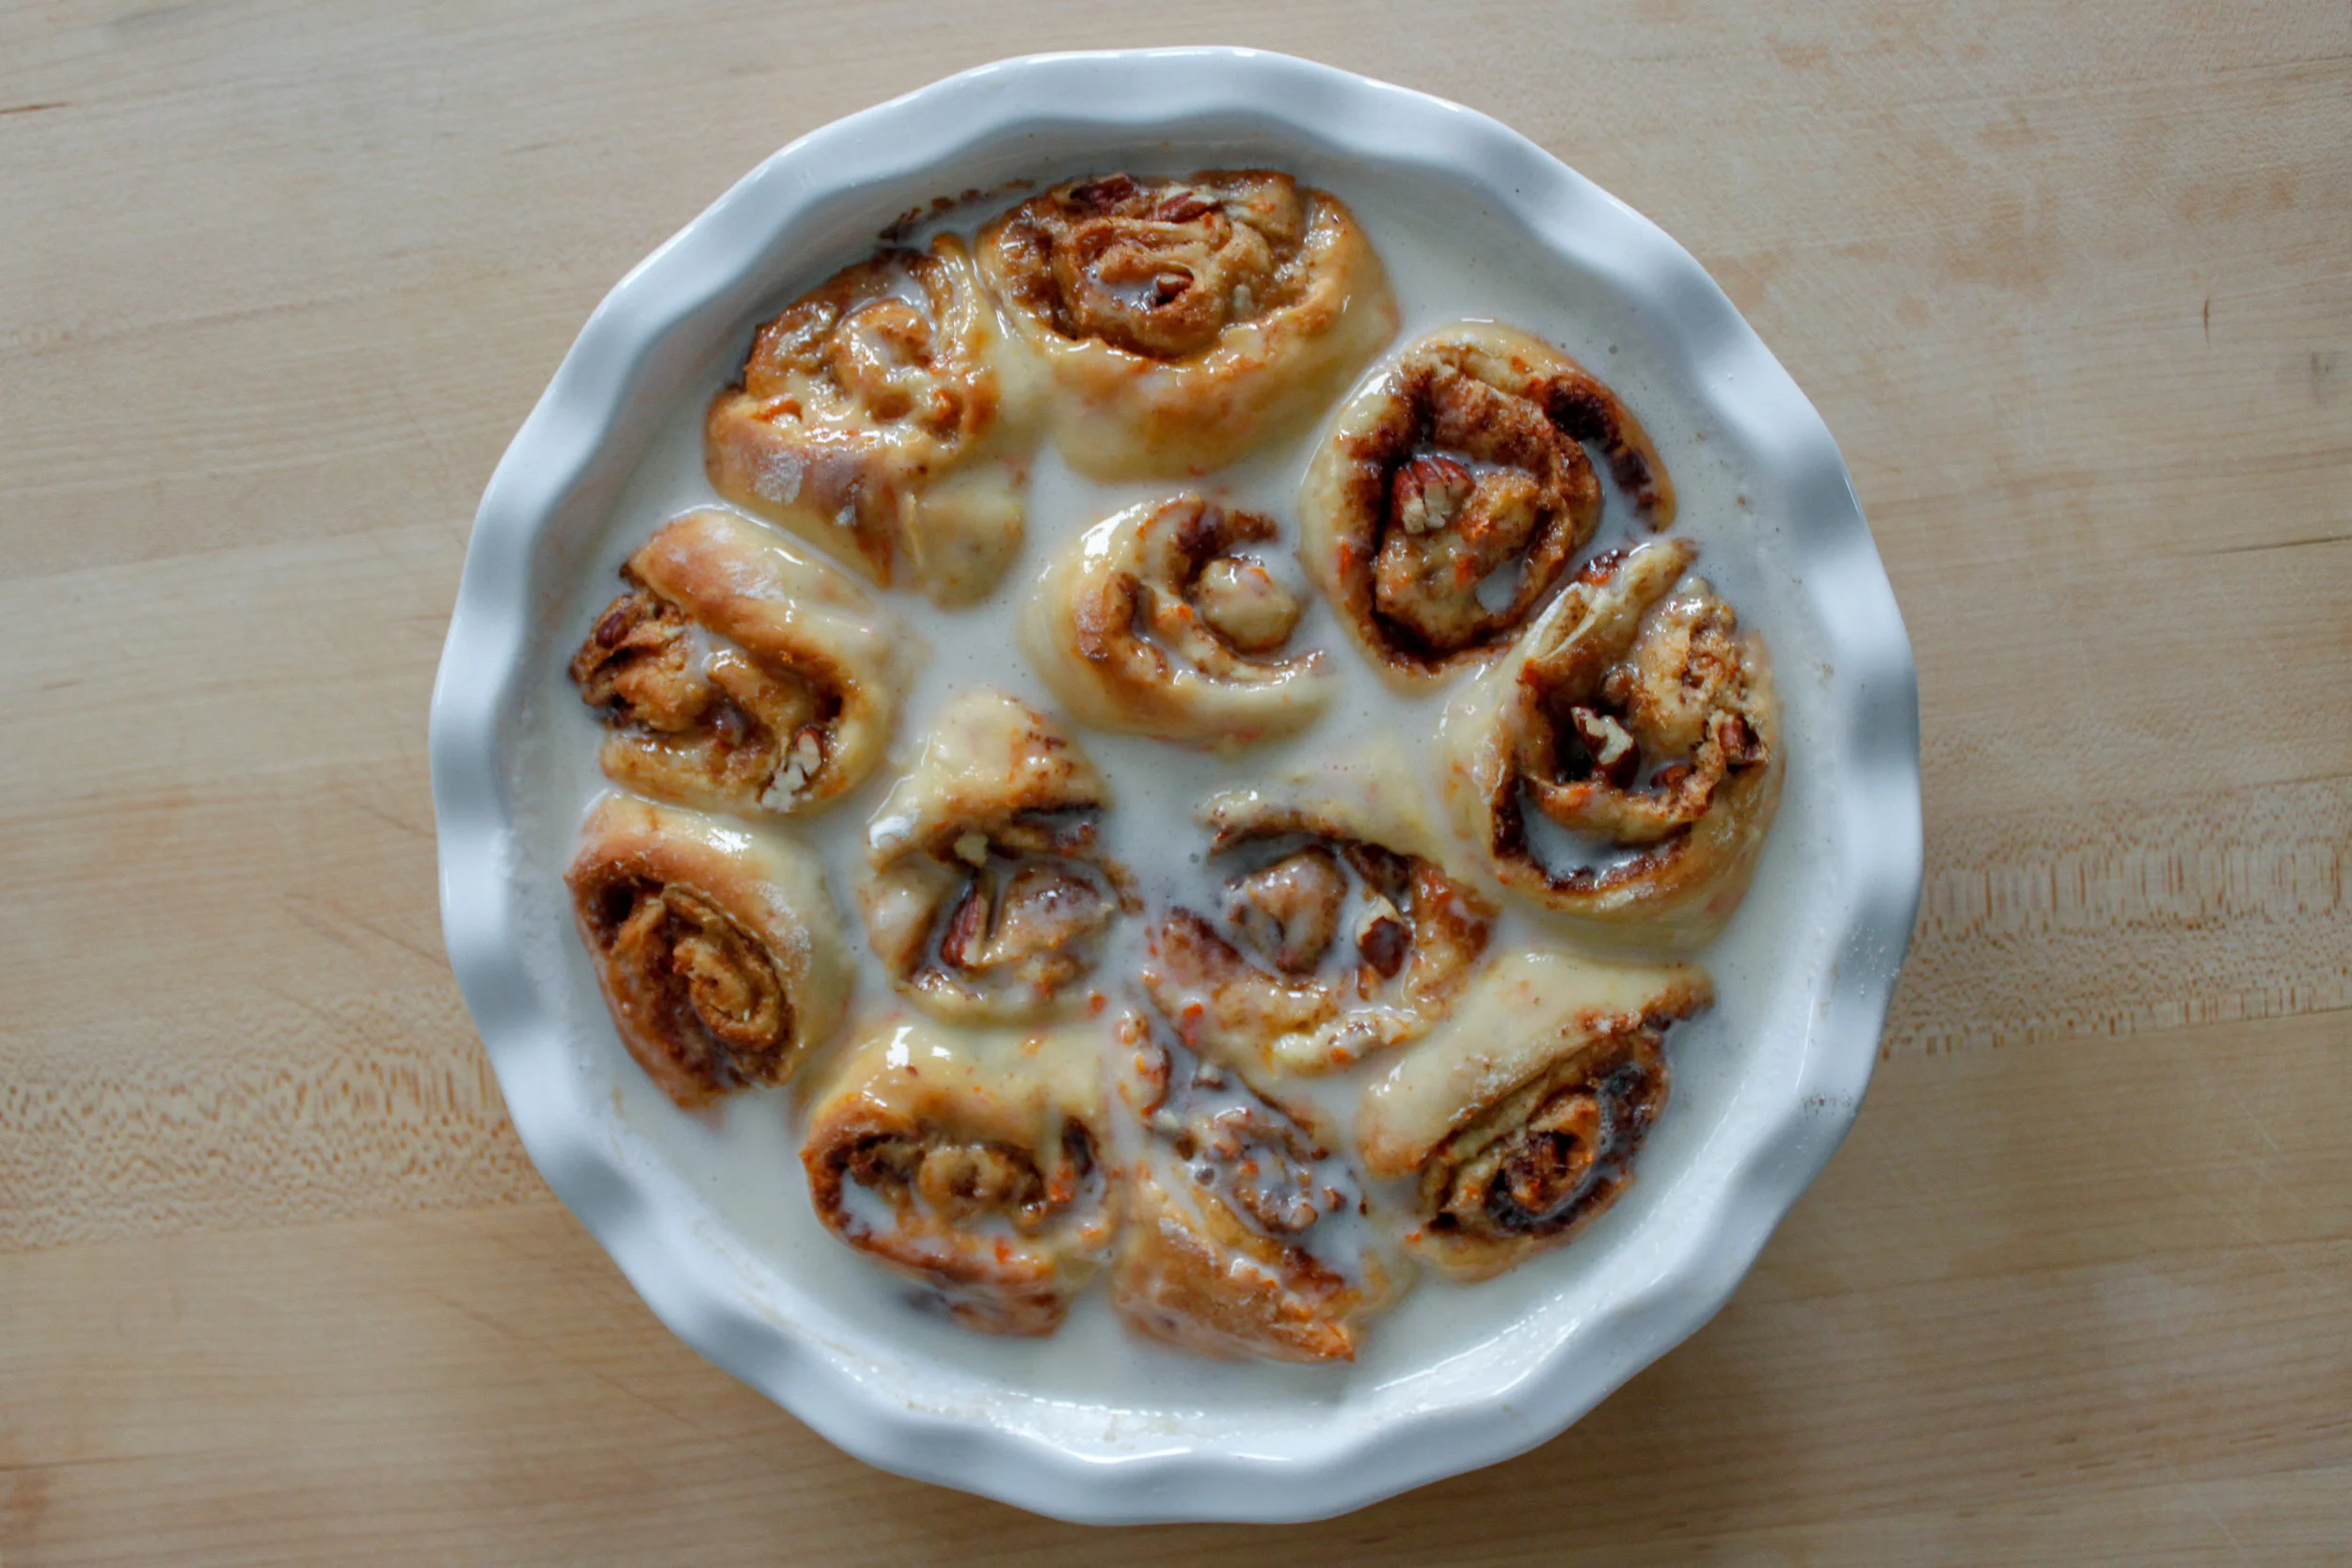
-Starting from the far edge, slowly roll the dough into a log (lengthwise). I like to use my fingers in a typewriter fashion here, moving from one end of the log to the other. Cut the log into 12 equal rolls using a bench scraper, then place in the pie dish cut side up. It’s okay if it’s not perfect! You’re covering it with icing later! And no one on this good earth has ever been mad about an ugly cinnamon roll once it goes in their face, I promise.

-Repeat with the other half of the dough, and allow both trays to sit on the stove for a second proof while you preheat the oven to 375.

-Bake for 20-22 minutes, until golden brown.

-While the rolls are baking, whisk together all the ingredients for the frosting until it’s pourable, adjusting the confectioners sugar and milk as needed to get it to your desired texture.

-Pour the frosting onto the rolls immediately after they come out of the oven- these are fantastic hot or at room temperature, we ate them for every meal for an entire day!!

YAY! YOU DID IT! NOW YOU GET TO EAT SOME BUNNNNNSSS TO CELEBRATE!

Sweet Potato Waffles (V + GF) by audrey gebhardt

Two of my Christmas gifts from the year 2000 have proven to be timeless so far.

Vegan + Gluten Free Sweet Potato Waffles

My bike (I'm still riding a kid-sized 21 speed Raleigh and I LOVE it), and my Grinch Waffle Iron.

This waffle iron made our house the sleepover house. That, and my mom was the sleepover queen. We could stay up as late as we wanted as long as we were dancing with her. She would let us use air mattresses as slides, she would have a craft ready for us to do, she made the comfiest beds on couches to sleep on and in the morning- she always made grinch waffles. 

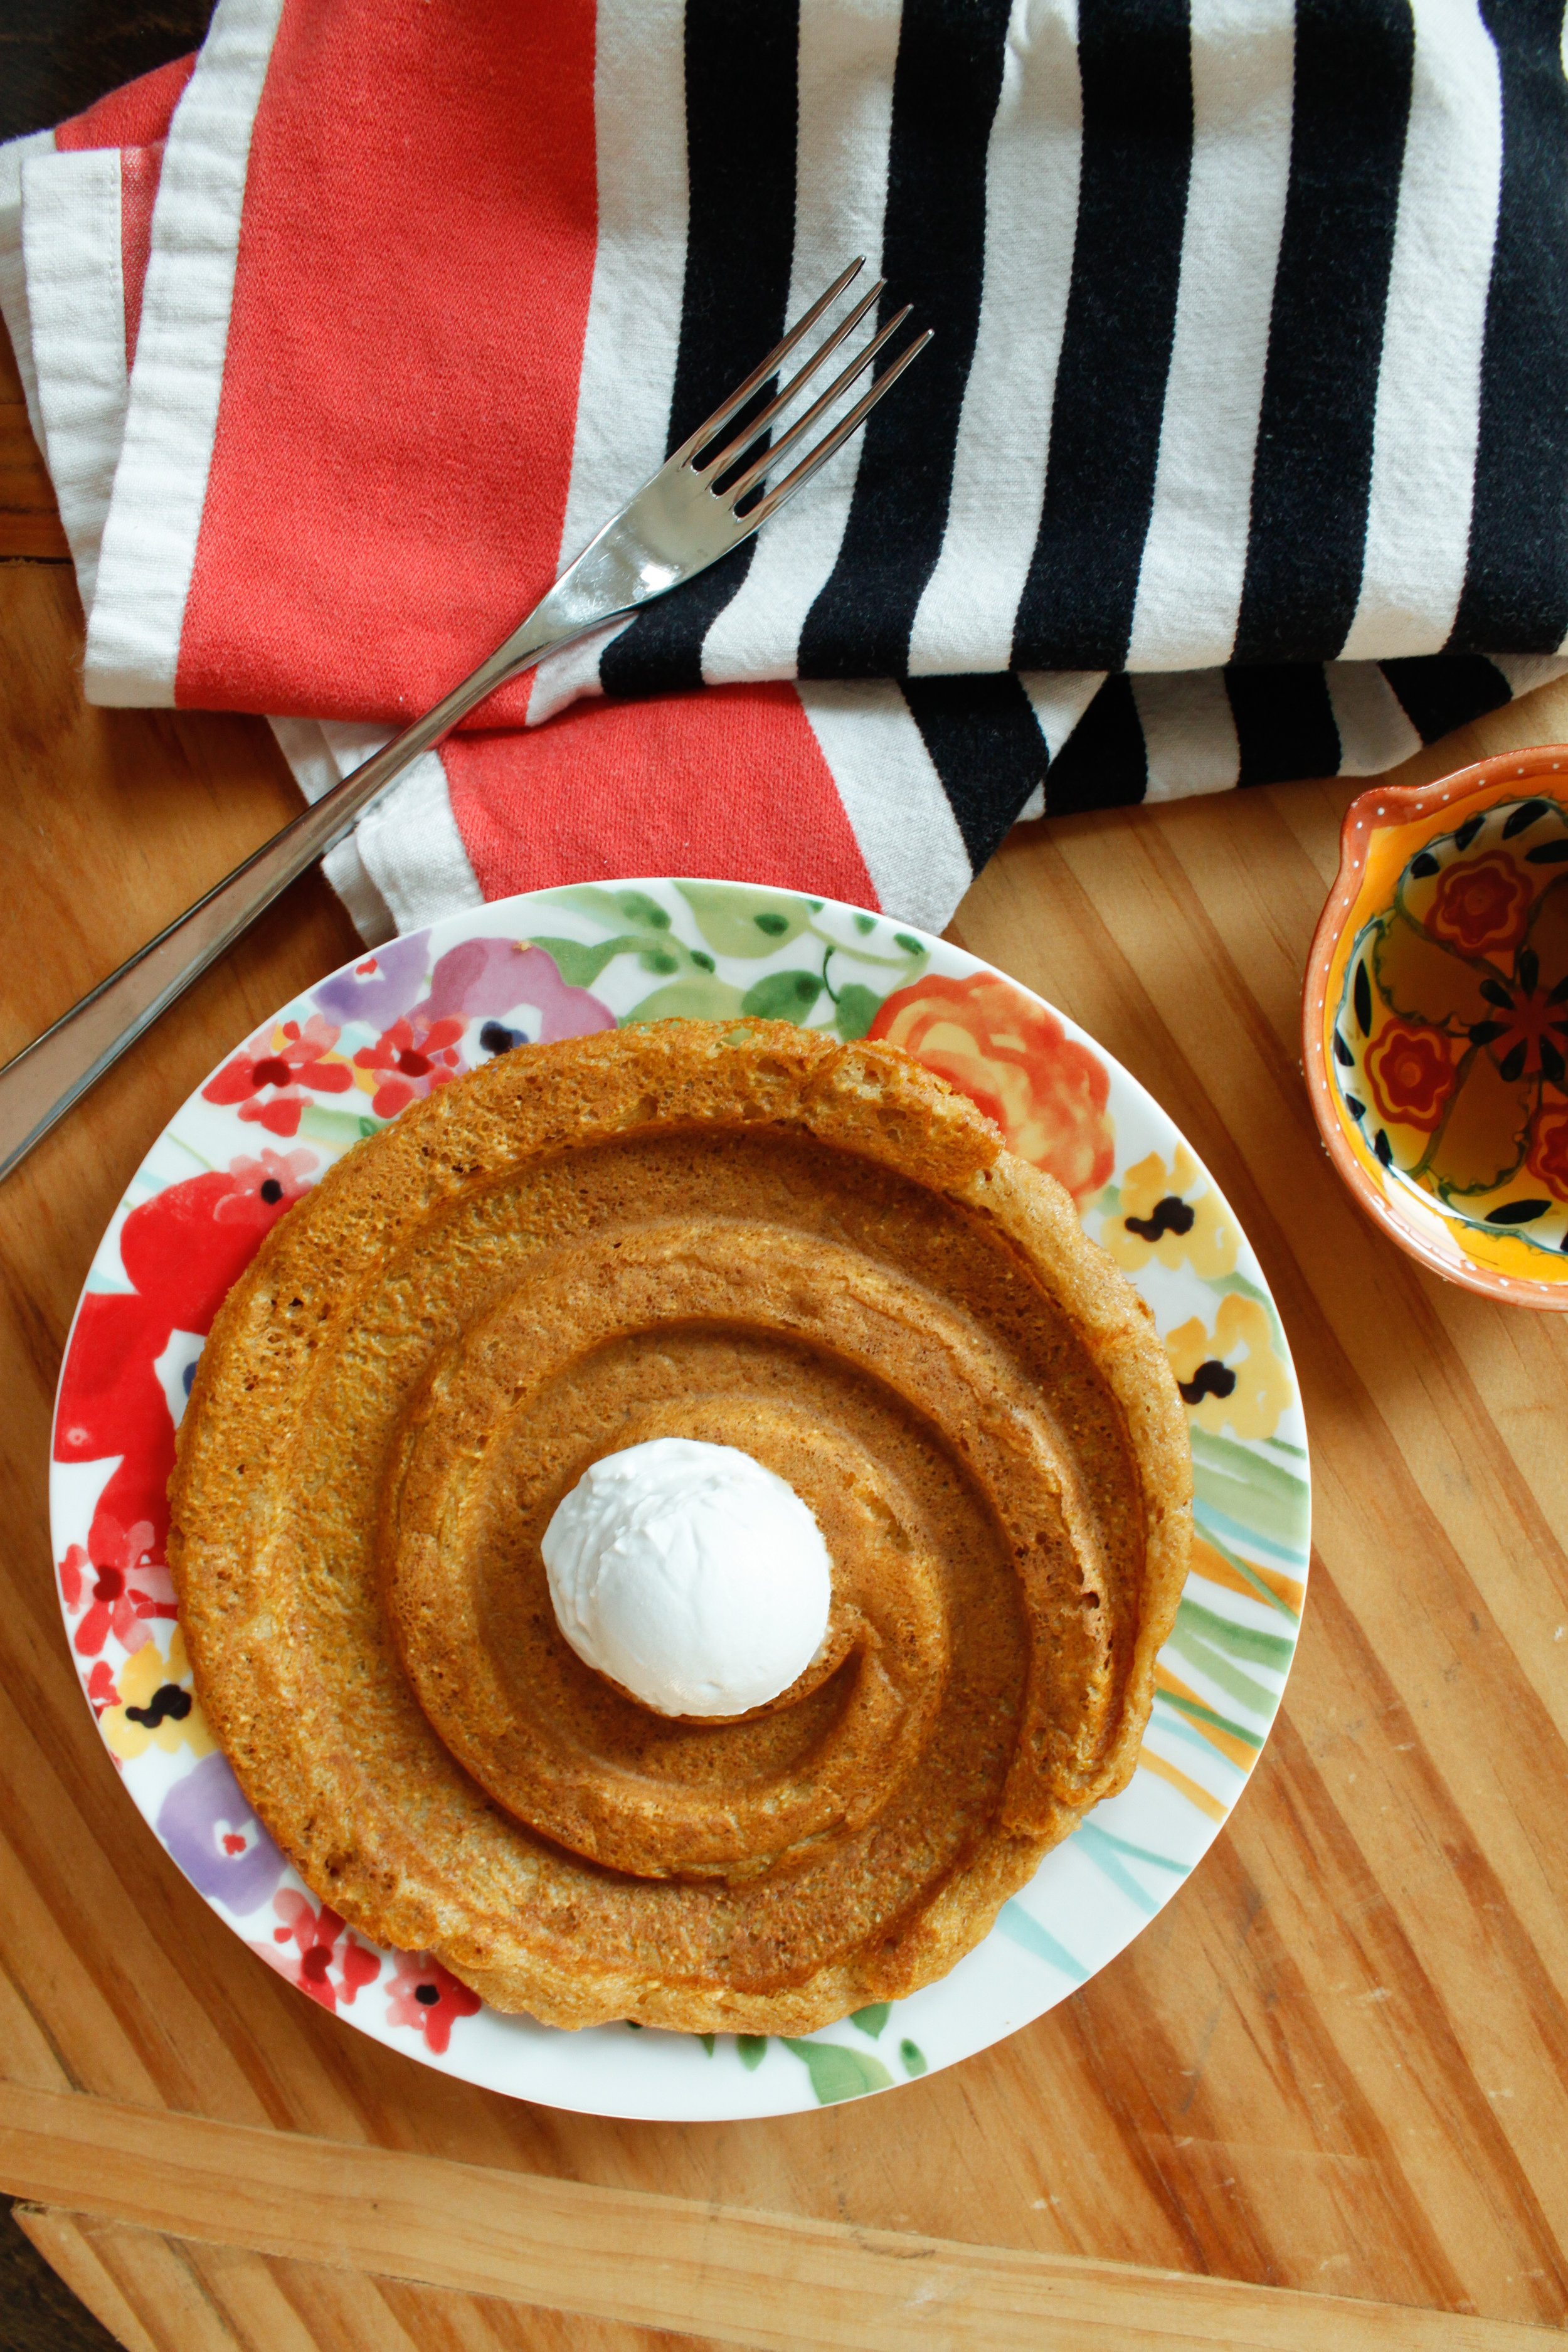
Much more exciting than your standard belgian waffle, grinch waffles were a topic of discussion. The swirls that the syrup could swim through- the perfect circle in the middle for a pool of butter or whipped cream.

Vegan + Gluten Free Sweet Potato Waffles

My mom was also the cool aunt. The one who let my little cousins and I eat whipped cream straight from the can at 8am. 

My mom didn't have lots of rules, she mostly just did whatever she could to make sure everyone around her was having the most fun at all times. 

Vegan + Gluten Free Waffles

Sweet Potato Waffles (Vegan + Gluten Free)
makes 4

1 c cooked sweet potato
1 c oats
1 flax egg (1 Tbsp ground Flax seed + 3 Tbsp water, let sit for five minutes)
1/2 c almond milk
1 Tbsp maple syrup
1 tsp baking powder
1/2 tsp baking soda
1/2 tsp cinnamon
1/2 tsp vanilla

cooking spray, for waffle iron.

coconut cream (the top part of refrigerated coconut milk), for serving

In a blender, combine all ingredients and blend until smooth. Add more almond milk a tablespoon at a time if it doesn't seem like it will pour smoothly until it's pourable.

Heat the waffle iron and spray with cooking spray.

Pour about 1/3 cup of batter  into the iron and cook for 3-4 minutes, until golden brown.

Serve with a dollop of coconut cream (which you make by refrigerating a can of coconut milk and scooping off the thick creamy white part from the top) and maple syrup. I serve it like this for the nostalgia of when you get a waffle at a diner served with an ice cream scoop full of butter. 

This batter can be refrigerated for up to 2 days! Add a bit more milk to thin out before using.

xo
Audrey

Cheddar Grits with Roasted Baby Broccoli by audrey gebhardt

One of the greatest compliments I've ever gotten was from a coworker who grew up in Alabama. 

Cheddar Grits with Roasted Broccoli GLUTEN FREE

She said to me, 'you're the closest I've found to a Southern Belle outside of the south.'

I have been trying to live up to that title for about five years now, wearing the fullest skirts whenever possible, drinking everything out of fancy glasses, never arriving to somebody's home without full arms, and eating grits for breakfast perhaps a little too often.

The first time I had grits was in Charleston, on a trip dripping with mystery and charm. Since then I've realized that cheesy grits are basically the next best thing to mac n' cheese when you're gluten free! Not only do I love the flavor of roasted broccoli with cheddar, I also feel much better about eating a bowl of cheesy carbs when there's something green in the mix. 

This recipe comes together in a half an hour and though I find it to be a perfect cozy breakfast, it's also a great side dish!

Cheddar Grits with Roasted Broccoli GLUTEN FREE

Cheddar Grits with Roasted Baby Broccoli
makes two hearty servings, four sides

1 1/2 cups vegetable stock
1/4 tsp salt
1 TBSP butter
1/2 c stone ground grits (I got mine at Trader Joe's)
1/2 c milk
4 oz mild cheddar cheese, grated
1/2 tsp black pepper

1 bunch broccolini
2 TBSP olive oil
pinch salt
pinch pepper

Preheat the oven to 425 and trip the ends off of the baby broccoli.

Toss the baby broccoli in olive oil, salt and pepper and place on a baking sheet in the preheated oven.

While the broccoli is roasting, prepare the grits. Bring the vegetable stock, salt and butter to a boil. Stir in the grits and bring the temperature all the way down to the lowest temperature possible (low and slow is the secret to creamy grits!) so it's just gently simmering. Stir quite often for about 15 minutes, until most of the liquid is absorbed. Stir in the milk and cook for about ten minutes more before stirring in the cheddar and black pepper to serve. 

Remove the broccoli from the oven when it's crisped and the flowerheads are just browned. Serve over grits in delight.

xo
Audrey

Heirloom Tomato Tart with Sunflower Pesto (V) by audrey gebhardt

Do you know how many grown adult men in this country don't eat raw tomatoes? 

Heirloom Tomato Tart

They will eat all of the pizza, endless bolognese, put raw eggs in their smoothies, drink the broth of another animal's bones, spit their phlegm across three lanes of traffic and still push the tomatoes from their salad off to the side. 

I don't entirely blame them though, you know why? 

Vegan Tomato Tart

They're being served something entirely unlike what a tomato should taste like. 

A tomato should taste like the sun, exploding in your mouth. Warm and soft and delicate and bursting with bright flavor. 

Vegan Heirloom Tomato Tart

The tomatoes we see in our grocery stores are often much closer to their plastic play kitchen friends than they are like the real deal juice-dripping-down-your-chin sweet-as-candy still have a bit of dirt on them tomatoes we should be eating. 

If there's a man in your life that you've been trying to get to eat tomatoes for years, now is the time. Mid August-early September is when they are prime and ripe and perfect. Run-don't walk to the farmers market because in a blink they'll be gone. Heirlooms are best, give them a gentle squeeze and if it gives a little you're in business. If The Man needs further coaxing than just a slab of tomato with salt and pepper, wrap the tomato in flaky pie crust over a bed of pesto and you will change a life. 

***I made this pesto with sunflower seeds because they're so much cheaper than pine nuts and less flavorful so the basil can be the real star of the show. Also, it's nice to think that if you're eating the seeds of your favorite flower you are that much closer to becoming just like a sunflower. 

Vegan Heirloom Tomato Tart

Heirloom Tomato Tart with Sunflower Pesto (vegan)

1 olive oil pie crust

1 c basil leaves, washed and stemmed
1/2 c raw sunflower seeds
1/2 c olive oil
1/2 tsp salt
1/2 tsp pepper
1/4 tsp crushed red pepper

2 large or 3 medium heirloom tomatoes
2 TBSP olive oil
pinch salt
pinch pepper

Prepare the pie crust (this can be done up to three days in advance and left to chill wrapped in saran wrap in the fridge).

In a medium saucepan, toast the sunflower seeds over medium heat for about 3-5 minutes until they get toasty and smell nutty, shaking them around occasionally. 

In a blender, combine the basil, sunflower seeds, olive oil, salt and peppers. Blend until combined, adding more olive oil if it's too thick to blend but not too much because you want this to be a pasty olive oil- just to the point that you can spread it. 

Preheat the oven to 425. Roll out the crust so it's about 18" in diameter and 1/4" thick. Transfer the rolled out dough to a baking sheet lined with parchment paper. Spread the pesto out on the dough, leaving a 3" border around it. 

Slice the tomatoes into 1/4-1/2" slices, cover the pesto-ed part of the crust with tomatoes. Fold the edges of the dough over the tomato, pressing to seal any cracks along the bottom seam.

Drizzle the whole tart with the remaining 2 TBSP of olive oil, sprinkle with salt and pepper and bake at 425 for 35-45 minutes, until the edges turn golden and the tomatoes are roasted and wrinkly. 

Cool and serve at room temperature. 

xo
Audrey