This post is a DOOZY.
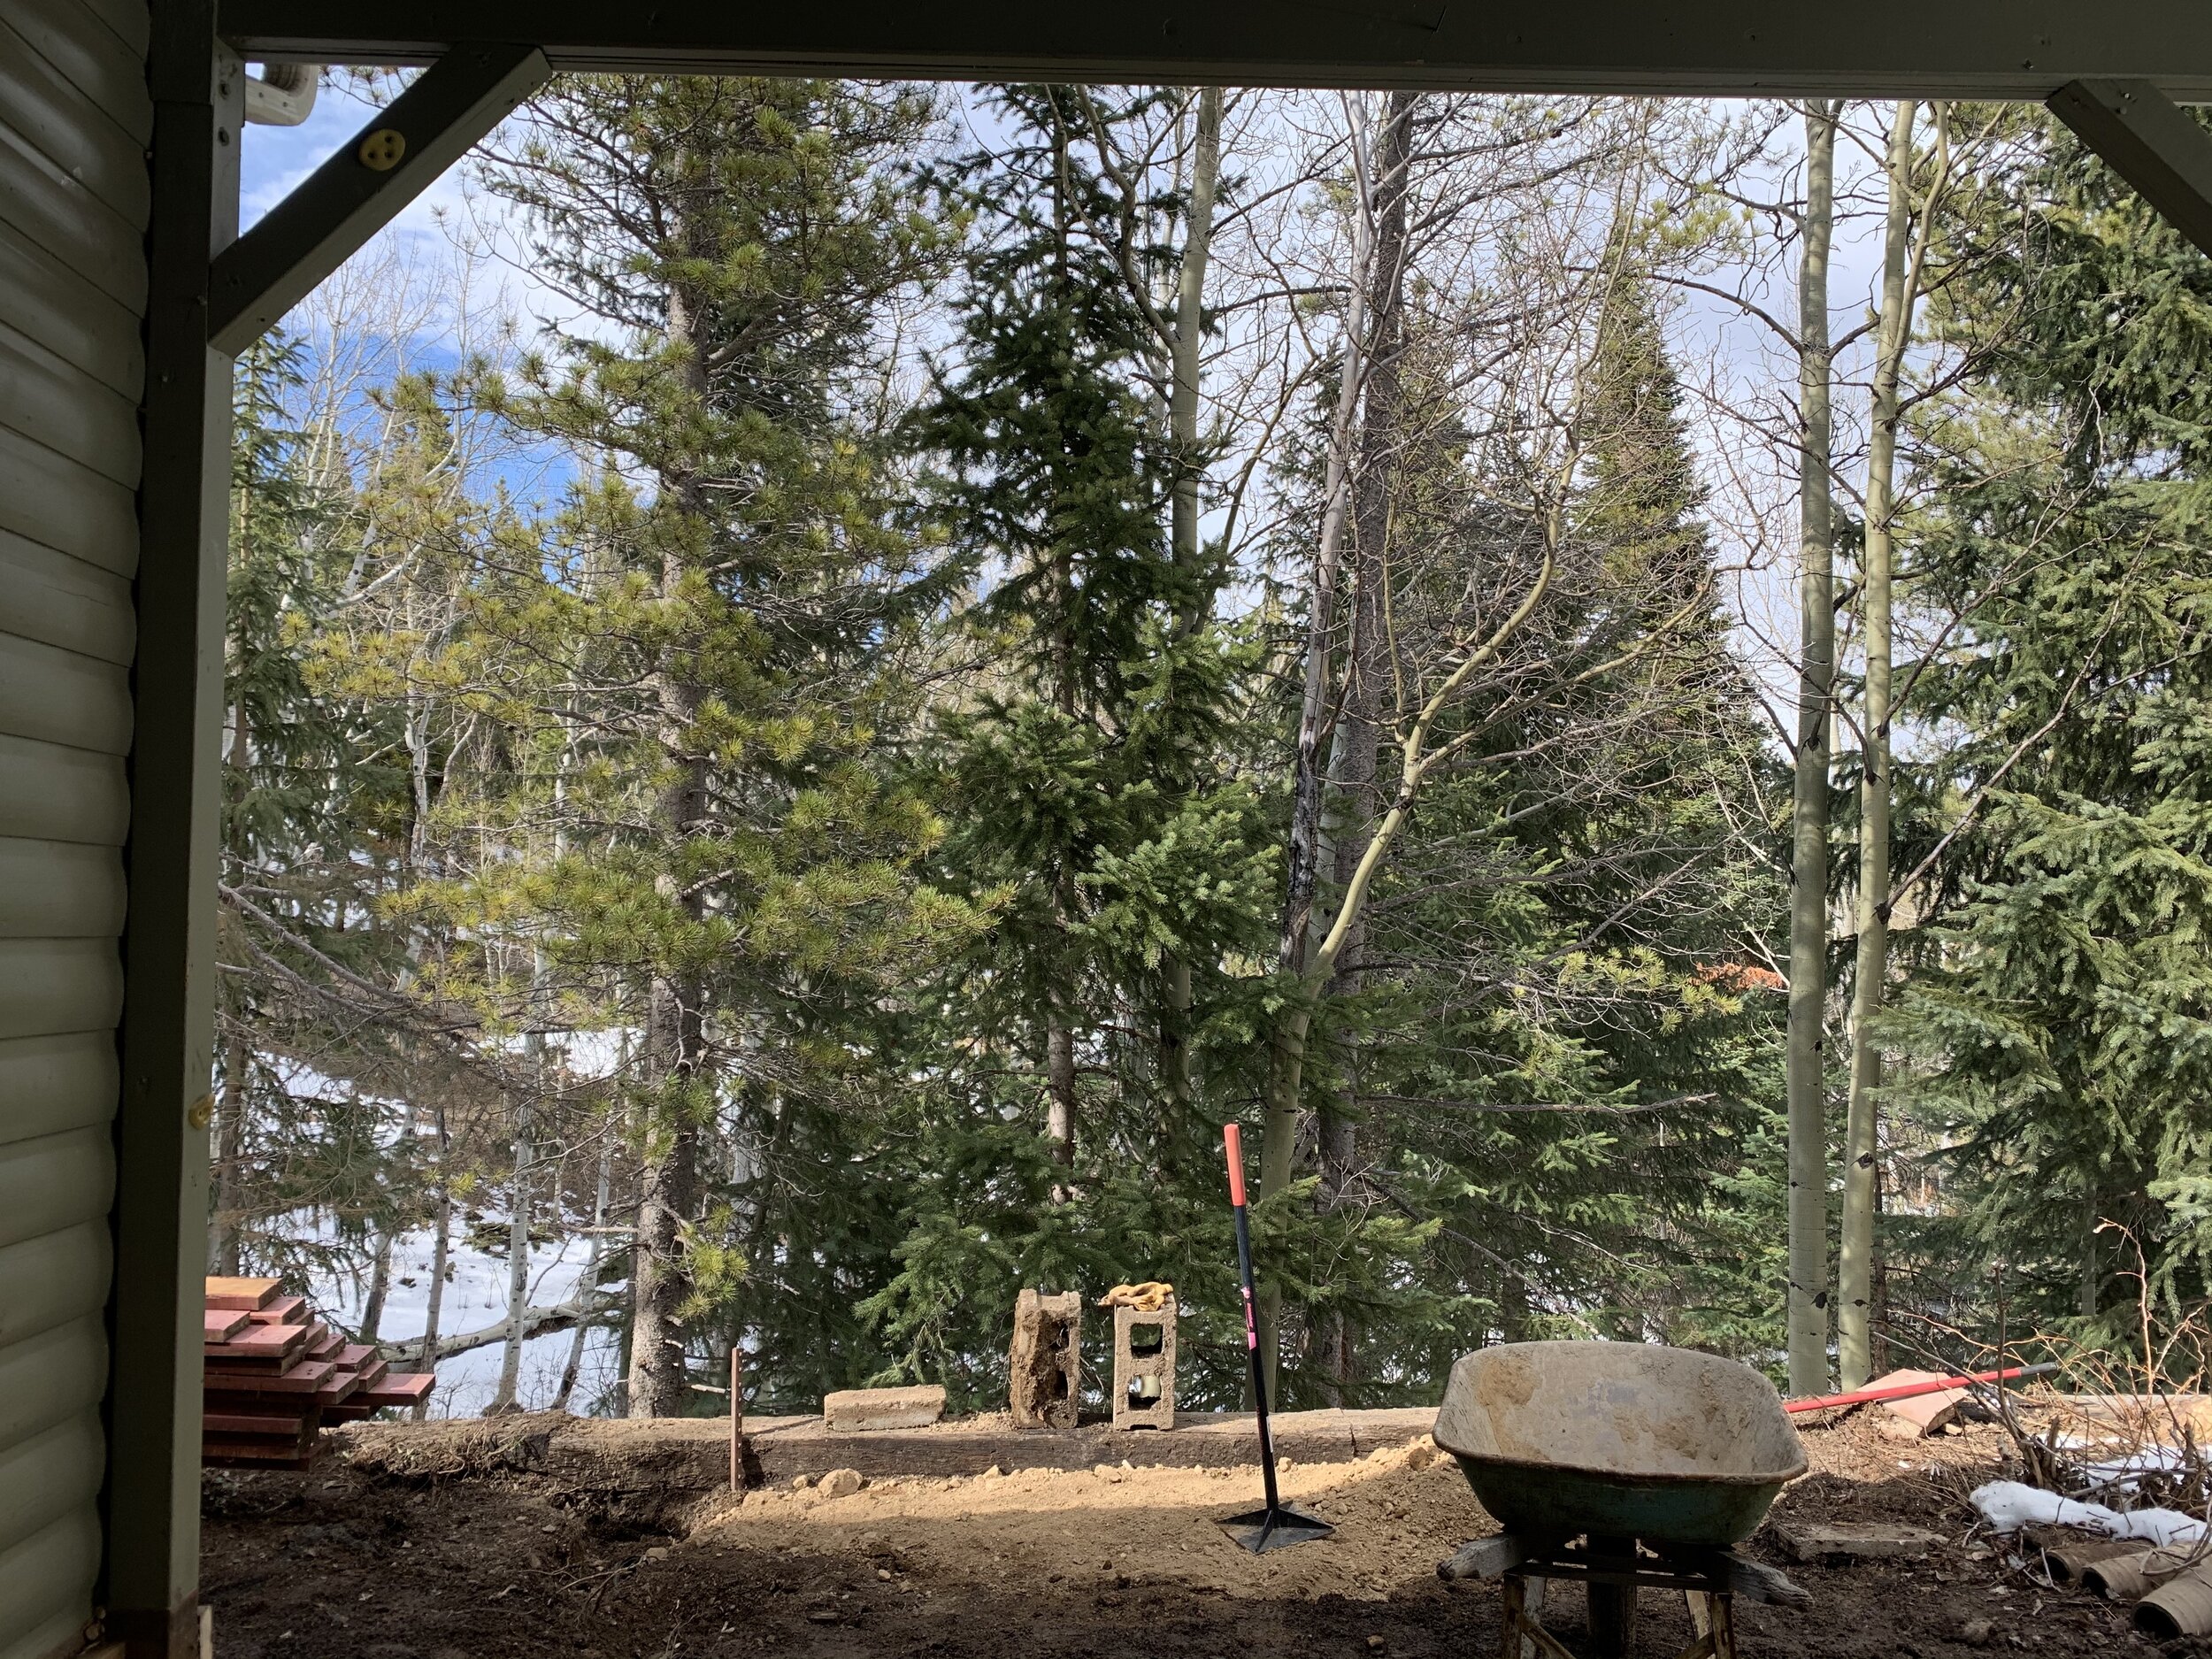
We dreamed up a way to create a (heated!!) harlequin patterned patio floor for our conservatory and brought it to life in about three weeks. Carl and Peter started by ripping out the deck, digging and digging the frozen ground until it was level, digging trenches around the perimeter of where the patio would be for the railroad ties (which will hold all of the pavers in place), laying a bit of leveling sand to make it even more level and then using garden staples to hold some tubing in place (that will later have a solar panel attached to it to heat the water inside to create radiant floors!!!!), added more sand on top of that while I painted about 300 pavers with two coats each of black or white garage floor paint (that has epoxy in it so it will stand up to foot traffic), and then we laid them very carefully in the sand. Then the boys rented a masonry saw and cut the edge pavers with a clean line to fill in the gaps!!!
Scroll down for photos of the whole process, and I’ll link to the products we used at the bottom of this post.
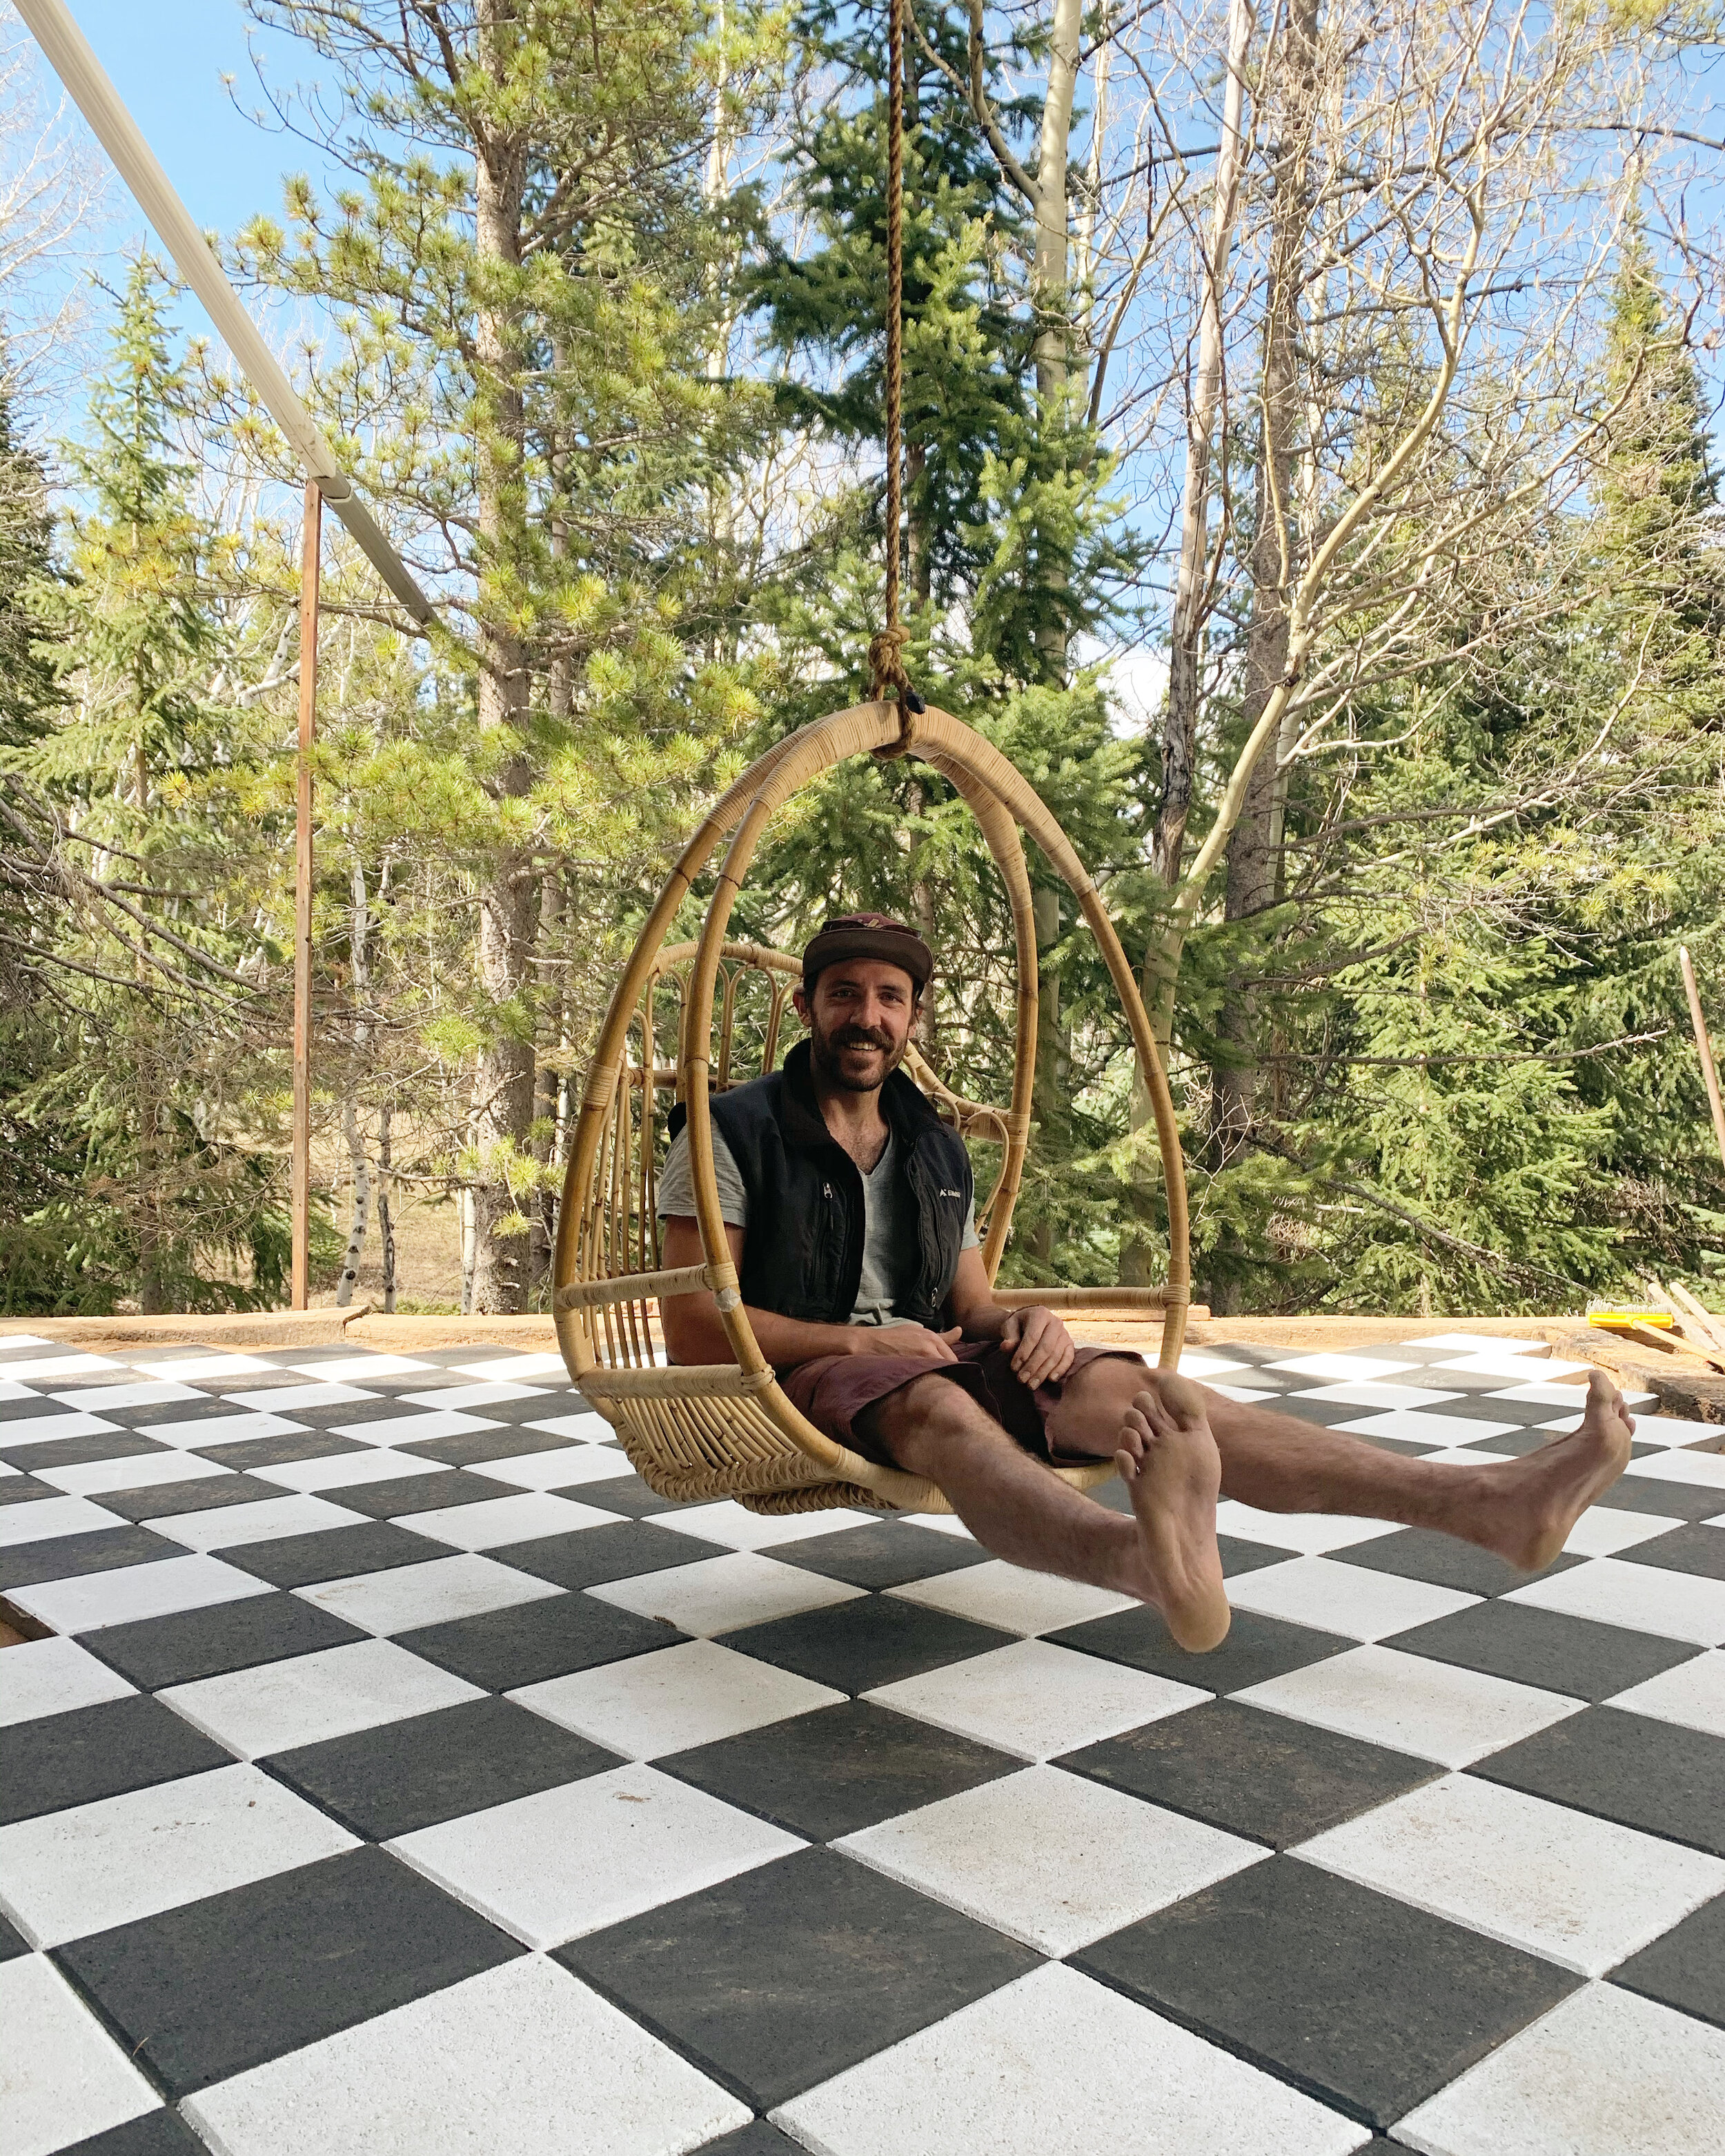
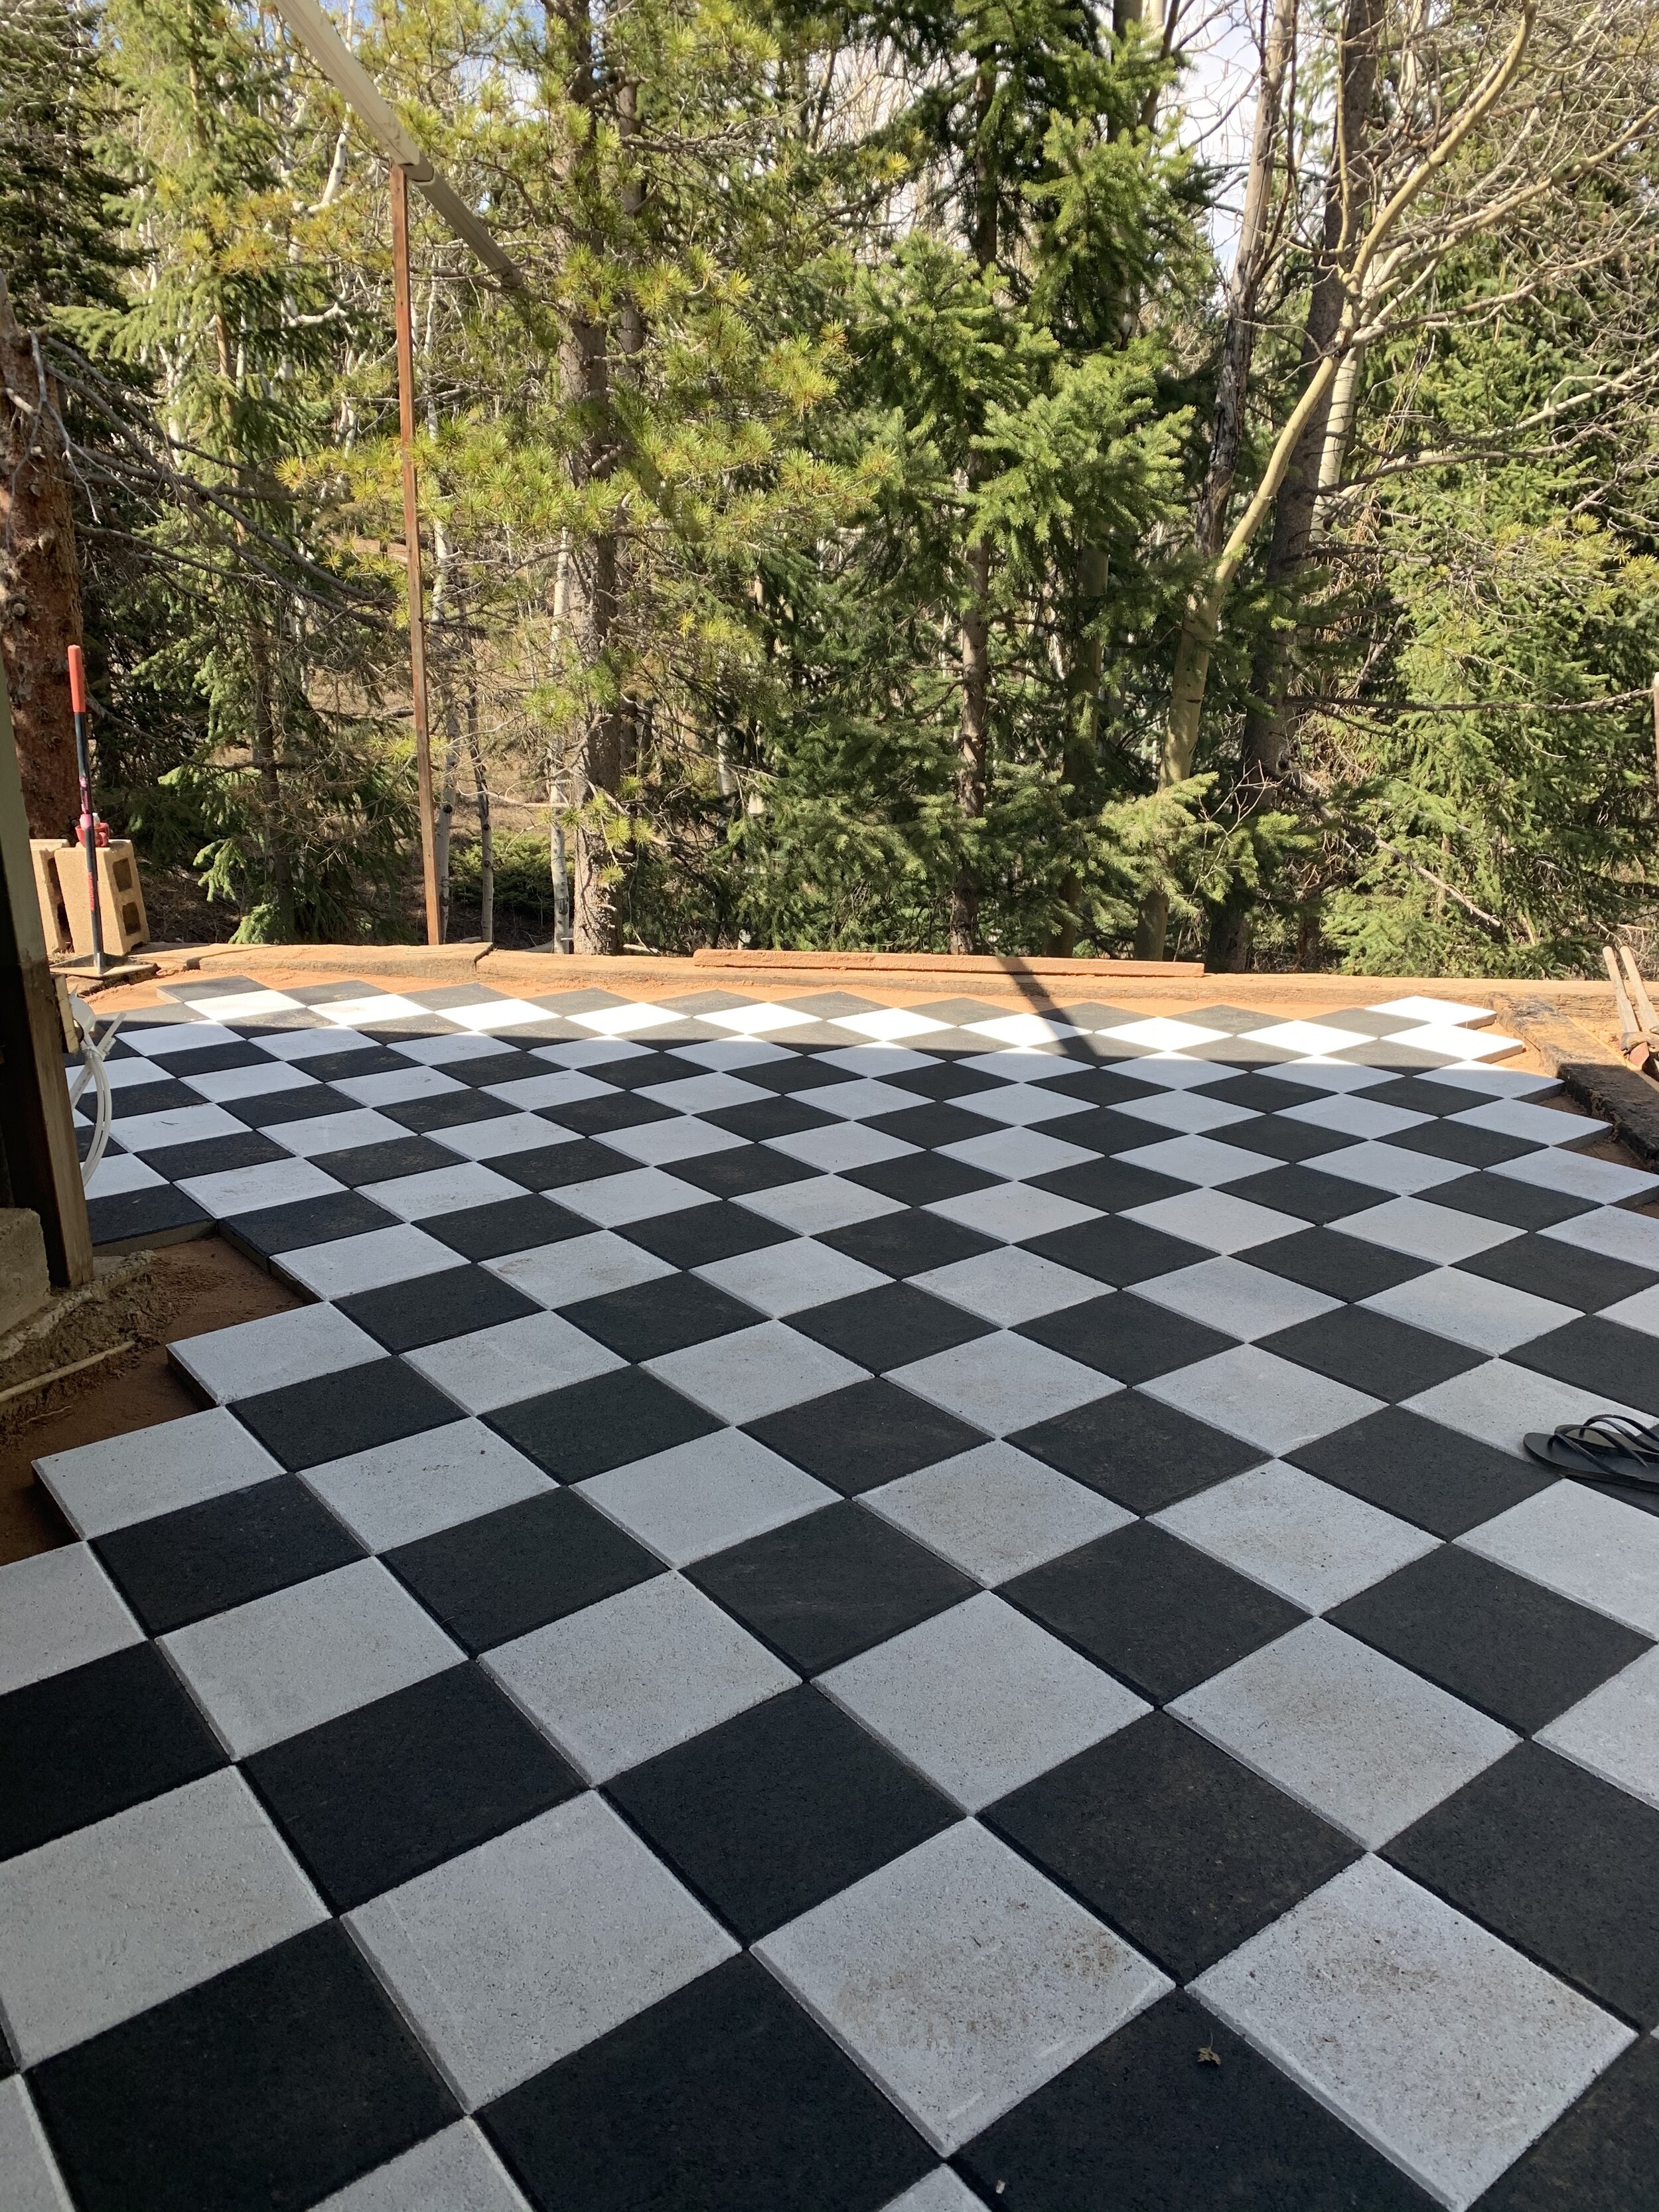
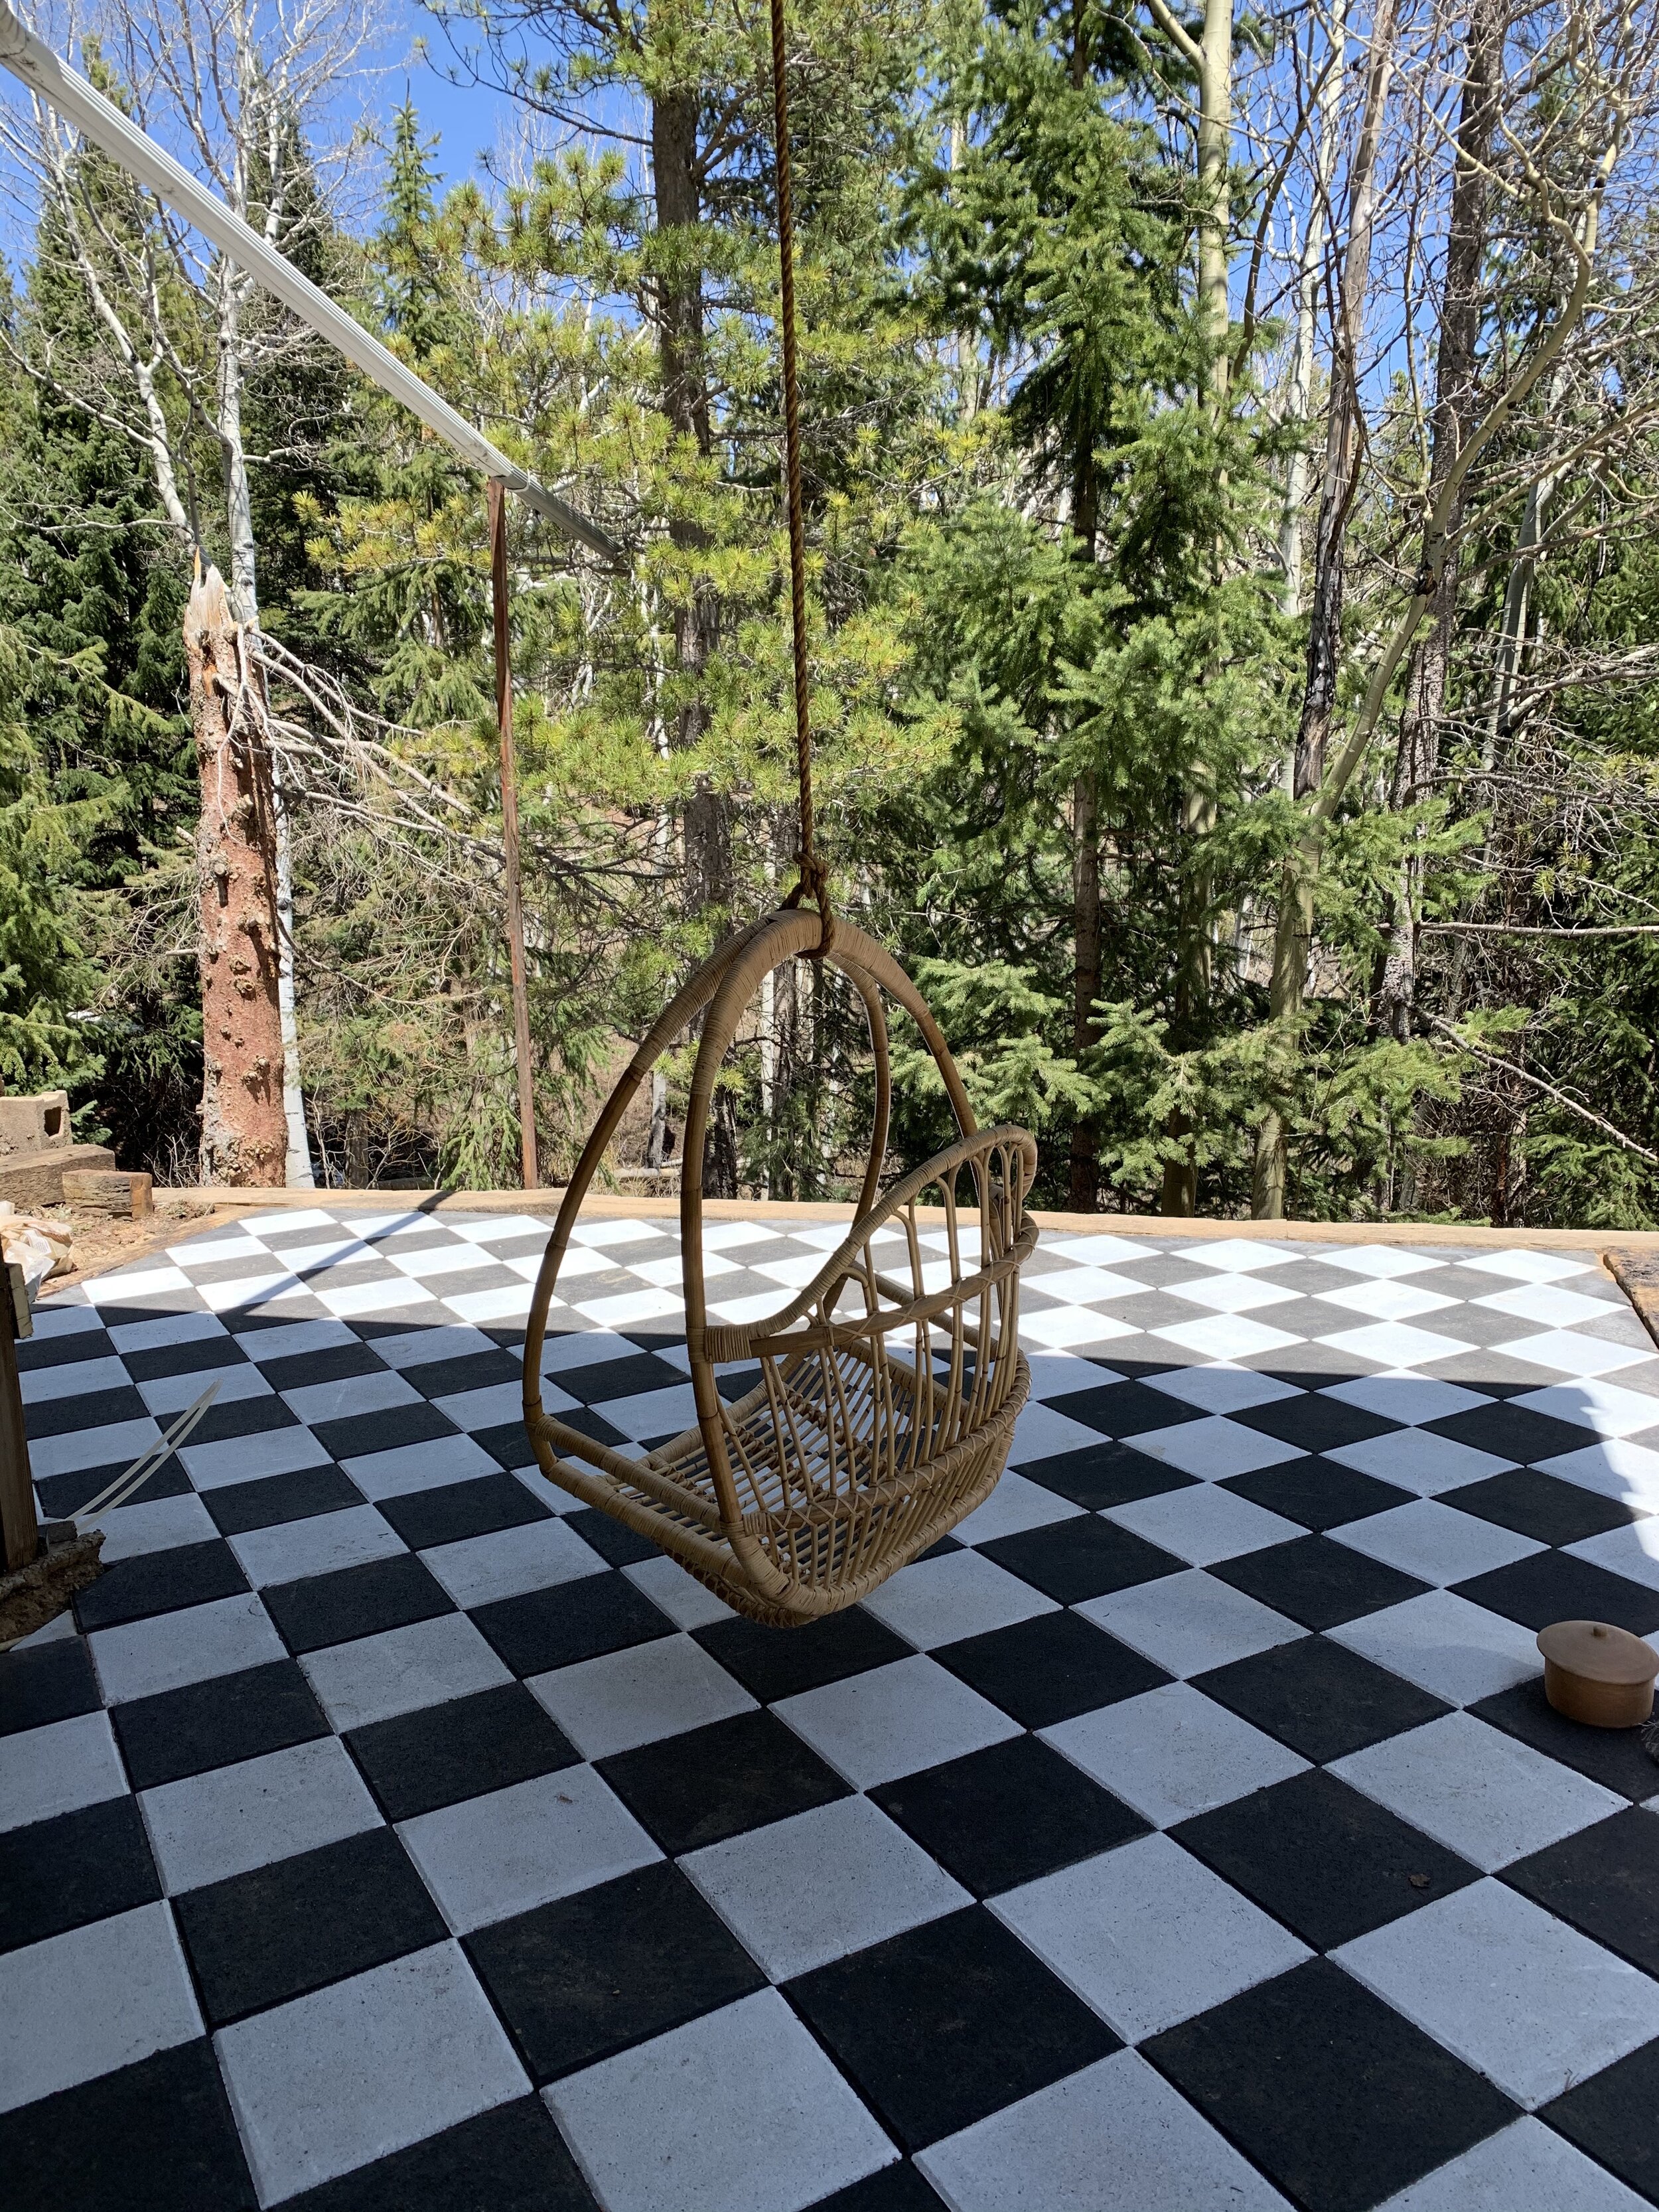
HERE IT IS! The final product!!!
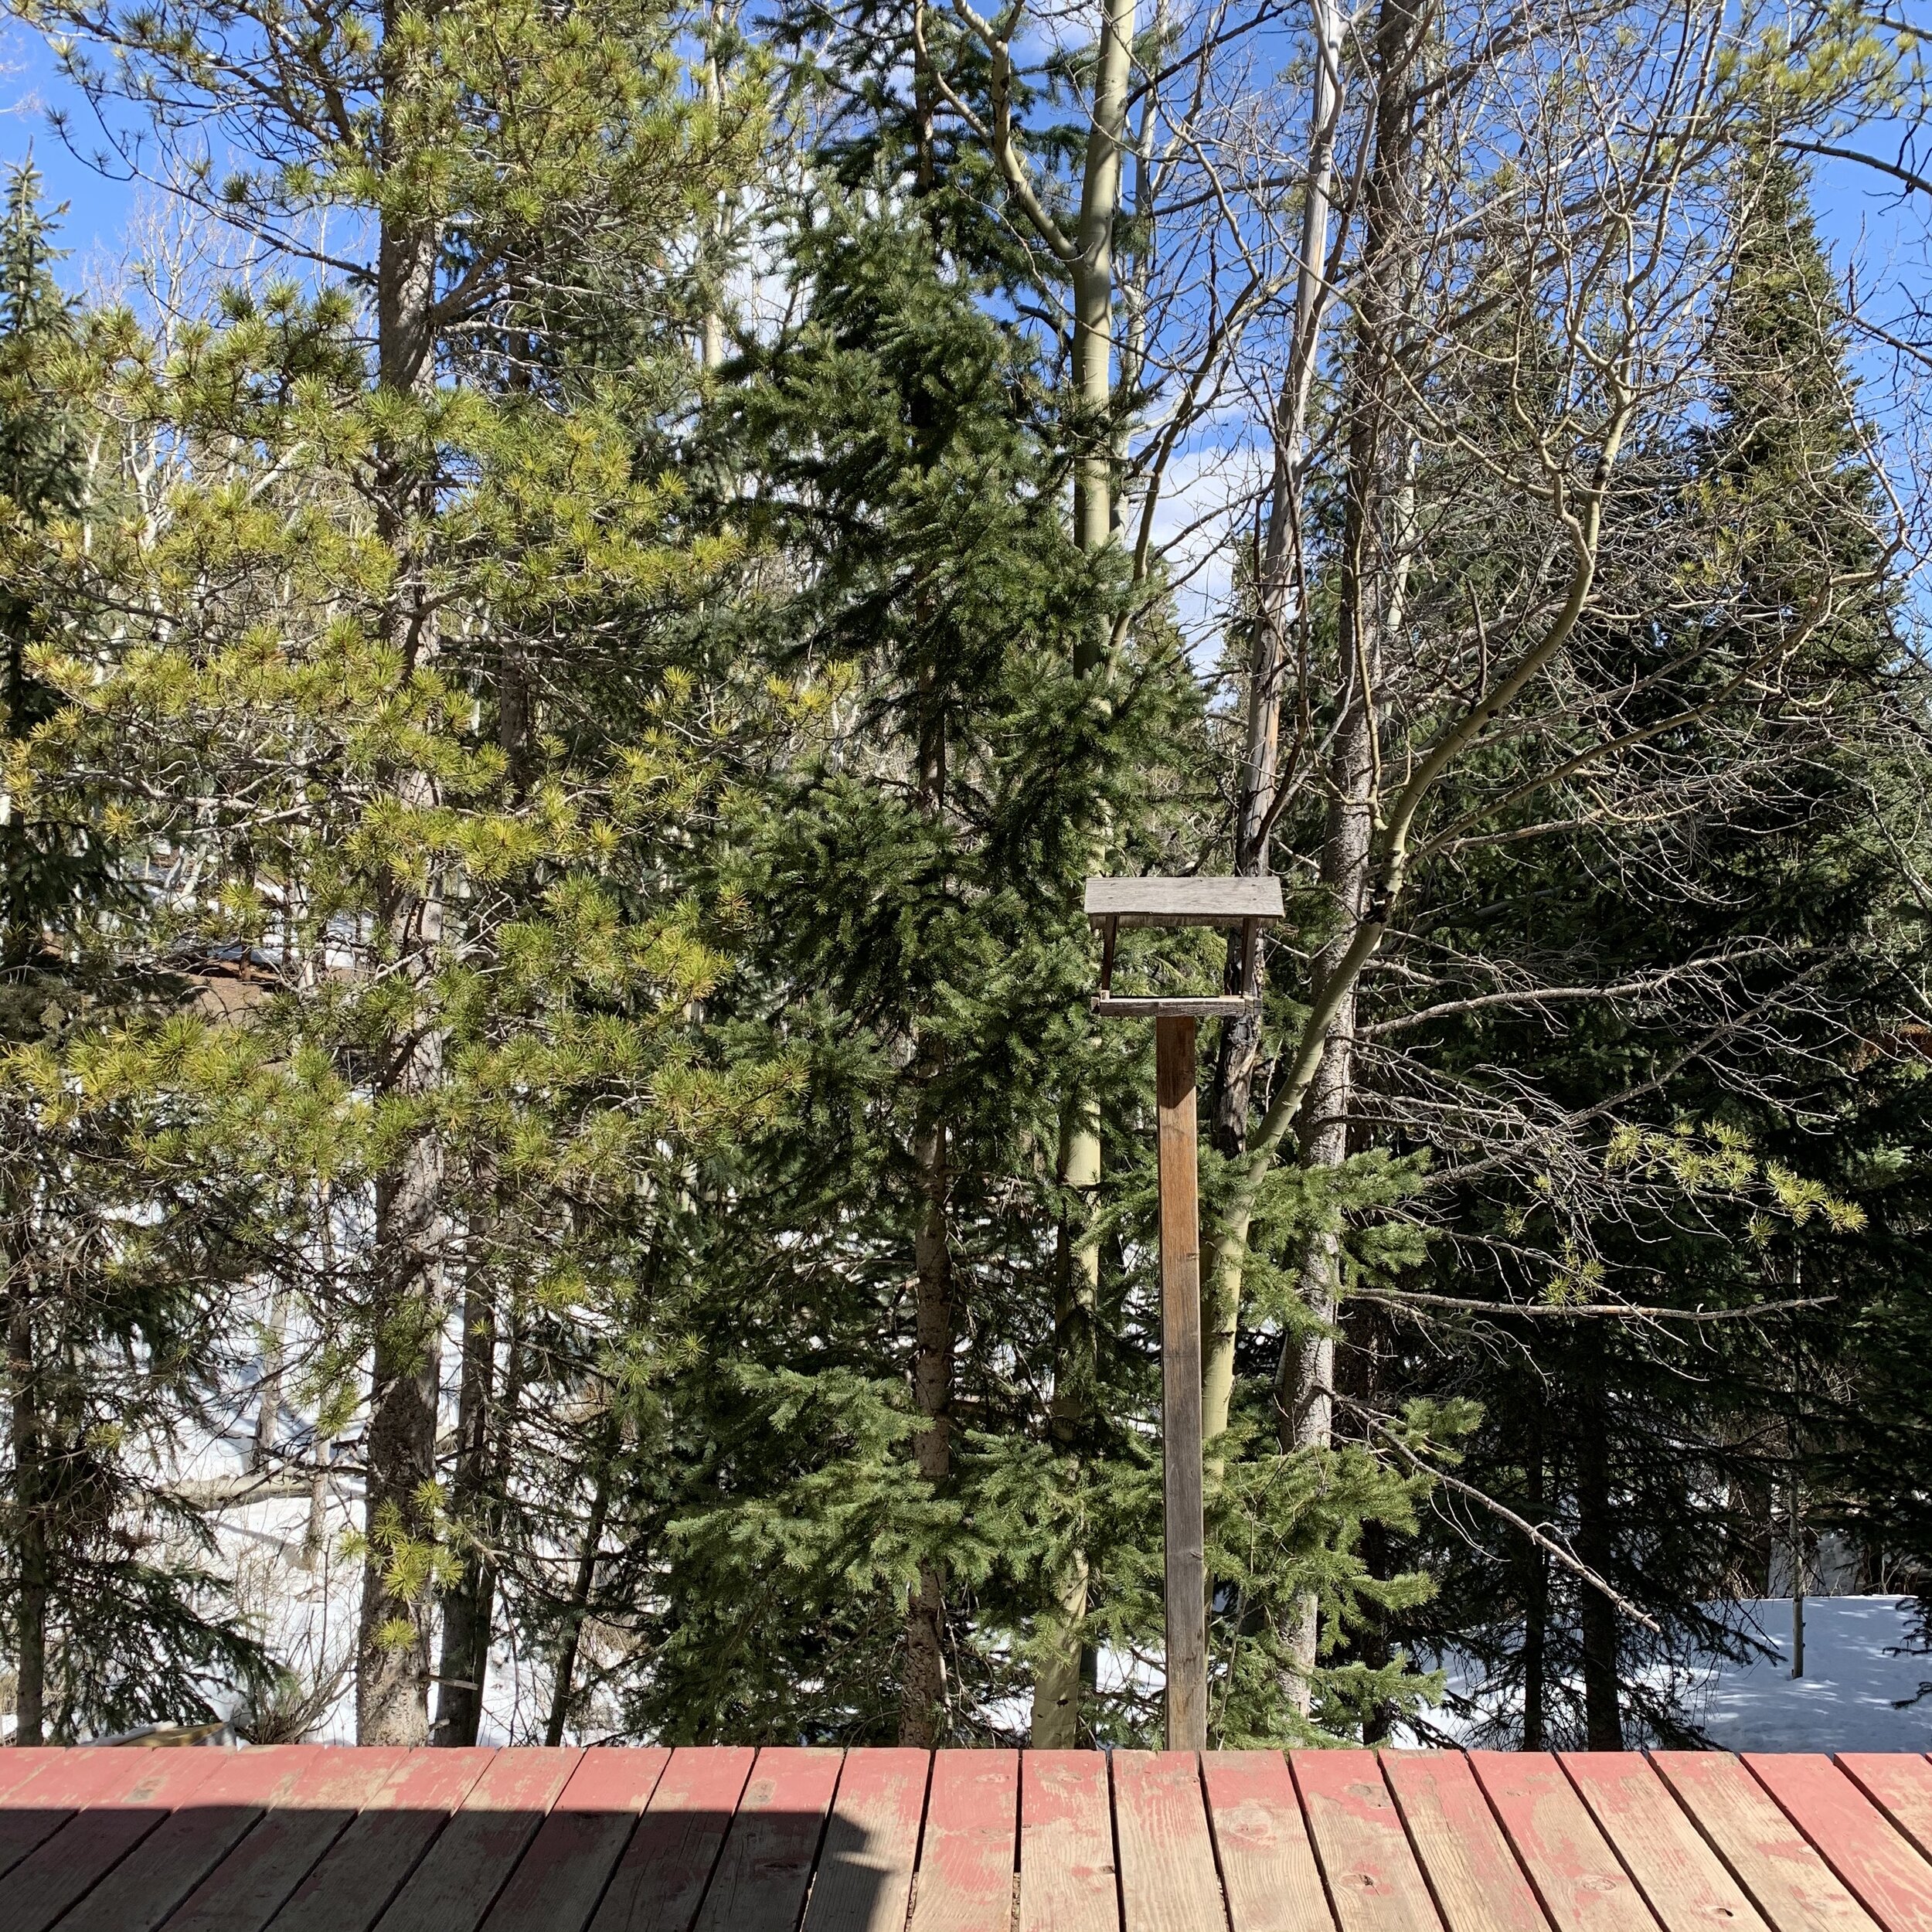
As a reminder- here’s just about the same view three weeks ago…

Again, here were the steps:
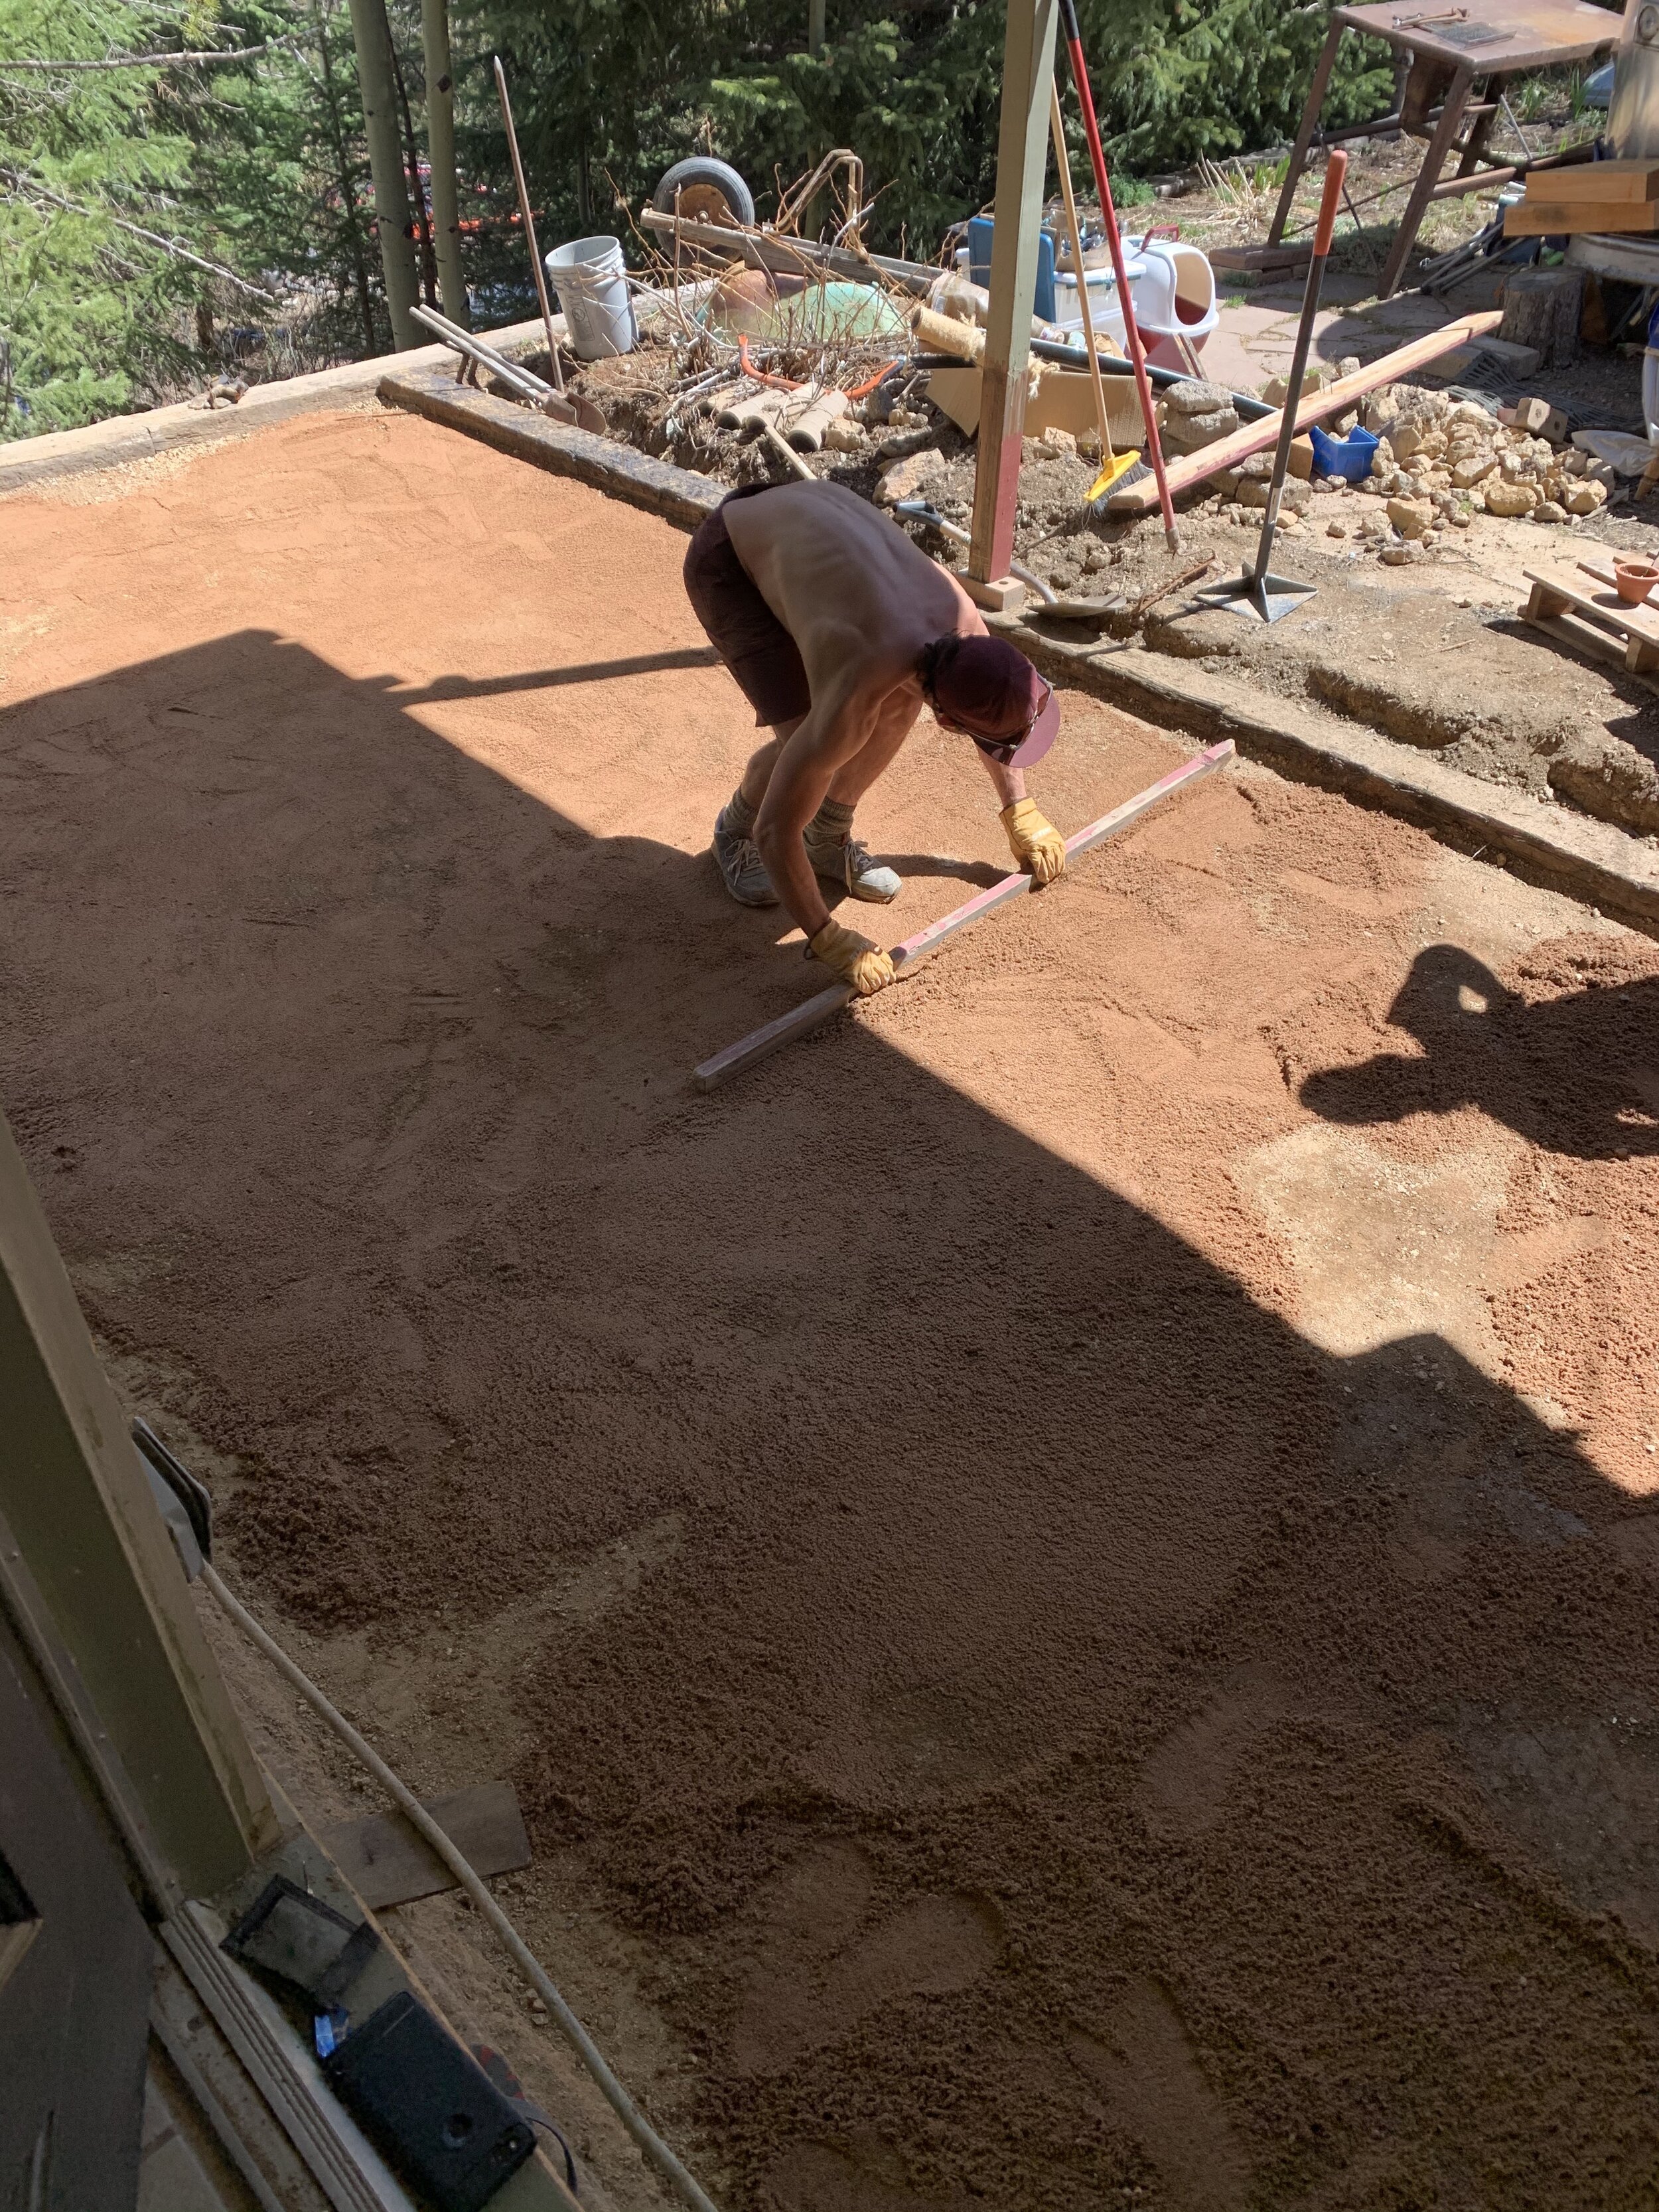
Dig the dirt until it’s level (literally, put a level on the dirt as you do this). We live at 9000 feet and our terrain is very rocky, so we do not need to put gravel down below the sand but if your ground is softer than ours a few inches of gravel under the sand will help make this more level and drain better!
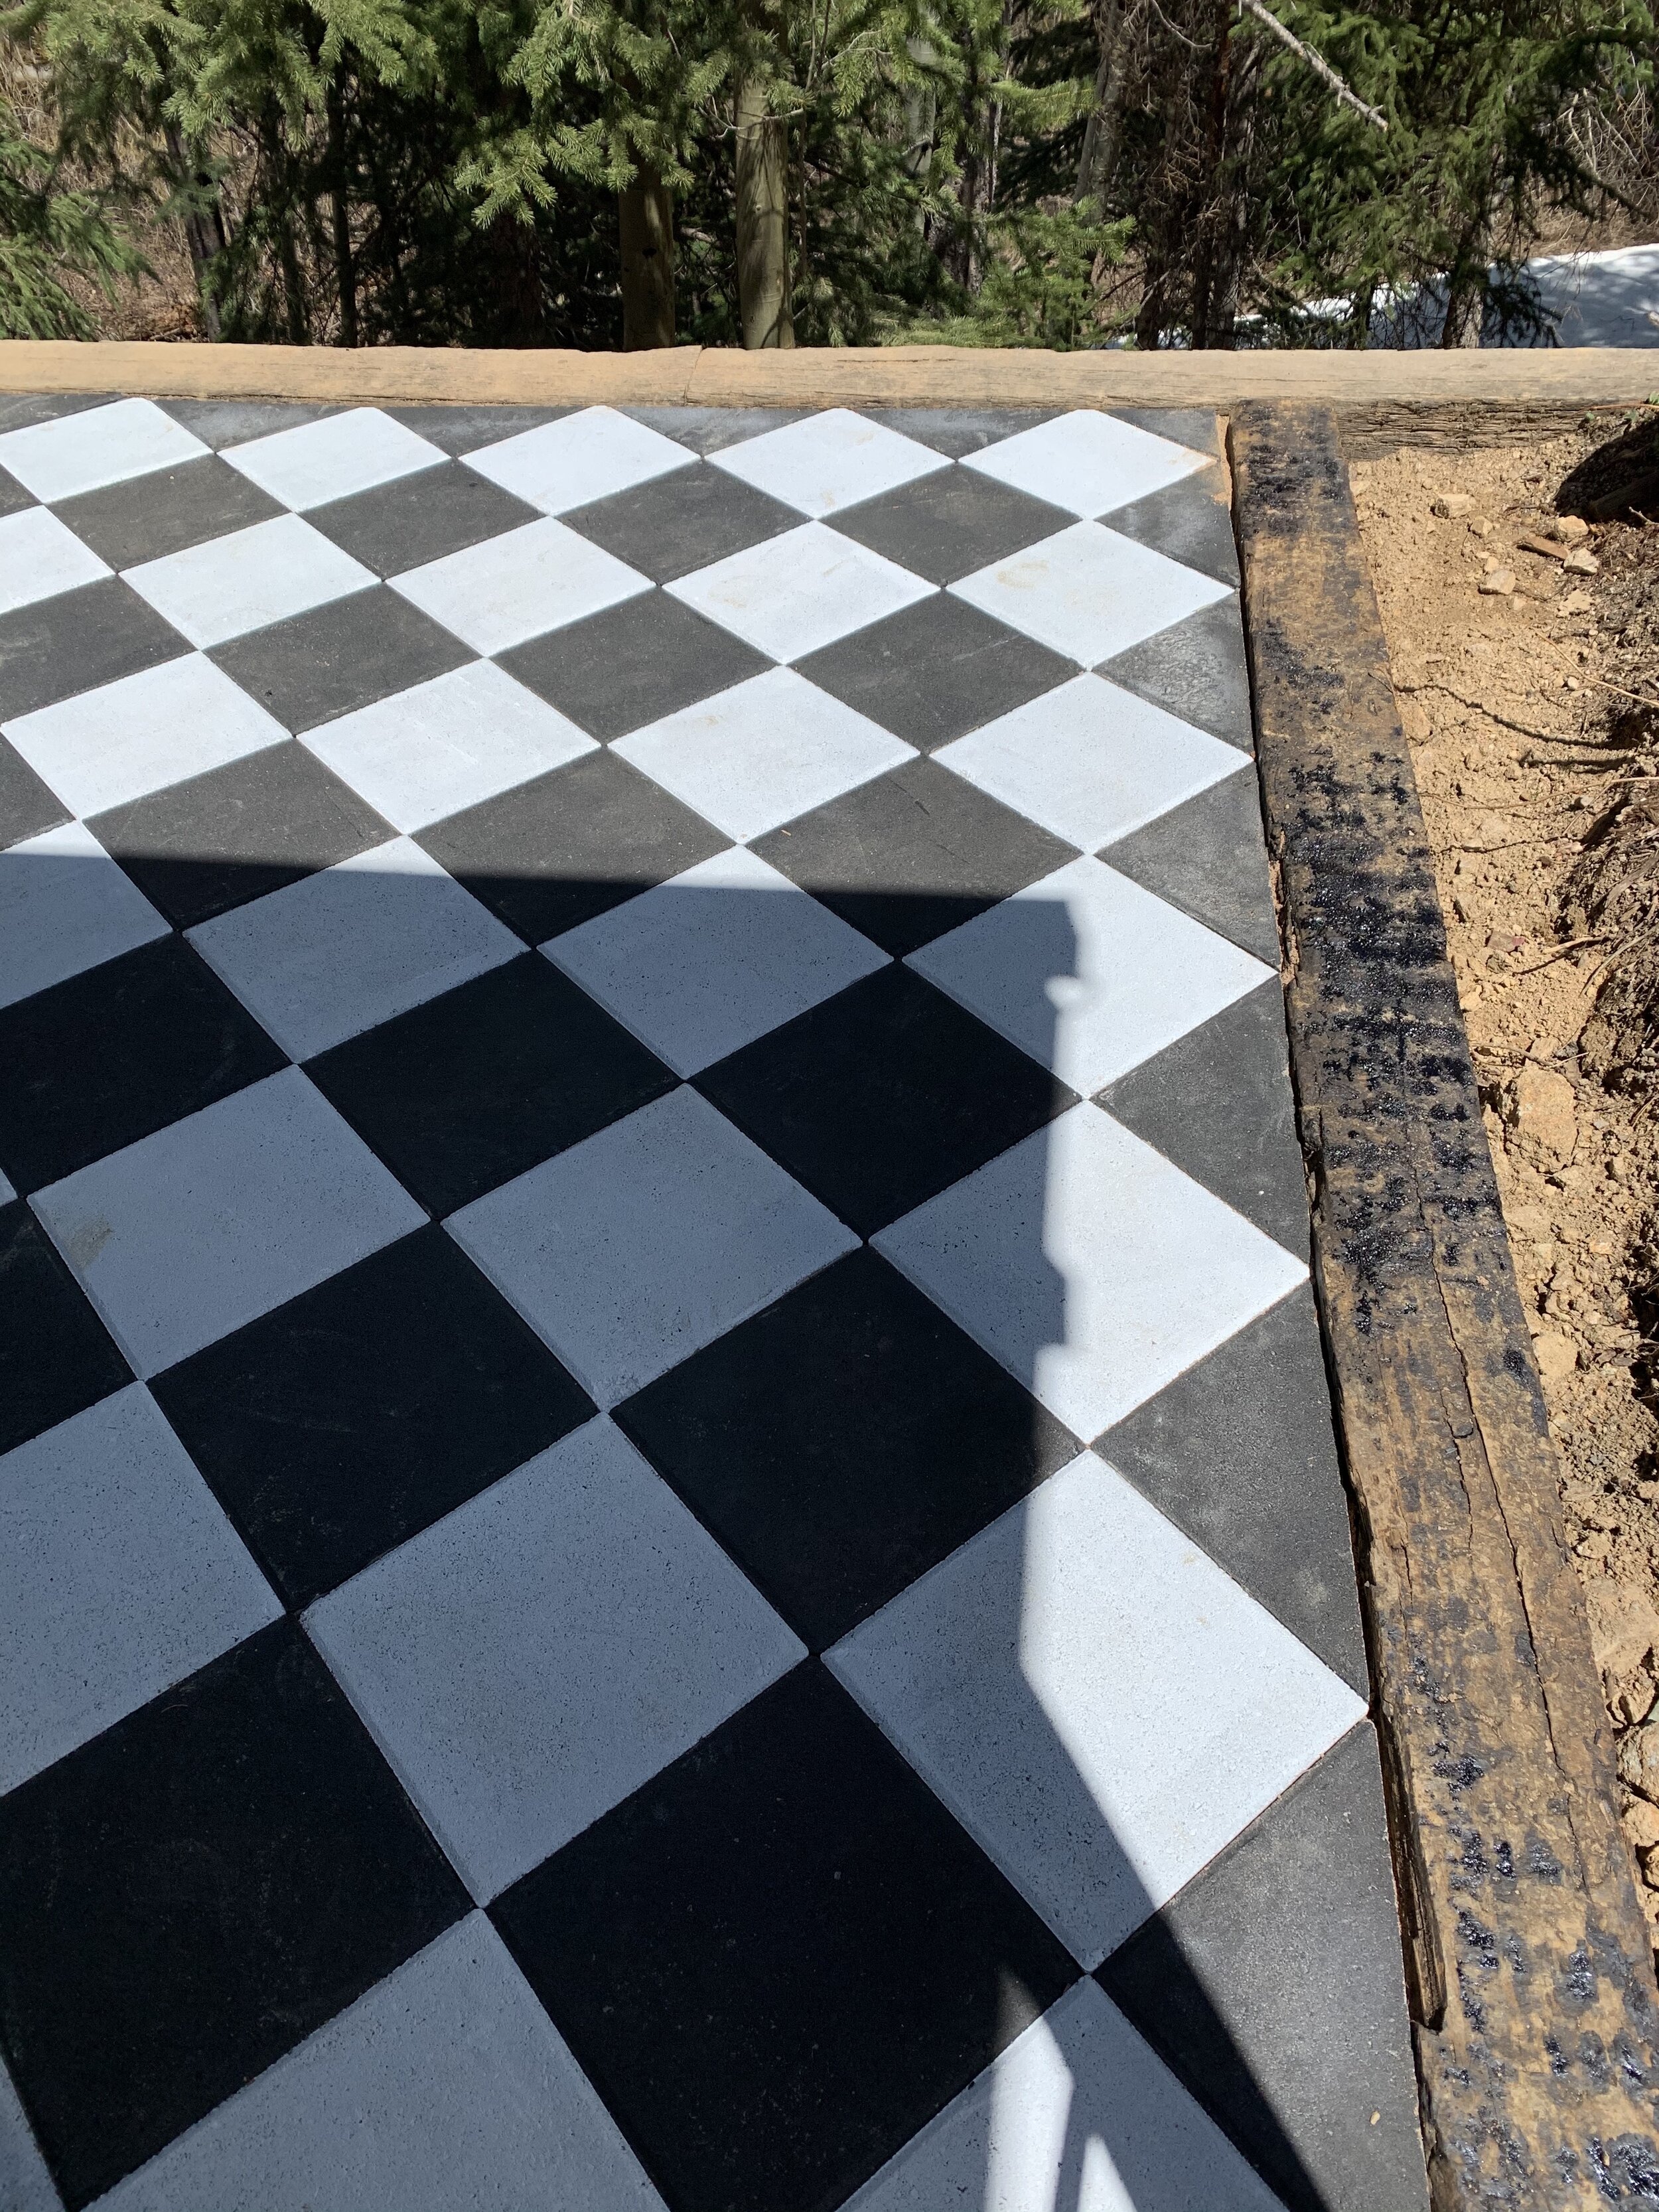
Create a border for the patio. We used these railroad ties for that.
Paint your pavers. I used this garage floor paint in black and white. I was able to paint about 150 sq ft of paver with each gallon (two coats- concrete really drinks paint up!!) These are the pavers we used. We laid them out on wooden beams in our dirt driveway and it was a two day process to paint them all two coats. I used a mini foam roller.
Lay 1/4” of leveling sand. Depending on how big your patio area is, you might be able to get leveling sand delivered cheaper in bulk from a stoneyard. We were only covering about 280 sq ft so we didn’t need as much as we would’ve had to buy to get it delivered in bulk.
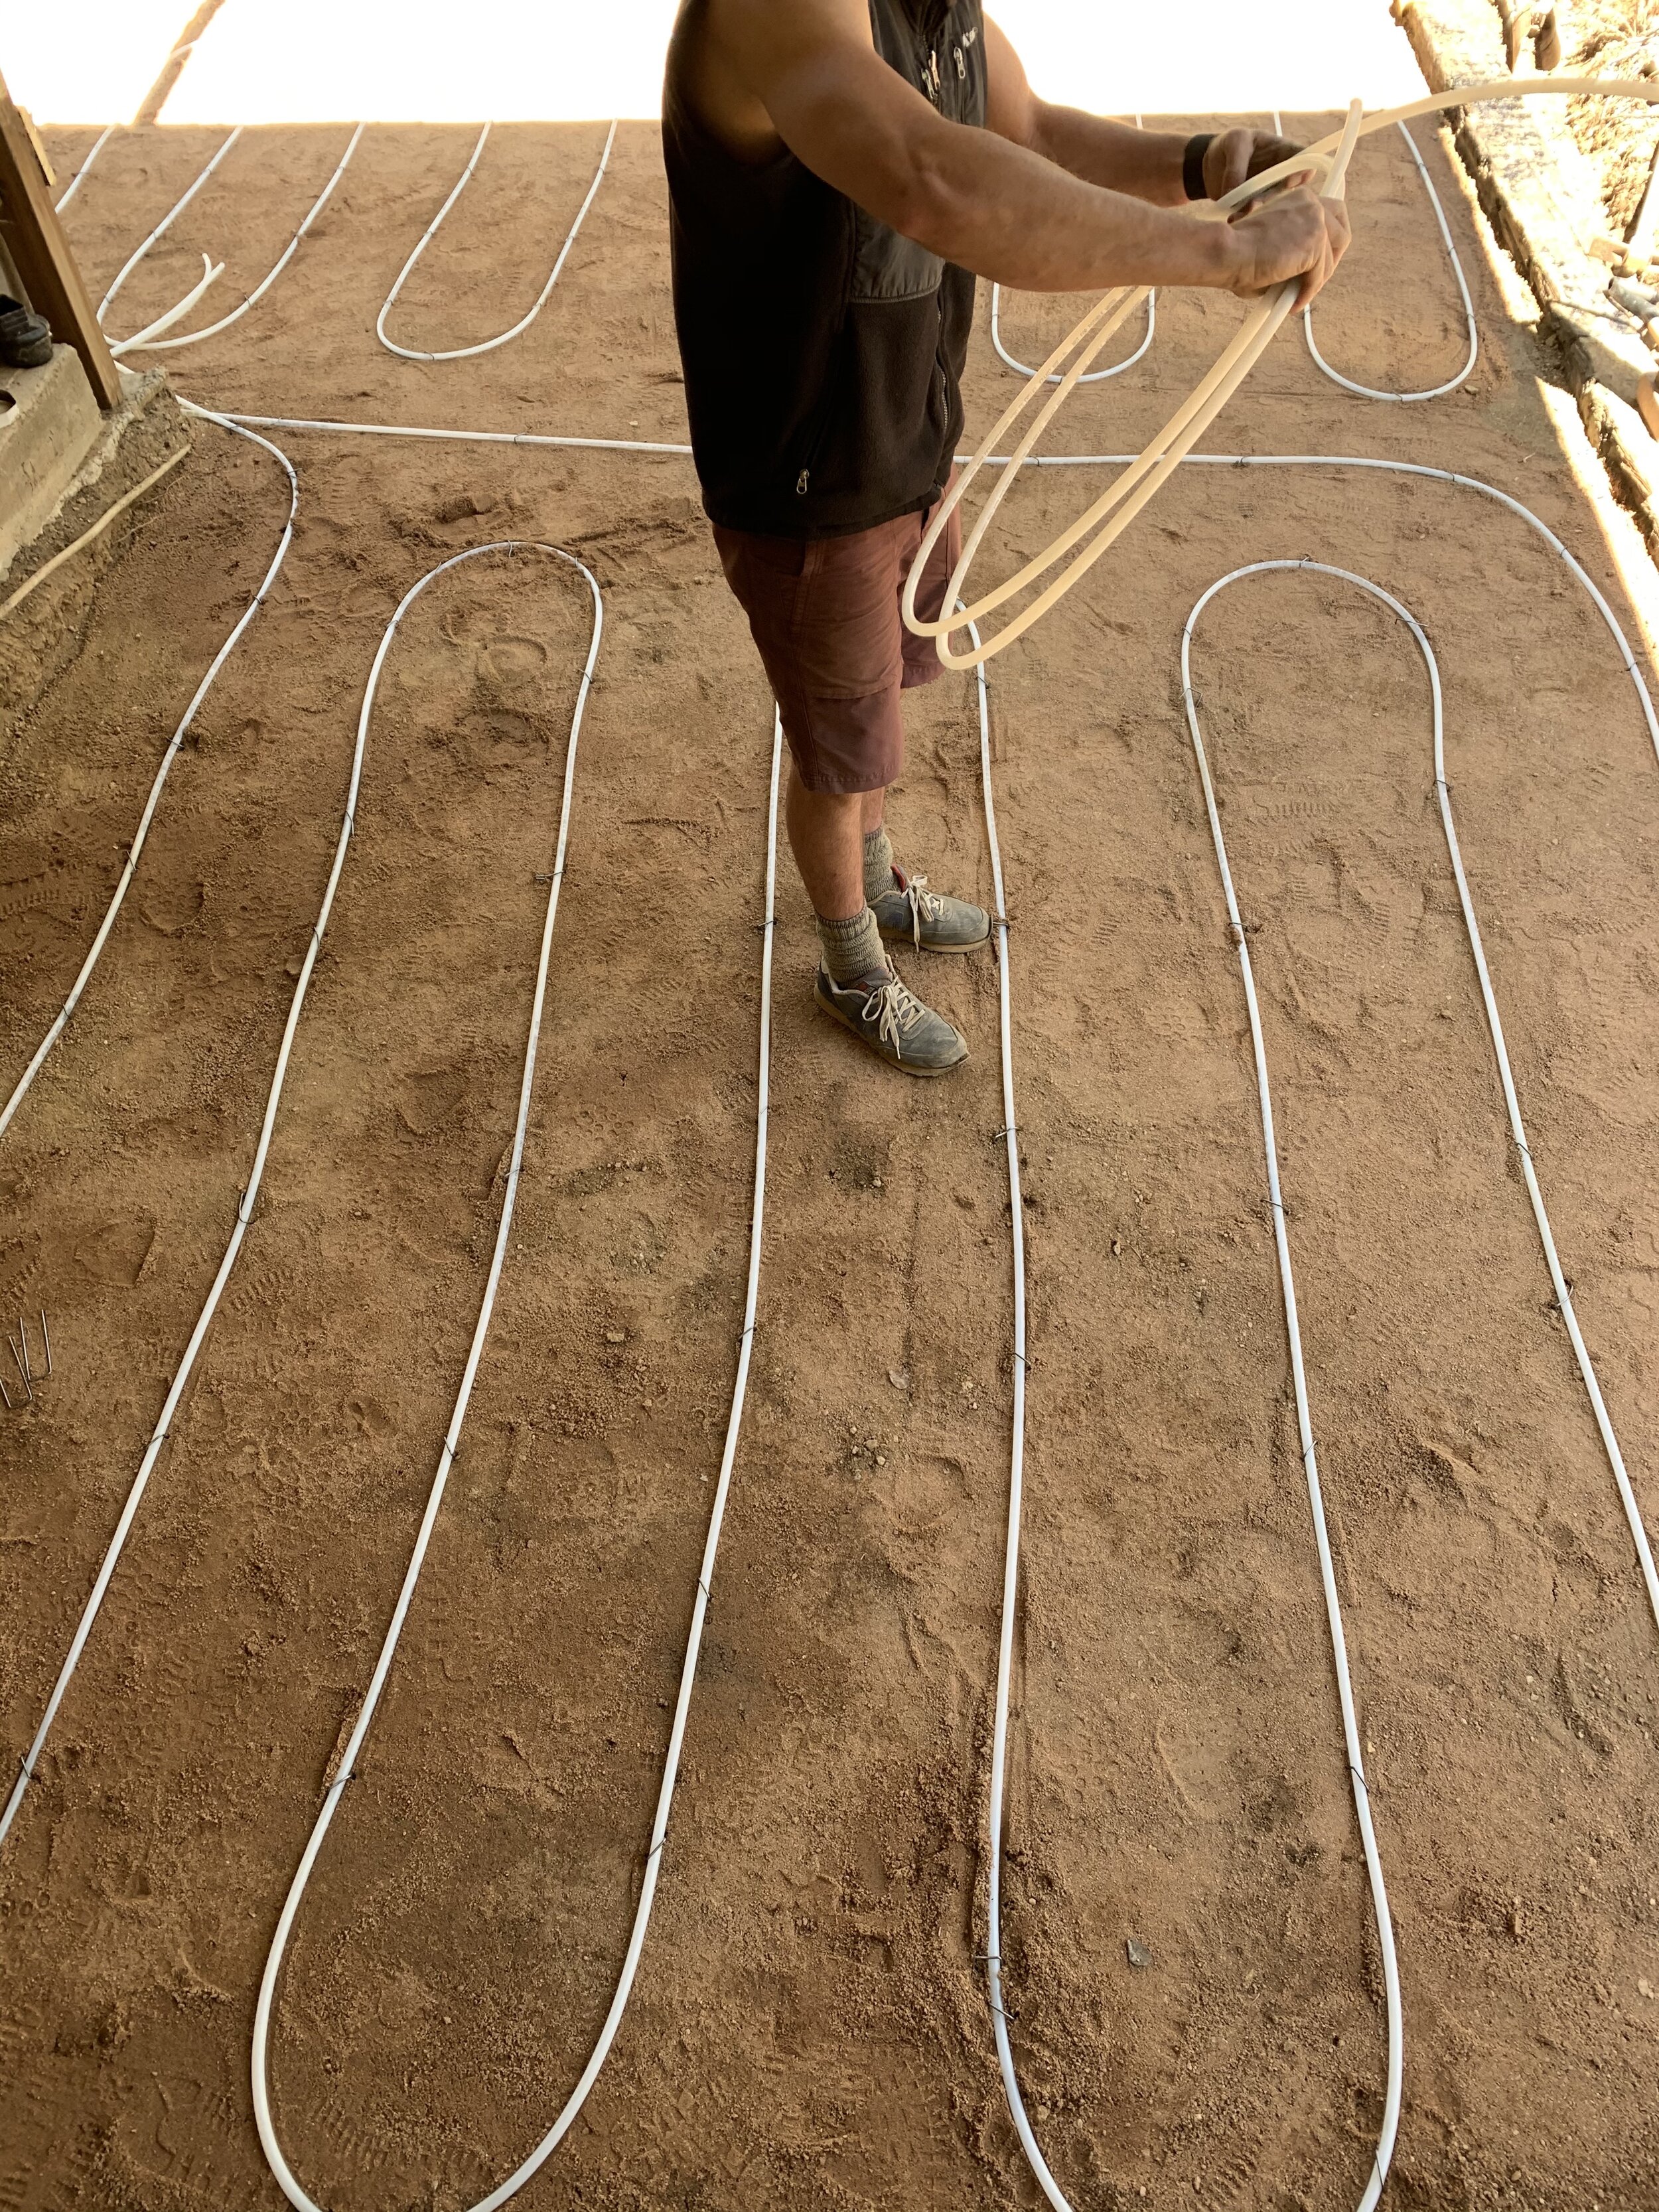
Use garden staples to hold down plastic tubing similar to this, which we will later tell you how to turn into a radiant floor base! *Make sure both ends of the tube stick out of the ground somewhere when you finish laying the pavers so you can fill them with water and attached to a pump/heater.
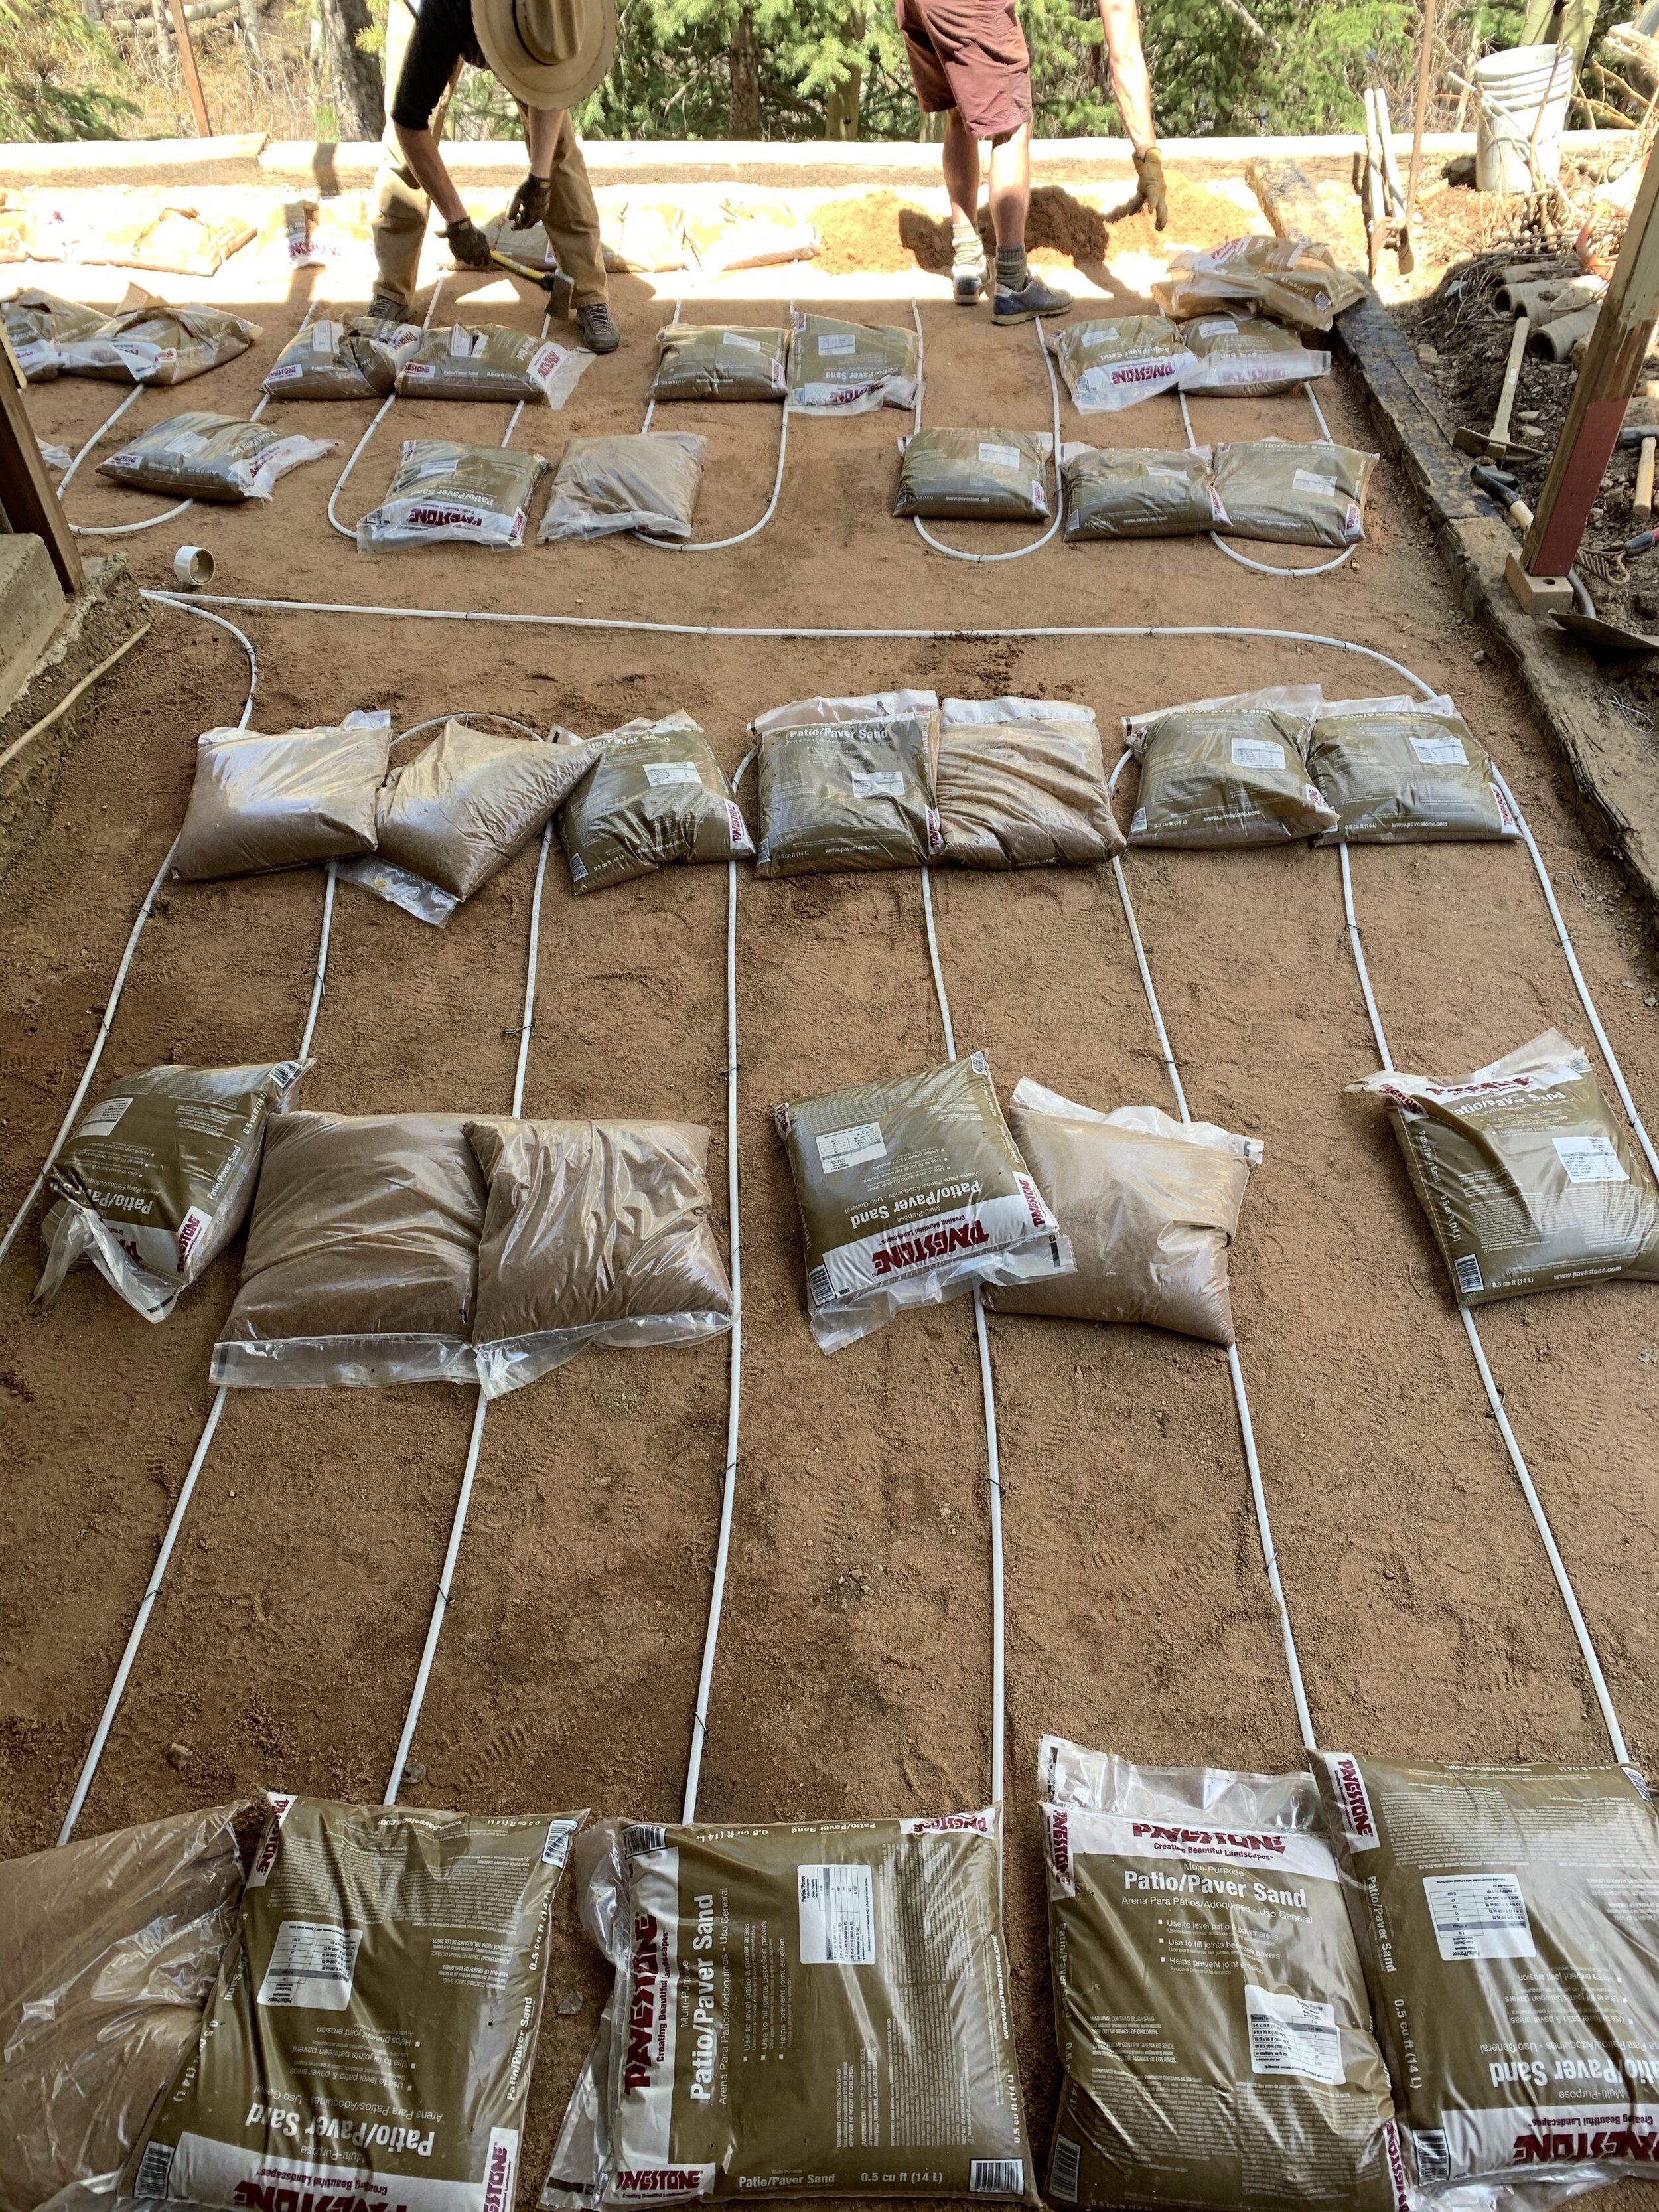
Cover the tubing with the final 3/4” of sand and level. Tamp down.
Start to lay your pavers in the corner on a diagonal. To get them to sit really snug, place each one all the way up to the sides of the one that’s already down and then gently push it into place.
We rented a masonry saw to cut the edge pieces, and just measured how to cut them by scribing the edge to cut.
When the last of the sand that we have (two bags are left) is fully dry, we’ll sprinkle it over the top and sweep it into any cracks to really set the stones into place.
There you have it! Feel free to message me or Carl on instagram if you have any process questions!!