Ballin' on a Budget: Feelings Pudding by audrey gebhardt

What do you do when you’re overwhelmed with emotion? Aside from crying, I mean. What do you do with your body?

Do you go for a run (lol)? Turn on really loud music and dance? Fall into a netflix hole?

I make pudding.

Feelings Pudding

There’s something so meditative to me about stirring a milk and eggs over a low flame until it turns into a luscious creamy chocolate pudding.

I’ve made this when I’m falling in love, when I’m heartbroken, when I’m scared, when I’m excited- really anytime I have extra feelings in my body that I’m not quite sure what to do with. I just stir them into pudding.

The other amazing thing about this recipe is that it can be made pretty much anywhere- it requires so little equipment and so few ingredients which makes it a perfect recipe for you to make as a houseguest- I love leaving these behind when I stay with friends! The vessel you put it in doesn’t matter so much, this recipe is pretty forgiving and can be made in a pot, a pan, a tart shell, a 9x13” pan or a cauldron.

It’s dairy free, costs about $8 to make and comes together in about fifteen minutes of active prepwork plus about 45 minutes of chilling time in the fridge. This can be made a few days ahead of serving and kept covered in the fridge until you’re ready to serve.

THE ONLY RULE WITH FEELINGS PUDDING: You MUST eat this straight out of the container. The only way you can serve it is by handing people spoons. If you are not comfortable eating this straight out of the container with the people you are serving it to, they are not close enough to you to eat feelings pudding with.

Feelings Pudding

Feelings Pudding
(makes enough)

20 vanilla oreos
2 TBSP coconut oil

1 can full fat coconut milk
2 egg yolks
1 12oz bag bittersweet chocolate chips (I like Ghirardelli)

flaky salt

Crush the oreos. I did this in a large ziplock with a rolling pin but you can use a food processor- you just want them to be in fine crumbs. Combine the oreo crumbs with the coconut oil and press into your pan. I used a 9” pie dish, but this will really work in any shape pan- a bread pan, an 8x8” pan, a small pot- whatever you’ve got! Place the crust in the freezer to set up while you make the custard.

In a saucepan over a low flame, combine the whole can of coconut milk and egg yolks. Whisk, constantly, until the mixture coats the bottom of a spoon (this means that when you dip the spoon in and run your finger through it, the custard holds its place and doesn’t fill in where you’ve run your finger through). Remove from heat and pour the chocolate chips in. Cover them completely with the liquid and let them sit for a minute to soften, then whisk until he mixture is smooth and shiny.

Pour the custard through a fine mesh sieve and then into the crust, which should be fairly set by now. Put the feelings pudding back in the freezer for 20 minutes or in the fridge for 45 minutes-1 hour until it doesn’t wiggle when you move the dish. Top with flaky sea salt, give everybody a spoon and have some feelings about it.

xo
Audrey

Ballin' on a Budget: Vegan Carrot Ginger Soup by audrey gebhardt

HOMIES. DO YOU EVEN KNOW HOW CHEAP CARROTS ARE?!

Omg. I got an enormous bag that I can make 4x this soup with for $4. ORGANIC!

I’m gonna have the best eyesight in town.

For real though this soup is fool proof and so budget friendly. The one tip I want to leave you with is the note that carrots will dye your white counter orange if you leave them on there too long- so make sure to wipe that up ASAP!

Let’s get it.

(Also also, this recipe may look like it has lots of ingredients but most of them are water and salt and pepper. You shouldn’t have to buy more than 6 things to make this!)

Vegan Carrot Ginger Soup

FOLLOW ME HERE TO SEE VIDEOS LIKE THE ONE LINKED ABOVE IN YOUR INSTAGRAM STORIES FEED!

Carrot Ginger Soup
(makes 1 quart)

1.5 lbs carrots (about 7 large)
1/2 vidalia onion (or one whole medium onion, about 1 C diced)
1 TBSP grated fresh ginger
1/2 tsp salt
1/2 tsp black pepper
3 c vegetable stock
1 c water
2 TBSP olive oil

1/2 c raw cashews
1/2 c boiling water

1/4 c pumpkin seeds (raw)
1/4 tsp black pepper
1/4 tsp salt
1 TBSP olive oil

First, dice the onions and the carrots. Heat the olive oil in a large pot over a medium low flame and sauté the onions in the oil for about a minute before adding the diced carrots. Add the carrots and sauté for another 5-7 minutes or so, until the onions are translucent and soft. Keep an eye on the mixture and move it around every so often so nothing browns on the bottom. Add the ginger, salt and pepper and sauté for another minute or so before covering the vegetables in the stock and 1 c water. Bring to a simmer and cover the pot. Simmer, covered for about 30 minutes or so.

While the soup is simmering, toast the pumpkin seeds. Mix the pumpkin seeds with 1/4 tsp salt and pepper and 1 TBSP olive oil and spread out onto a baking sheet. Bake at 350 (I did mine in the toaster oven) for 12-15 minutes until golden and they are making popping sounds in the oven.

Make the cashew cream while the soup is still simmering. This will serve as a way to make the soup creamy as well as a garnish for the top of the soup! Put the cashews into the container of a blender and boil enough water to just cover the top of the cashews, cover cashews with boiling water. Screw the lid on tight or hold a towel over the top of the blender and blend for at least one minute, until the mixture is silky and smooth.

After about a half an hour the carrots should be fork tender and should’ve absorbed some of the liquid. Transfer the entire mixture to a blender with 1/4 c of the cashew cream and blend until smooth. Top with remaining cashew cream, toasted pumpkin seeds and a crank of fresh black pepper to serve.

This can be frozen!

xo,
Audrey

Ballin' on a Budget: Citrus Parm Kale Salad by audrey gebhardt

For the past few weeks I’ve been sharing these “Ballin on a Budget” recipes, recipes that can feed about four people for less than $10-15.

How would y’all feel about all of my recipes going in this direction? This will be your go to spot for recipes to entertain with, simple foods prepared in stunning ways that you are thrilled to serve to guests.

I’ve been hosting parties for as long as I can remember, I would start planning my birthday parties six months ahead of time when I was a kid and a good chunk of my babysitting and bartending change went to gathering my friends around a table with a bottle of champagne and some yummy food. I realize that sometimes entertaining can feel inaccessible. It seems like you have to spend hundreds of dollars and hours in the kitchen to have a great time. What if we rewrote that script? What if you could come here to learn how to host a dinner party for 4 for under $50- from appetizers to desserts. Would you be into that?

My happiest moments are when I have people in my house and I get to feed them food. Having done it for years, I can tell you that the amount of money I’ve spent on the food and the amount of time I’ve spent preparing it doesn’t matter. What matters is that you’re opening your home and your heart to the ones you love- the delicious food is just a bonus. Let’s make that bonus a reason to bring people together. Let’s make entertaining stress free and accessible to anyone and everyone- regardless of your budget or kitchen prowess.

There’s a poll in my instagram stories (@audreygebhardt) today- let me know if you are into this concept!

A few things to note with this recipe:

  1. It can be made in advance! Wash and cut the kale as much as a week ahead of time, store it in a large ziplock bag with paper towels in the fridge. Dress the kale up to 48 hours in advance, it will soften as it chills overnight! (Add chickpeas just before serving)

  2. Sometimes parm seems expensive because it’s sold in large chunks. You can get the smallest amount of parmesan you want to if you speak to the cheesemonger at your grocery store- they can cut off a 1oz block which is really all you need for this recipe!

  3. Invest in a microplane. This is my favorite tool in the kitchen, I use it way more often than you would expect to.

  4. This recipe is the perfect amount for two as a meal, four as a side.

Citrus Parmesan Kale Salad

Citrus Parm Kale Salad

ingredients

one bunch Lacinato kale
one lemon
1-2oz parmesan cheese
1 tsp black pepper
1/2 tsp salt
3 TBSP olive oil

1 15oz can chickpeas, drained and rinsed
3 TBSP olive oil
pinch salt
1/4 tsp black pepper
2 cloves garlic

Preheat the oven to 450. Spread the chickpeas onto a small baking sheet and drizzle with 3 TBSP olive oil, salt and pepper. Crush the cloves of garlic (leave them whole) and place them on the baking sheet as well. Once the oven is preheated, get the chickpeas in on a middle rack and cook them for 30 minutes until golden and crispy- shaking the pan around once halfway through so they cook evenly.

While the chickpeas are cooking, wash the kale carefully and cut the stems out. Cut the kale into ribbons about 1/2” thick or less and lay onto a double layer of paper towels. Roll the paper towels up from one end and squeeze to dry the kale.

Dump the kale into a bowl and squeeze the lemon over the top, careful not to let any seeds get in. Massage the lemon juice into the kale with your fingers. Drizzle the kale with 3 TBSP olive oil and add the salt and pepper. Using a microplane or very fine grater, grate 1oz of parmesan cheese on top and use tongs to mix everything together. Taste, and decide whether or not you’d like to add more cheese (I always add more cheese on top to serve anyway).

By now the chickpeas should be nearly done. Pile the dressed kale up on a plate and grate some more cheese on top before topping with the crispy chickpeas and perhaps even a crack of black pepper.

Enjoy!
xo,
Audrey

Ballin' on a Budget: Tortilla Espanola by audrey gebhardt

Eggs are something that never held any appeal for me. They were always too ‘wiggly’ and I had no interest in them.

And then I had Tortilla Espanola.

Tortilla Española

I was on a yoga retreat in Spain, staying at the house of an incredible chef who would cook us these grand brunches every single day. One of those days he was serving Tortilla Espanola, and I had no idea what it was but I was intrigued. It looked like a frittata made of mostly potatoes and a little bit of egg to hold it together and you put a potato in front of me, I’ll eat it.

So I took the tiniest sliver possible. 1/2 inch of tortilla slice. And then another one. And another. I was obsessed.

About a year went by and I had no idea what this thing was, I didn’t know how to research it, I didn’t know what to call it. All I knew was it was a giant round omelette filled with potatoes and I looooved it.

This past fall, I was reminiscing about my trip to Spain with my new boyfriend who had spent a good amount of time there and loves loves loves the food culture there. I was like, '“Did you ever have that thing that’s like an omelette but not really and it’s all potatoes and it’s so good?” He immediately knew what I was talking about and made it for me that night.

That was it for me folks. Hook. Line. Sinker.

Tortilla has become a staple in our diets these past few months, it’s delicious, simple, can be made ahead of time, takes three ingredients, and best of all we get to put ketchup on it.

Tortilla is the thing that got this picky girl to even eat omelettes that don’t have potatoes in them- I’ll even eat plain old eggs now if they’re cooked just right!

You can add a few slices of onion in when you’re cooking the potatoes but I love it just how it is.

Personally, I can’t get enough of Vital Farms eggs (this is not an add, I just taste the difference in pasture raised and you can even see it- the yolks are a completely different color). It’s worth paying the $5-6/dozen. The recipe will still be under $10 for a tortilla that will feed at least three maybe four.

Tortilla Española

Tortilla Española
(makes one 9” tortilla)

6 eggs
1 lb Yukon Gold Potatoes (about 3 small-medium)
1/4 c olive oil
salt & pepper to taste

Start by slicing the potatoes (longways, you want the slices to be long so they stack better) a little less than 1/4 in thick. If you have a mandolin, even better! You don’t have to peel the potatoes as long as they’re cleaned well.

In a 9” NONSTICK saucepan, heat the olive oil over medium heat for about two minutes. Drop the potatoes in all at the same time, season with salt and pepper and let them cook over medium heat for about 20 minutes, flipping the potatoes every 3-5 minutes or so until they’re just about cooked through. You don’t want the potatoes to brown, you just want them to be a little bit tender.

Crack the eggs into a separate bowl and beat the heck out of them for about a minute before pouring the eggs over the potatoes in the pan. Lower the heat to low and allow to cook, uncovered, for about ten minutes until the eggs begin to set. If you’d like, you can run a rubber spatula around the edges of the pan to make sure the eggs aren’t sticking.

Once the eggs are about set in the middle, flip the whole tortilla onto a plate, (do this over the sink just in case!!) slide it back into the pan, cooked side up, and cook over low flame for another 5 minutes or so until the bottom is set well.

Serve hot, at room temperature, or even cold straight out of the fridge the next morning!

xo
Audrey

Ballin' on a Budget: NY PIZZA EDITION by audrey gebhardt

I’m starting a new series on here called “Ballin’ on a Budget”. The idea came to me this week when I was evaluating my finances and budget for 2019. I realized that my boyfriend and I are really good at feeding ourselves delicious meals without spending too much money. We prioritize food over a lot of things, and by making most of our food from scratch we’re able to afford high quality ingredients and make restaurant quality meals for a fraction of the price.

Easy New York Pizza

While I won’t break down these meals into dollars and cents since we all shop at different grocery stores, I will give you an idea and try to keep these meals that you can feed an entire family with between $10-20 maximum.

Easy NY Style Pizza

Whatever your situation is, whether you’re paying off student loans or credit cards or saving for a house or wedding or baby, we can all agree that most of us would like to save a few bucks here and there, right?

Easy NY Style Slice

This series is here to help you understand that broke doesn’t have to mean pb&j for every meal.

I thought nothing was more apt to start this series off with than my favorite food on the planet, NY style pizza. While Colorado has plenty of delicious brick oven Neapolitan style pies, sometimes you just need a big old cheesy NY slice. Foldable crust, tangy sauce, salty mozz, endless joy.

you bet your bottom dollar I folded that slice and took it straight to the face.

you bet your bottom dollar I folded that slice and took it straight to the face.

This recipe might look a bit wordy and daunting but trust me, it’s mostly little techniques that make this pie perfect. None of it is complicated, just make sure you read through the recipe once or twice before starting!

NY Style Pizza
recipe is for four 14” pizzas for LESS THAN $10 total! (I made all four on the same day and froze the slices of two of them wrapped in foil and then a big ziplock! Pop them in the toaster oven and they’re good as new!)

you will see that the dry ingredients are measured by weight. I highly suggest doing the same as the dough will be more accurate every time if you do that.

dough (recipe adapted from Feeling Foodish) \\ do this 1-3 days in advance
-6 C all-purpose flour (28oz)
-2 1/4 C water (about 95 degrees, think bathtub)
-1 tsp instant dry yeast (3.5 grams)
-2.5 tsp salt (15 grams)
-2 tsp sugar (8 grams)
-1 Tbsp olive oil

sauce
-28 oz canned tomato sauce
-1/4 C olive oil
-1 tsp dried basil
-1.5 tsp dried oregano
-1.5 tsp salt
-2 cloves fresh garlic
-pinch red pepper flakes
-1 tsp red wine vinegar

other
-16 oz low moisture full fat mozzarella
-1/4 c cornmeal

MAKE THE DOUGH:
Place water in a large mixing bowl.
In a separate bowl, whisk together flour, salt, sugar & yeast.
Stir flour mixture into the water until all of the flour is wet, add oil after and knead on a floured surface for about 5 minutes until you have a smooth dough ball.

Divide dough into four equal pieces and place each dough ball into a well oiled gallon ziplock or quart container. Immediately place in fridge and allow to hang out for at least 24 hours and up to 4 full days. I made pizza on a 24 hour crust and again on a 72 hour crust and the third day was the best one! This cold fermentation technique really allows the gluten to develop and creates a crust that is easily manipulated without ripping or tearing.

REGULAR PIE
If you have a pizza stone, place it on the top rack of the oven about 6-8” from the top. This creates that short oven type heat that you would get in a standard pizza oven! If you don’t have a pizza stone don’t fret! You can use a baking sheet flipped over so you have a flat surface to bake the pizza on.

Preheat the oven to 500 degrees and let it preheat for about an hour while you prepare the pizzas.

Take the dough out of the fridge, you’ll want this to hang on the counter for about an hour as well to come to room temperature so it’s really easy to shape.

While the dough is hanging and the oven is heating, make the sauce. In a blender, combine all of the sauce ingredients (whole cloves of garlic!) and blitz for about a minute until it’s all combined. If you don’t have a blender, chop the garlic very fine and just stir everything together.

Grate the cheese and place the grated cheese back in the fridge until you’re ready for it.

After the dough has been out for an hour, let’s get making pizzas! To stretch the dough, DO NOT EVEN THINK ABOUT GETTING A ROLLING PIN. If you’re new to this, DO NOT TRY AND THROW YOUR DOUGH. Dunk each side of the dough ball into flour and form into a disk on your counter. Starting from the middle, press the dough down and out working in a circle, leaving a 3/4-1” border that will be your crust. Homeboy has a pretty standard and simple technique here if you want to watch! If you have a pizza peel, dust it with cornmeal. If you don’t, dust a flipped over sheet pan with cornmeal. This is just a surface that you can build your pizza on and then slide it off easily onto the pizza stone when it’s done. Transfer your dough onto the cornmeal-dusted surface and give it a lil shimmy to make sure it will move off of the peel/pan.

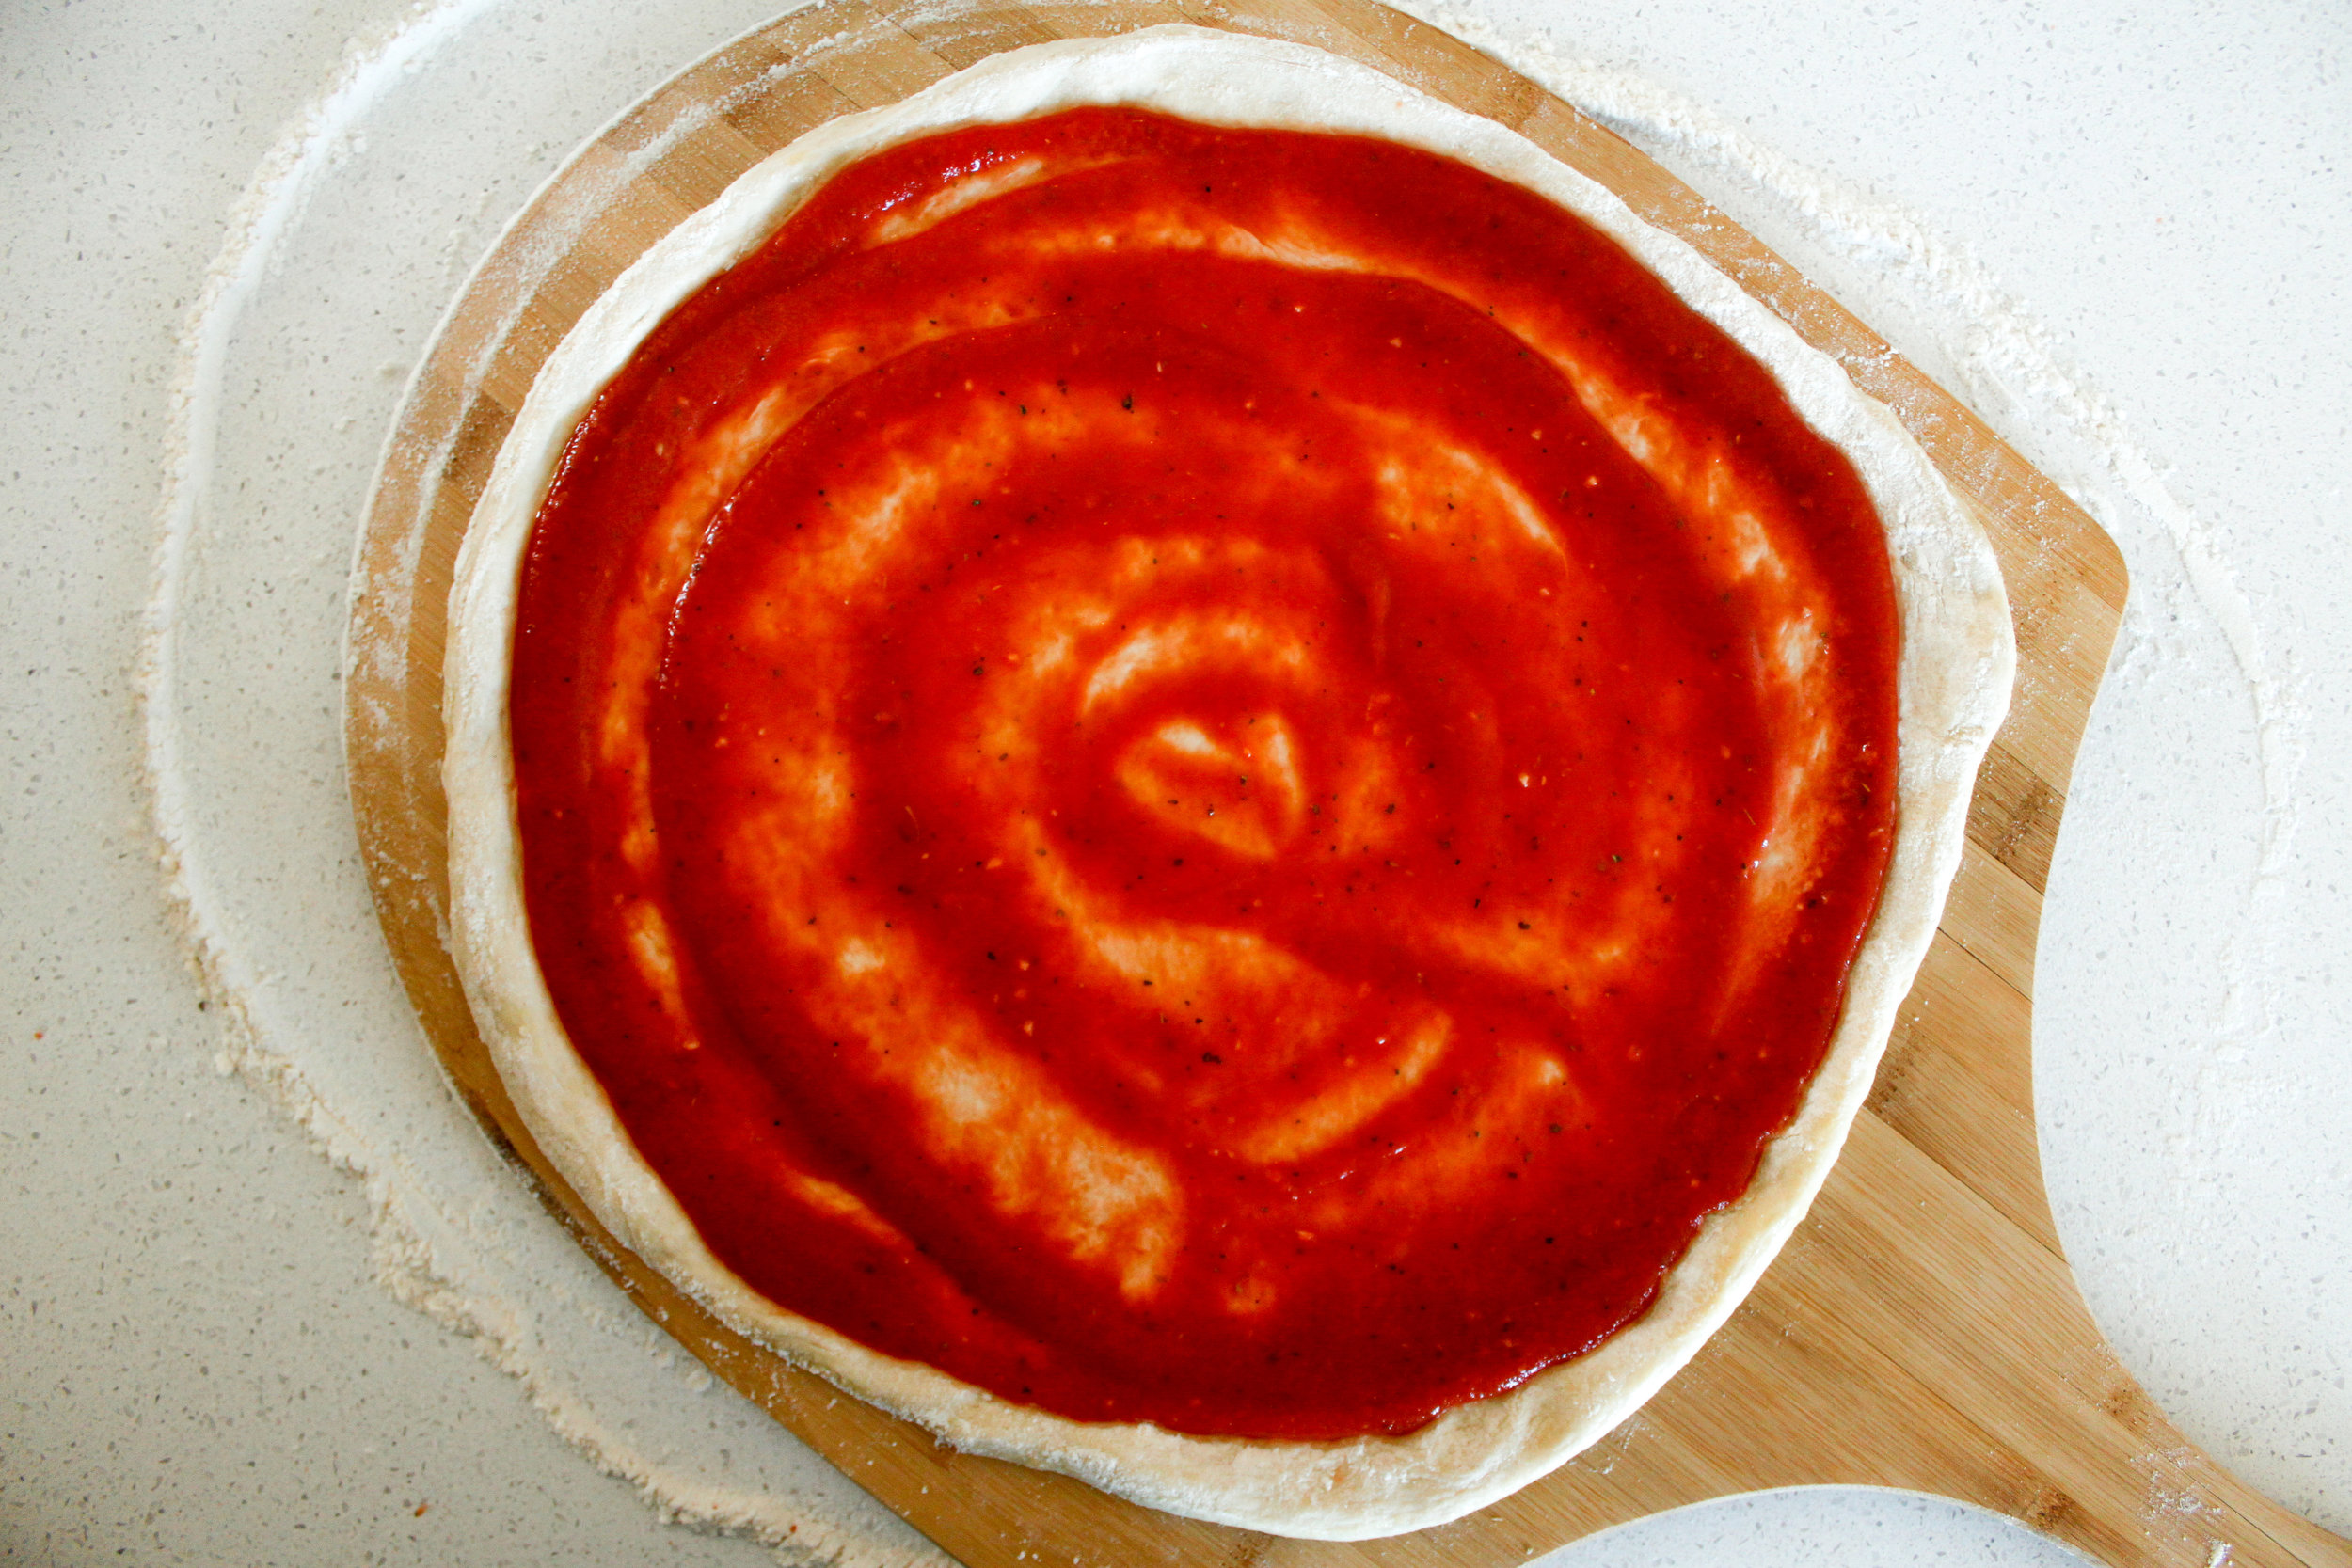
Ladle about 1/3 c of sauce onto the center of your dough and using the back of the ladle, swirl it around on the dough so it’s pretty uniform, you want it to look similar to the photo above. I like a pretty heavily sauced pizza and this was the perfect amount for me.

Now is when you add your cheese. Again- you don’t need to overdo it on the cheese. I promise you less is more. use 1/4 lb of grated mozzarella and evenly distribute it over your pie.

Slide your pie off of the peel/sheet onto the stone/sheet and keep the oven light on. It should take about ten minutes for the pie to cook but keep an eye on it! (It’s also just super fun to watch the bubbles grow). When you’re ready to take the pizza out, slide the peel back under it or use a spatula to help get it back onto the back of the sheet pan and immediately put it on the counter or cutting board. Give it a minute or so to rest before cutting it into eight, fold that slice in half and go to town.

Grandma Pizza

GRANDMA PIE (if you want to switch it up, make one or two of the doughs a grandma pie. This is a classic Brooklyn/Long Island slice. Extra garlicy, crispy oiled crust, sauce on top.)

Grate another clove or two of garlic into the sauce. Press the crust into a well oiled 9x13 pan, pressing it all the way out to the edges. Top the crust directly with the same amount of cheese you’d use for a normal pie and then spoon the sauce all over the top of it. Bake this pie in the bottom 1/3 of the preheated 500 degree oven until the edges begin to brown and the cheese is bubbling up through the sauce and impress all of your friends with your authentic cultured slice when they come over for a pizza party. Should be in the oven for a bit longer than 10 minutes but again, you’ll want to keep an eye on it.

xo
Audrey


Vegan Acorn Squash Enchiladas by audrey gebhardt

There was a summer not too long ago that I worked at a mexican restaurant.

Vegan Acorn Squash Enchiladas

We would basically dance around and pour a few margaritas and it seemed like the money followed. In fact, it was pretty often that the owner would pull us out from behind the bar to dance with us while we still had customers waiting to be served.

I have never seen drama anywhere like I saw at this restaurant. There was a constant he said/she said battle between any given servers, someone walking out mid shift every week and employees that only showed up when they felt like it. Along with that, our shift meal was dependent on the mood the chef was in.

_MG_7640.jpg

I decided to take matters into my own hands. It seemed that the more I flirted with the chef, the more food he would make for everyone on staff.

I like to call it taking one for the team.

Anyway- that’s where I first had enchiladas! We didn’t eat a ton of Mexican food growing up, and if we did it was always the simpler nachos or tacos.

_MG_7634.jpg

These enchiladas will please every gluten free/vegan friend you have in your life. It seems like a lot of steps but trust me, it’s worth it. Homemade roasted tomatillo salsa is what makes these so special. And tomatillos are just about the cheapest thing you’ll find in the produce section- you can usually find them for about a dollar a pound (which is a LOT of tomatillos).

_MG_7648.jpg

Vegan Acorn Squash Enchiladas with Homemade Salsa Verde

salsa verde
1 lb tomatillos, husked and washed
1 shallot, sliced
2 cloves garlic
juice and zest of one lime
handful cilantro
one jalapeño
olive oil
salt

enchiladas
14 corn tortillas
1 acorn squash
1 15oz can black beans, drained and rinsed
1 bell pepper, diced
juice and zest of one lime
1/2 tsp cumin
1/2 tsp chili powder

1 c vegetable stock
1 TBSP cornstarch

pico de gallo, to top

Make the salsa verde/enchilada sauce:
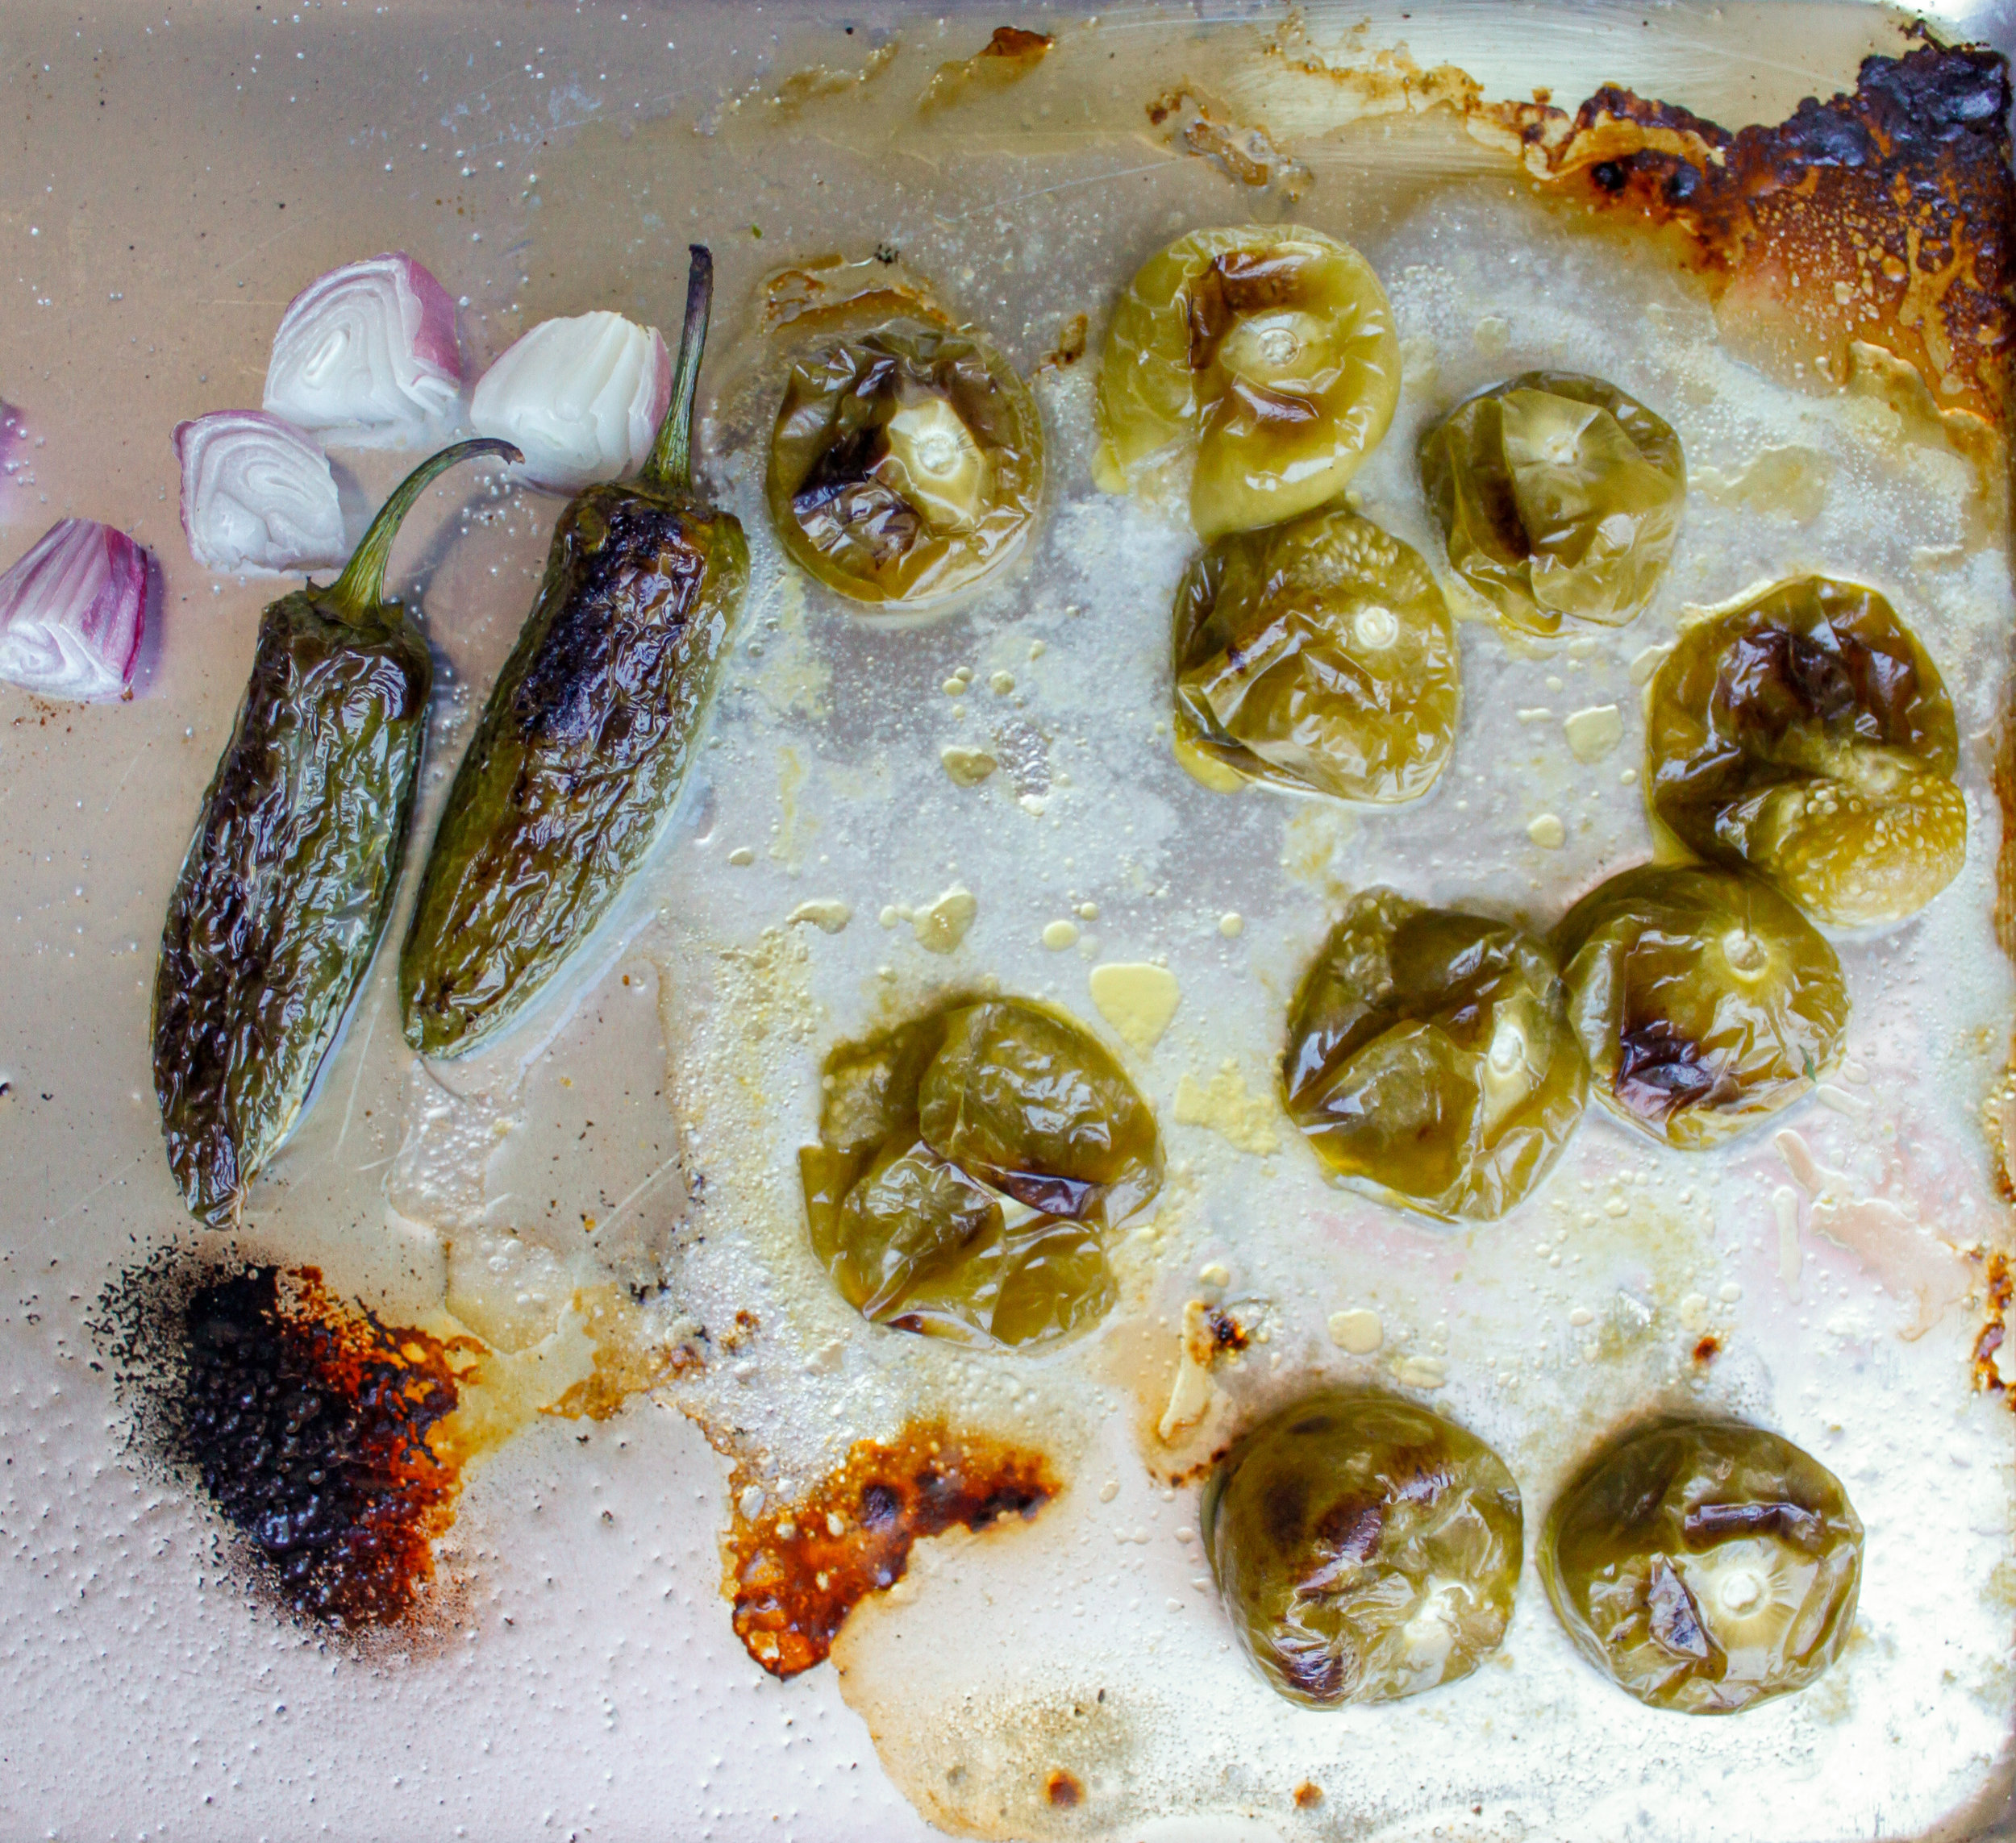
preheat the oven to 450. Place the tomatillos stem side down on a baking sheet, as well as the jalapeño and shallot. Take a piece of foil and wrap up the garlic cloves with a drop of olive oil and place the packet on the baking sheet as well. drizzle the tomatillos, jalapeño and shallot with oil and bake at 450 for about 20 minutes until the skins are beginning to brown and maybe the tomatillos are even starting to burst. Flip over and roast for another ten minutes. Allow to cool to near room temperature, then blitz everything in a blender (less the stem of the jalapeño- but leave the seeds in for heat!) until combined (I used my nutri ninja and it worked great!)

This salsa verde is great right here as it is. I love it on chips, tacos, anything really. But we’re here for enchiladas! So let’s turn this salsa into enchilada sauce.

In a small saucepan, combine the cornstarch with 1/4 c of the stock and whisk over medium heat until there are no more lumps. add the rest of the stock and the salsa verde and heat through.

For the enchiladas:
Roast the acorn squash! You can do this at the same time as you roast the stuff for the salsa. Cut the acorn squash in half lengthwise, scoop out the seeds and drizzle with a bit of olive oil. Bake at 450 for about an hour until the insides are soft.

Make the filling: Scoop the roasted acorn squash into a large bowl and discard the skin. Combine the rest of the ingredients (minus the corn tortillas) in the same bowl with a fork until mixed throughly.

Heat the tortillas: I did 7 at a time in the microwave for 30 seconds under a damp paper towel. This prevents them from ripping when you go to roll them!

In a 9x13” or two 8” pans, spread enough of the enchilada sauce to cover the bottom of the pan.

Scoop 1/2 c of the filling into the center of a tortilla and wrap it up, placing the seam side down in the bottom of the pan. Repeat until all the enchiladas are rolled, then top with the remaining enchilada sauce and bake at 375 for 30 minutes until the sauce is bubbling and the edges of the enchiladas are just starting to brown up.

Remove from oven and top with pico de gallo to serve!!

If you have non-vegans, of course you can top the enchiladas with cheese before baking and sour cream after baking!

These can be prepared up to 24 hours in advance and covered once assembled, just bake them off when you’re ready to eat!

xo
Audrey

Carrot Cake Cinnamon Rolls by audrey gebhardt

I’m not here to tell you to eat your vegetables.

carrot cake cinnamon rolls

My strategy lately is more like, eat all of the sugar until your body absolutely cannot take it anymore and it’s actually craaaaaving green things.

Carrot Cake Cinnamon Rolls

So like, have a salad and the next morning throw some carrots in your cinnamon rolls and we’ll call it even, yeah?

I was really skeptical of carrot cake for a while, I promise you. And then I saw one that I just couldn’t resist with stripes of cream cheese frosting and I was quickly in love. I even choose carrot cake over chocolate things sometimes!

Carrot Cake Cinnamon Rolls

These cinnamon rolls are rich, creamy, and bursting with flavor having been stuffed with toasted pecans and brown sugar. For a yeast dough, this one is fairly simple and straightforward! Don’t be alarmed by the amount of ingredients and steps, just read the whole recipe through once and then take it one step at a time. That is allllll bread is. One step at a time.

The carrots in this recipe add a really nice texture to the dough, they almost melt into it and it feels like you’re eating funfetti cinnamon rolls!

_MG_7621.jpg

Carrot Cake Cinnamon Rolls
makes 2 dozen

for the dough:
2 cups whole milk
1/2 c unsalted butter (1 stick)
1/2 c sugar
1 packet yeast (2 1/4 tsp)
1 1/2 c grated carrots (about 3 medium)
1/2 tsp nutmeg
1/2 tsp freshly grated ginger
4 1/2 c all purpose flour, divided
1/2 tsp baking powder
1/2 tsp baking soda
1 tsp salt

for the filling:
1/2 c unsalted butter, melted
1 c brown sugar
2 tsp cinnamon
2 c pecans, chopped
1/2 c shredded coconut (optional)

for the cream cheese frosting:
4 oz cream cheese (or mascarpone! I used mascarpone! it’s so creamy!)
1.5 c powdered sugar
1 tsp vanilla extract
2 TBSP milk

For the dough:
-Combine the milk, butter and sugar in a large pot over medium heat. Bring just to a simmer and stir to dissolve sugar. Allow to cool to a temperature that feels like a hot shower you’d want to get into after a day in the snow (about 105 degrees). Sprinkle the yeast over the top and allow to sit for about three minutes.

-While the yeast mixture is setting, grate the carrots over a clean dishtowel that you don't care about at all. Squeeze the carrots out over a sink and squeal in delight at the vibrant orange color that carrot juice actually is. You’re drying the carrots out as much as possible here so the water content doesn’t mess with the dough.

-Pour the yeast/milk mixture into a large bowl. Stir in two cups of the flour, the nutmeg and the ginger until combined. Stir in another cup, and stir in a final cup of flour with the grated carrots until combined. Cover with a damp towel and allow to proof for about an hour in a draft free space. (you can put this in the oven with the oven turned off but the oven light turned on- the heat from the light creates a really great temperature for proofing!

-After an hour the dough should be doubled in size and smell yeasty. Stir in the final 1/2 cup flour along with the baking powder, baking soda and salt. Turn out onto a generously floured surface and knead slightly. You want this dough to be soft but not too sticky to roll out- add flour 1/4 cup at a time if it feels too sticky!

-Grease two 9” pans with butter or canola oil. Set aside.

-Divide dough into two equal rounds and then roll out into rectangles that are about 1/4” thick, about 10”x16”

-Melt the butter. Pour half of the butter mixture onto the first rolled out rectangle, brush the butter to evenly cover the surface leaving a 1/2” boundary around all edges. Sprinkle half of the brown sugar evenly across the surface, followed by half of the cinnamon and pecans and coconut, if using.

-Starting from the far edge, slowly roll the dough into a log (lengthwise). I like to use my fingers in a typewriter fashion here, moving from one end of the log to the other. Cut the log into 12 equal rolls using a bench scraper, then place in the pie dish cut side up. It’s okay if it’s not perfect! You’re covering it with icing later! And no one on this good earth has ever been mad about an ugly cinnamon roll once it goes in their face, I promise.

-Repeat with the other half of the dough, and allow both trays to sit on the stove for a second proof while you preheat the oven to 375.

-Bake for 20-22 minutes, until golden brown.

-While the rolls are baking, whisk together all the ingredients for the frosting until it’s pourable, adjusting the confectioners sugar and milk as needed to get it to your desired texture.

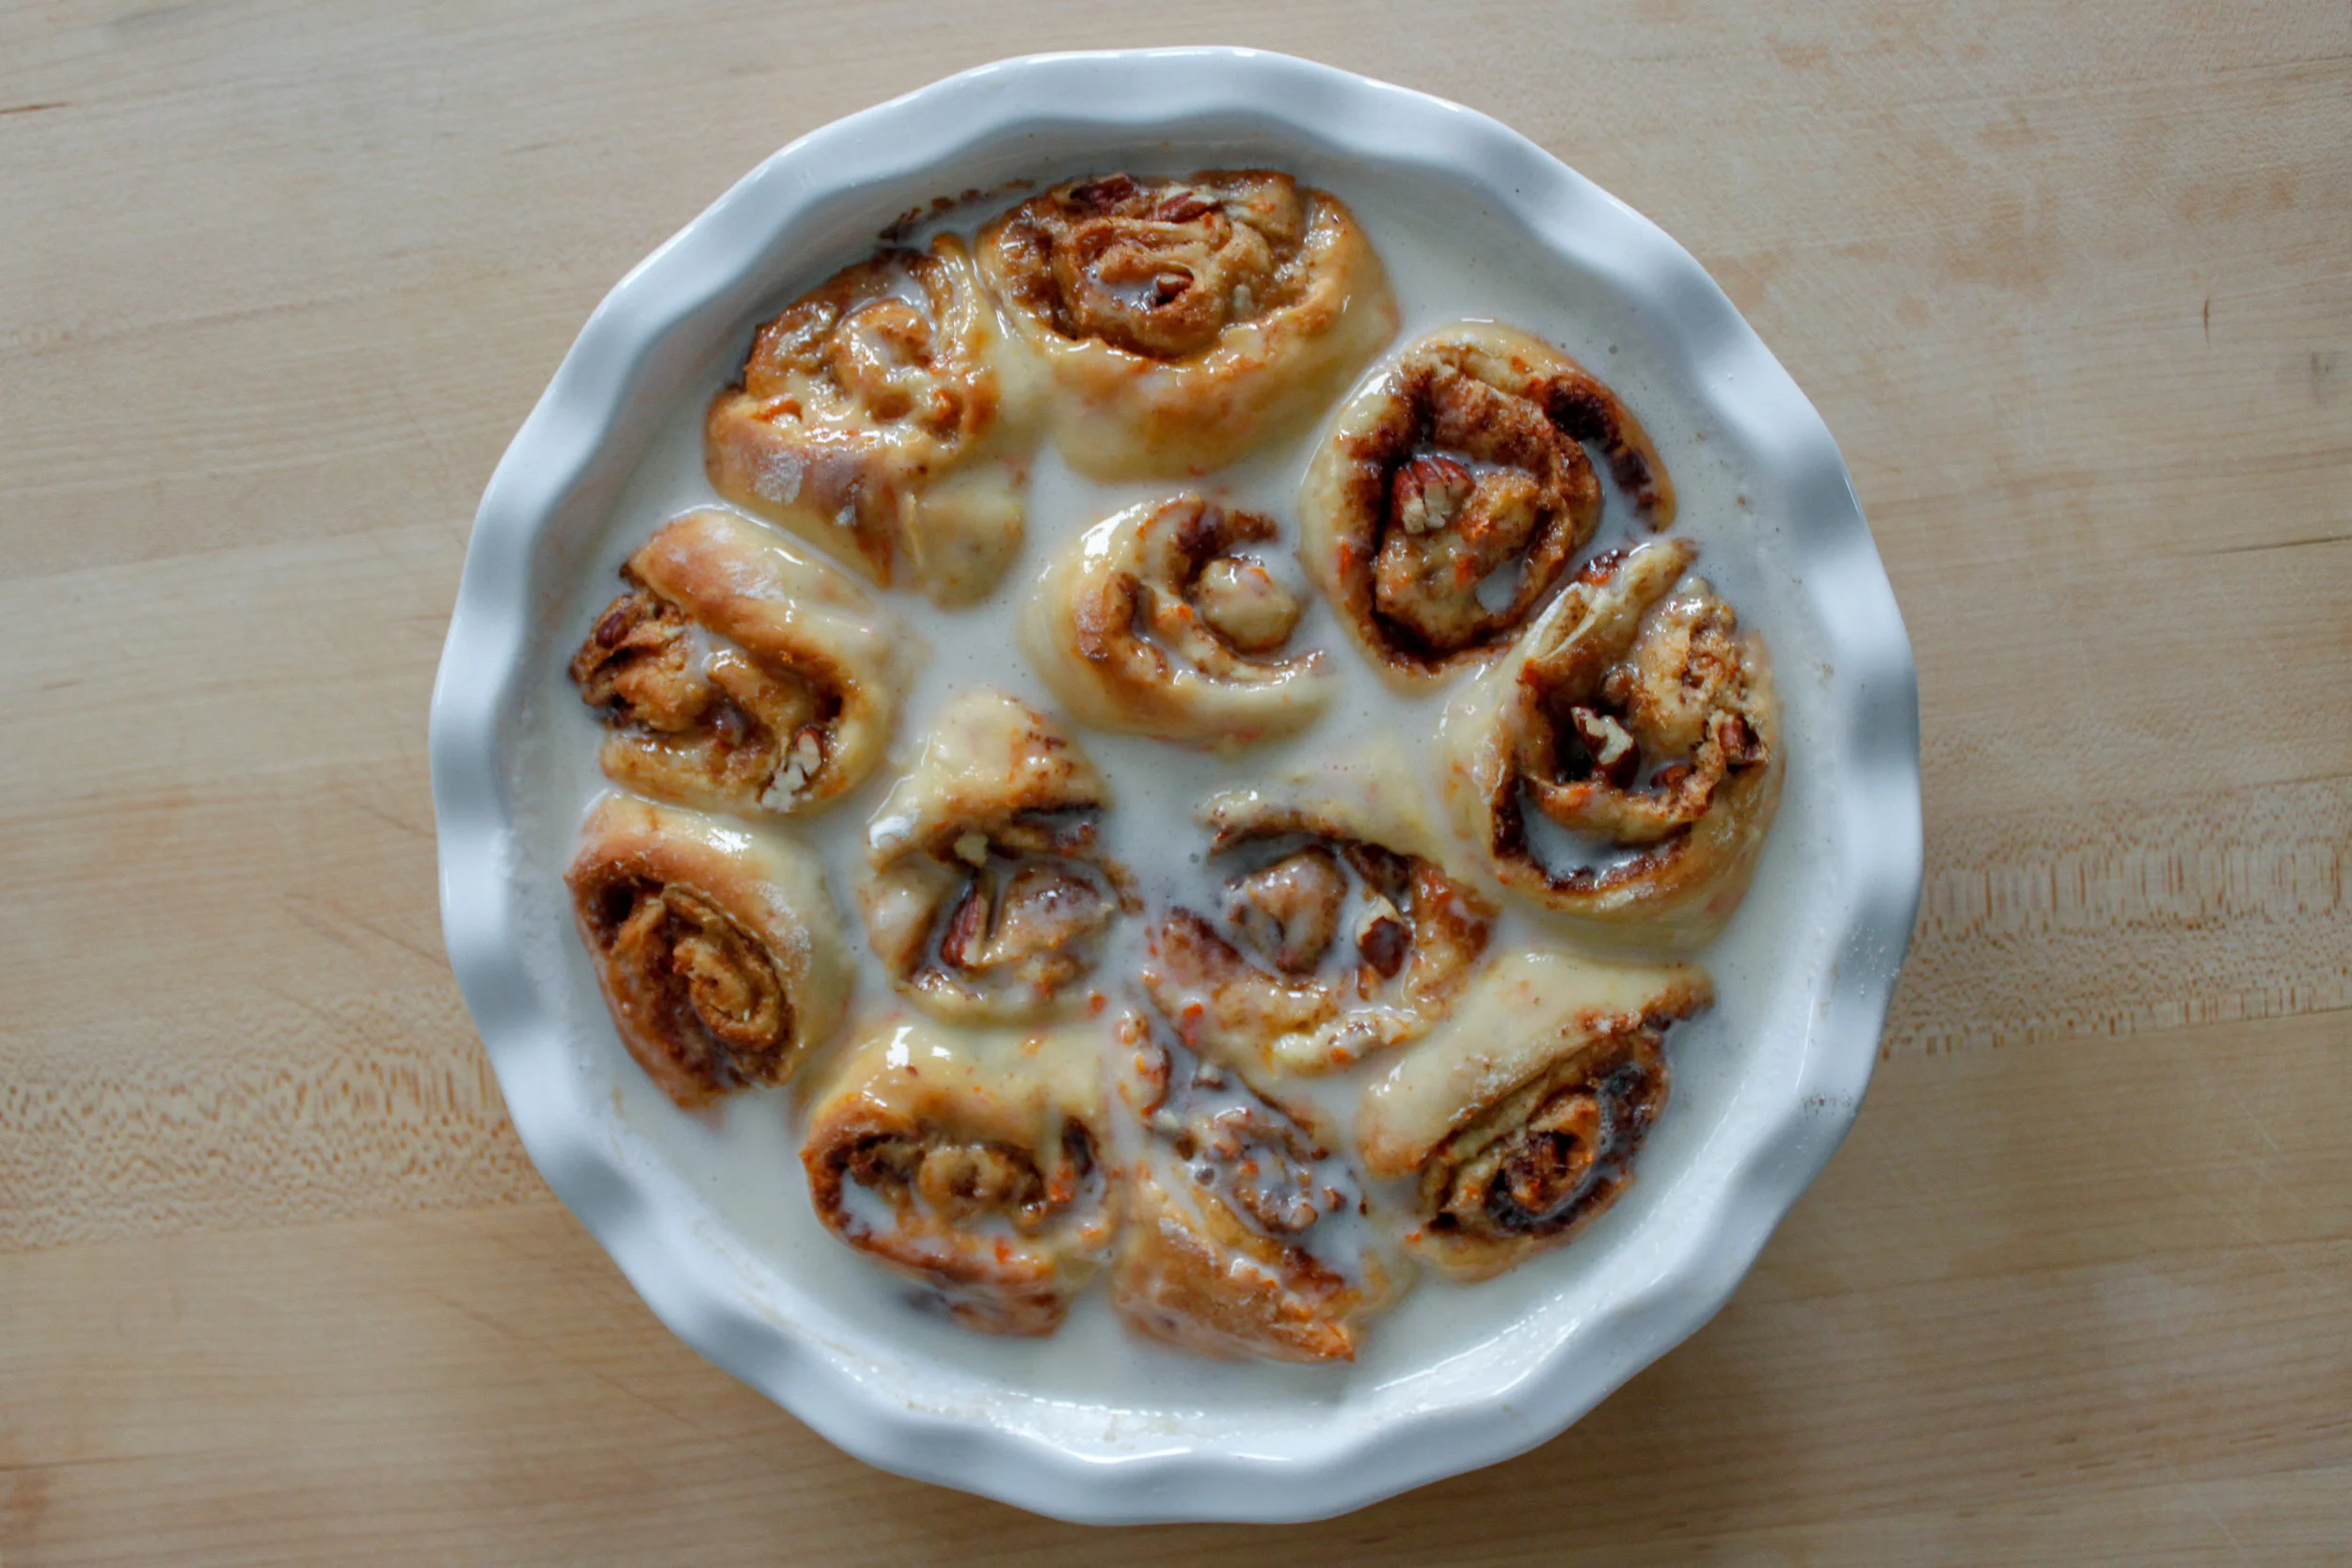
-Pour the frosting onto the rolls immediately after they come out of the oven- these are fantastic hot or at room temperature, we ate them for every meal for an entire day!!

YAY! YOU DID IT! NOW YOU GET TO EAT SOME BUNNNNNSSS TO CELEBRATE!

Pumpkin Bread with Pecan Streusel by audrey gebhardt

When I was a kid, I had a very strict self-inflicted bedtime.

Gluten Free Pumpkin Bread

I remember hysterically crying backstage at a dance recital in my can-can costume because I looked at the clock and it was past 8pm. My parents were the kind that let us fall asleep when we wanted to fall asleep, but I came up with very strict (albeit arbitrary) rules for myself. One of them was that I had to be asleep by 8pm or I would get overtired and I would never fall asleep. I was like a teeny tiny mini mom to myself.

At parties at my aunt’s house, I’d ask my mom what time it was and the answer was always 7:45. She would tell me that for hours and I would believe her- because it would mean I didn’t need to have a meltdown about not being asleep on time.

My brother, on the other hand, could stay awake until the sun came up. He would stay up all night reading books and playing video games and someeeetimes making pumpkin bread with my mom at 10pm when the first chill of fall fell into the air.

About once a year, my mom would wake me up when it felt like the middle of the night and sit on the edge of my bed with a paper towel topped with a warm piece of pumpkin bread in her hands. There was nothing better. It was the only time I was allowed to eat in my bedroom AND go back to sleep without brushing my teeth first.

I get it, I think she just missed us when we were asleep. I was always the babysitter that woke the kids up so I could keep playing with them. #sorrynotsorry

Gluten Free Pumpkin Bread

Pumpkin Bread with Pecan Streusel (Gluten Free)

2 c sugar
1 c (2 sticks) butter, melted
3 eggs
2 c (or 15oz) pumpkin puree
3 c gluten free flour (I have a new favorite!!!!)
1/2 tsp baking soda
1 tsp nutmeg
1 tsp cinnamon

topping:
1 1/4 c gluten free flour
1/2 c light brown sugar
1 tsp cinnamon
1 stick butter, melted
1/2 c pecans, chopped

Preheat the oven to 350 and line two loaf pans with parchment.

In a medium bowl, make the topping. Combine the flour, brown sugar and cinnamon and stir until mixed. Slowly stir in the butter until big crumbles form and add the pecans.

Make the bread. In a large bowl, whisk together the melted butter and sugar until combined. Whip in the eggs and pumpkin until smooth. Whisk in all dry ingredients until combined. Divide into the two pans and top each with half of the crumble mixture.

Bake at 350 for an hour and ten minutes until a toothpick inserted in the center comes out clean!

Keeps well in an airtight container at room temperature for up to 5 days.